 Pin It
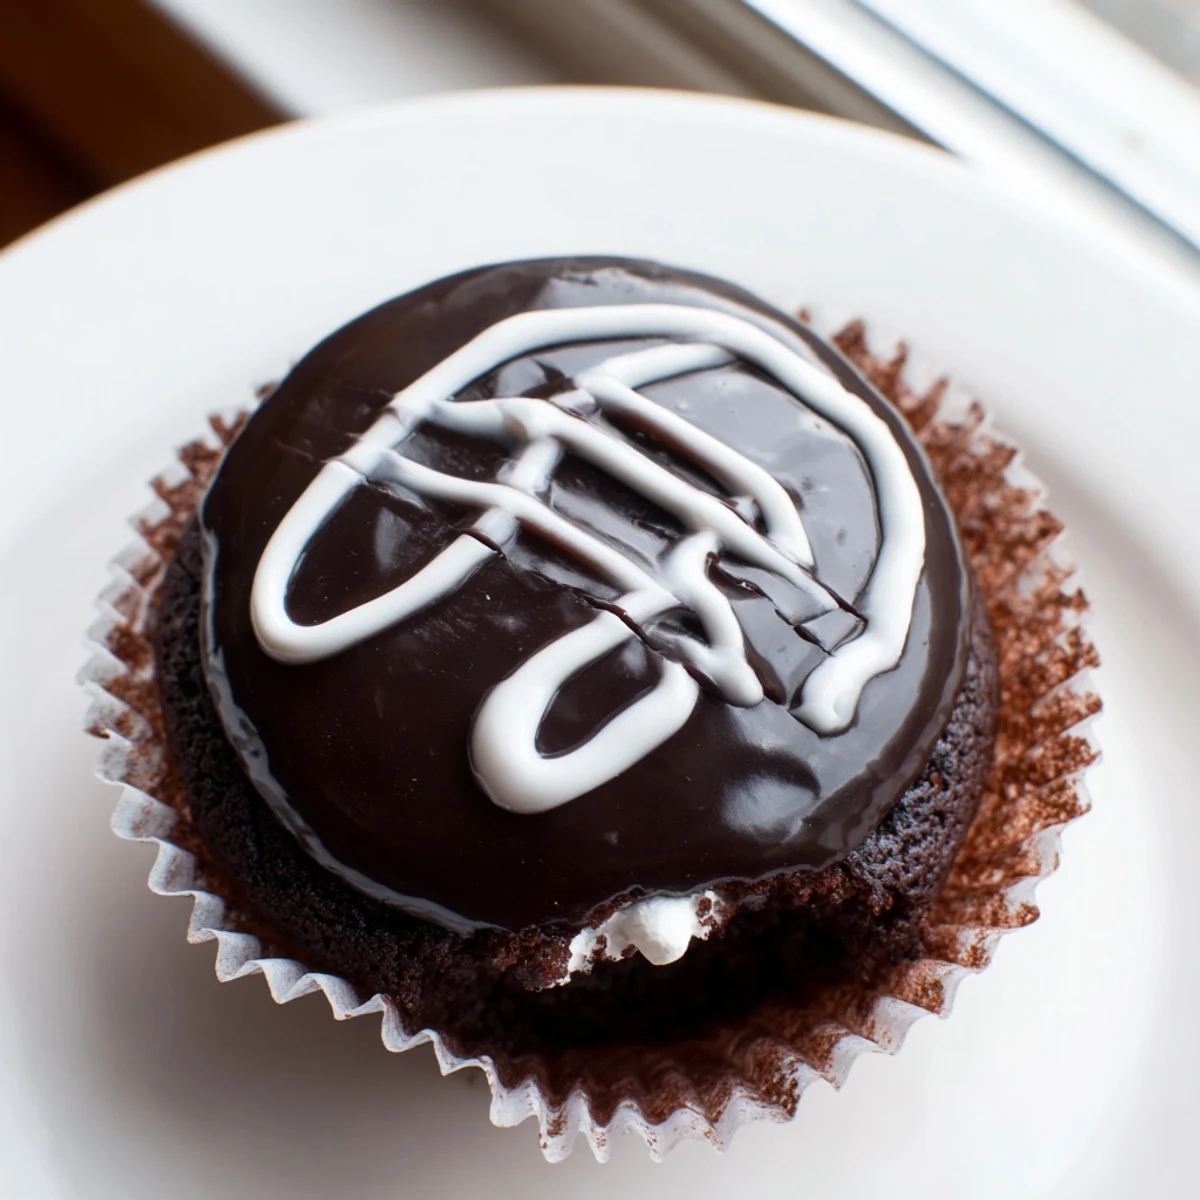
 These homemade Hostess-style cupcakes feature tender chocolate cake filled with fluffy marshmallow cream and topped with a shiny chocolate ganache.
Each cupcake is finished with the classic white icing swirl, bringing back childhood memories in every bite.
Perfect for parties, bake sales, or whenever you crave something sweet and satisfying.
The unmistakable crinkle of a Hostess wrapper is practically a childhood sound effect, right up there with screen doors and ice cream trucks. My friend Jake and I used to race through our lunches in elementary school just to see who could get to the cupcake first, carefully peeling the frosting swirl off in one long ribbon. Years later I tried making them from scratch on a rainy Saturday, mostly as a joke, and ended up calling Jake mid bite to tell him the real thing had been lying to us our whole lives.
I brought a tray of these to a potluck last fall and watched a grown man eat three of them standing up before even saying hello to anyone. My neighbor Linda cornered me by the punch bowl and demanded the recipe, which she has since adapted with coconut extract in the filling because Linda cannot leave well enough alone. Honestly her version is pretty great too.
Ingredients
- All purpose flour (1 cup): Provides structure without making the cake dense, and sifting it first is a small step that pays off.
- Unsweetened cocoa powder (half cup): Dutch processed gives a deeper, rounder flavor but natural works fine if that is what you have.
- Granulated sugar (1 cup): Do not reduce this, the sugar balances the bitterness of the cocoa and keeps the crumb tender.
- Baking soda and baking powder (half teaspoon and 1 teaspoon): Using both gives the cake lift without making it taste metallic.
- Salt (quarter teaspoon): Just enough to make the chocolate taste like chocolate instead of sweet brown powder.
- Buttermilk (half cup, room temperature): The acidity tenderizes the crumb, and if you are out, a splash of vinegar in regular milk works in a pinch.
- Vegetable oil (half cup): Oil keeps these cupcakes softer than butter would, and they stay moist for days.
- Large eggs (2, room temperature): Room temperature eggs blend more evenly into the batter and help with rise.
- Vanilla extract (2 teaspoons): Good vanilla is doing a lot of heavy lifting here, so use the real stuff if you can.
- Hot water (half cup): This blooms the cocoa powder and makes the batter surprisingly thin, which is exactly what you want.
- Unsalted butter for filling (third cup, softened): Needs to be truly soft, not melting, or the filling will separate when you beat it.
- Powdered sugar for filling (three quarter cup): Sift it to avoid lumps that will clog your piping bag at the worst moment.
- Marshmallow creme (1 cup): This is the secret to that distinctive fluffy, slightly stretchy center.
- Milk for filling (1 to 2 teaspoons): Only add if the filling feels too stiff to pipe smoothly.
- Semi sweet chocolate chips (half cup): Use decent quality chips because the ganache coating is front and center.
- Heavy cream (quarter cup): Heated just until steaming, never boiling, or it can seize the chocolate.
- Powdered sugar for swirl (quarter cup): Mixed with just enough milk to make it pipeable but not runny.
Instructions
- Get the oven going:
- Preheat to 350 degrees F and line your muffin tin with paper liners. Trust me on the liners, because scraping baked ganache off a bare tin is nobody's idea of fun.
- Build the dry mix:
- Whisk the flour, cocoa powder, sugar, baking soda, baking powder, and salt together in a large bowl until there are no visible streaks of cocoa hiding in pockets.
- Add the wet team:
- Pour in the buttermilk, oil, eggs, and vanilla, stirring gently until just combined. Then add the hot water and stir until the batter is smooth and oddly liquid, which is completely normal.
- Fill and bake:
- Divide the batter evenly among the liners, filling each about two thirds full. Bake for 18 to 20 minutes until a toothpick slides out clean, then let them cool completely on a wire rack.
- Whip up the filling:
- Beat the softened butter until creamy, then add powdered sugar and beat for a full minute. Fold in the marshmallow creme and vanilla, beating until cloudlike and spreadable.
- Core and stuff:
- Use a small knife or cupcake corer to cut a shallow well in the center of each cooled cupcake. Pipe the filling into each well generously, then replace the little cake tops if you saved them.
- Make the ganache:
- Heat the heavy cream in a small saucepan until it steams but does not boil, pour it over the chocolate chips, and let it sit untouched for two minutes before stirring into a glossy pool.
- Coat the tops:
- Spoon or dip each cupcake top into the ganache, letting excess drip off. Set them aside until the chocolate sets into a shiny shell.
- Pipe the signature swirl:
- Mix powdered sugar with milk until you have a thick but pipeable glaze, load it into a bag with a fine tip, and pipe the classic looping squiggle across each cupcake top.
 Pin It
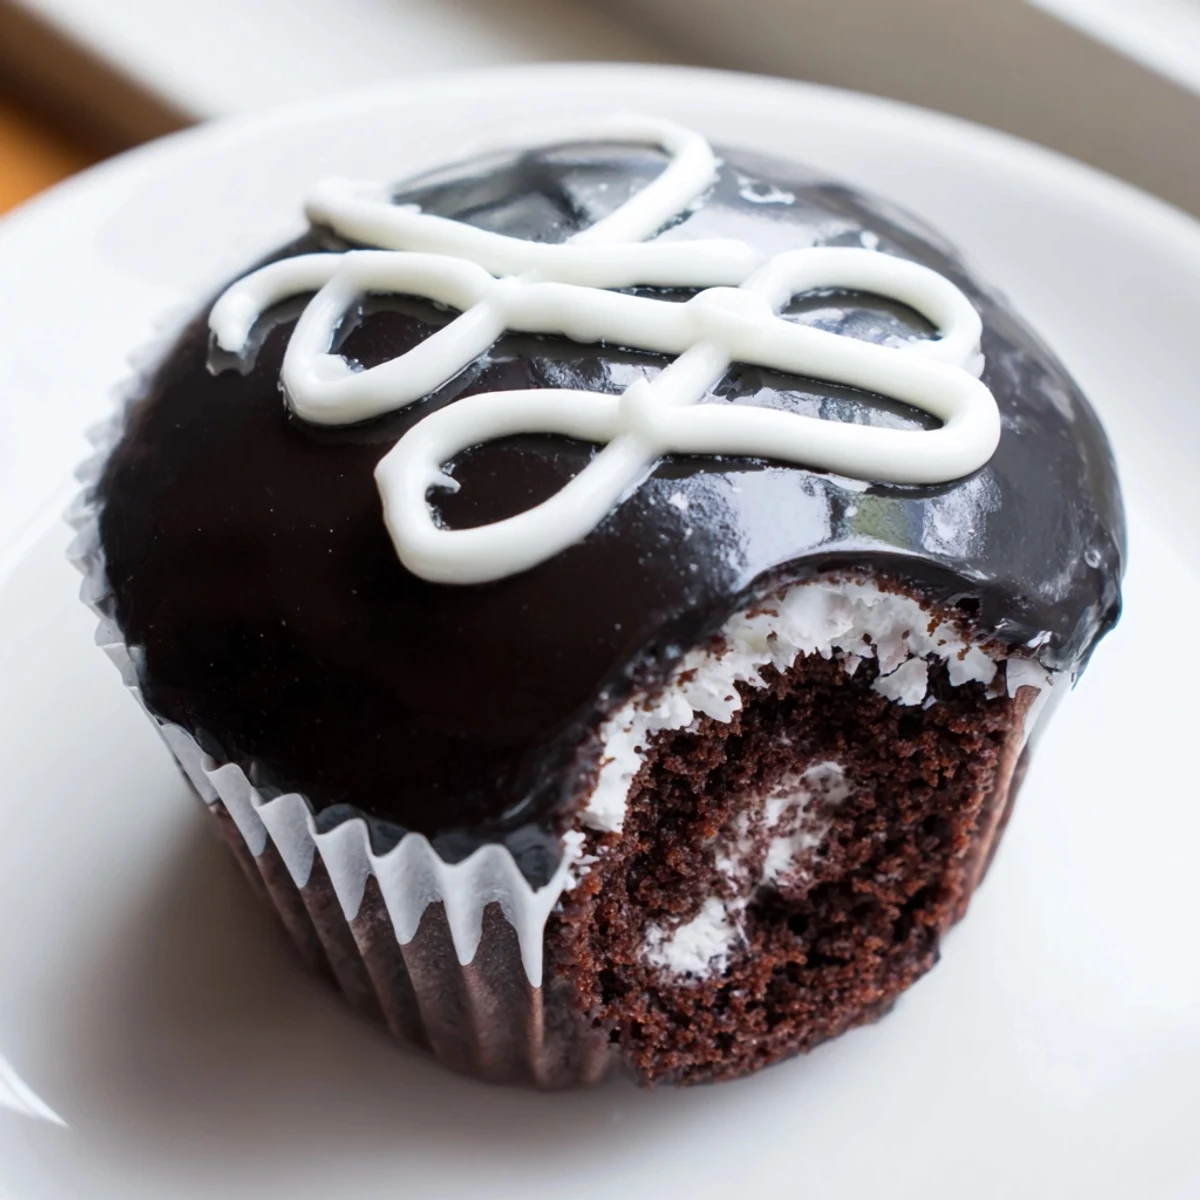
 The first time I got the swirl right I photographed it from three different angles and sent it to my sister with no context, and she immediately texted back asking which bakery I went to. That little squiggle is weirdly satisfying to pipe once you get the rhythm of it.
Storing These Beauties
These cupcakes hold up surprisingly well in the refrigerator for up to three days, but you absolutely need to let them sit at room temperature for about thirty minutes before eating. Cold ganache loses its satisfying snap, and the filling gets oddly firm. Cover them loosely so the swirl does not smudge against whatever you wrap them in.
Making Them Your Own
The filling is endlessly adaptable once you have the base recipe down. A quarter teaspoon of almond extract gives it a marzipan vibe that pairs beautifully with the chocolate. Coconut extract is Linda approved, as mentioned, and a little malt powder in the batter turns the whole thing into a malted chocolate situation worth repeating.
Getting the Swirl Right
The white icing swirl is the part everyone stresses about but it is genuinely the easiest step if you relax your grip. Use a zip top bag with a tiny corner snipped off and practice on a plate first.
- Pipe from left to right in one continuous looping motion.
- If the icing is too thin, add more powdered sugar rather than less milk.
- Nobody will notice if your loops are uneven, they will be too busy eating.
 Pin It
 These cupcakes are a labor of love that remind you why the homemade version of anything is worth the effort. Grab a glass of cold milk, invite someone over, and watch them revert to their eight year old self.
Recipe FAQs
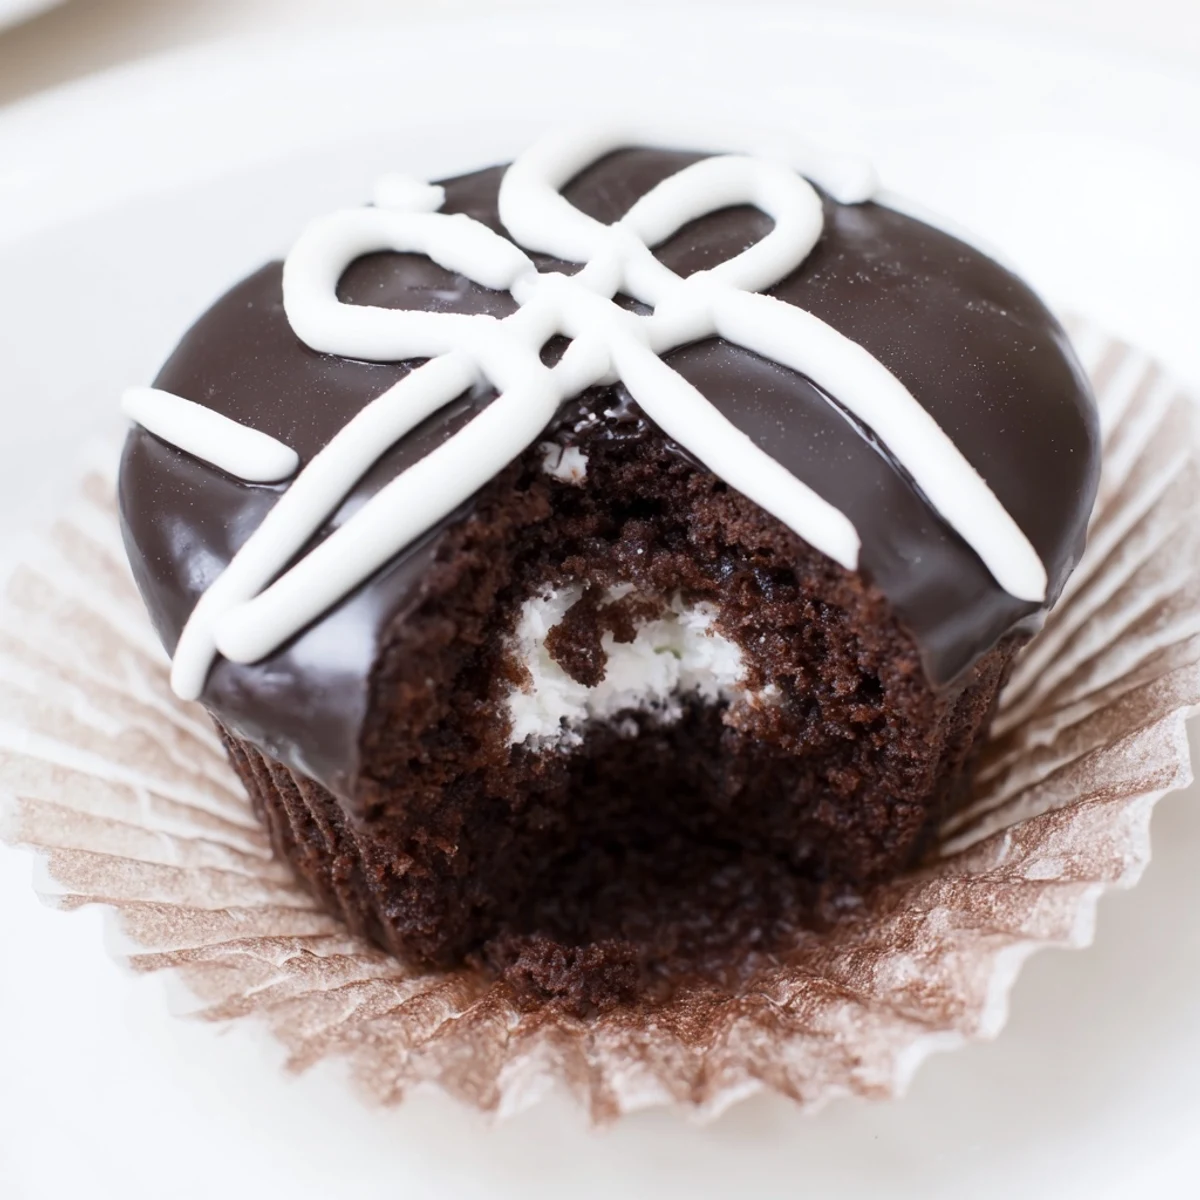
- → How do I get the cream filling inside the cupcakes?
-
Use a small knife or cupcake corer to remove a small portion from the center of each cooled cupcake. Fill the hole with marshmallow cream filling using a piping bag, then replace the removed top before glazing.
- → Can I make the cupcakes ahead of time?
-
Yes, these cupcakes store well in the refrigerator for up to 3 days. Let them come to room temperature before serving for the best texture and flavor.
- → Why is my cupcake batter so thin?
-
The batter will be thin due to the addition of hot water, which is completely normal. This ensures a moist, tender crumb. Just pour it carefully into the liners and bake as directed.
- → What type of cocoa powder works best?
-
Either natural or Dutch-processed cocoa powder works well. Dutch-processed will give a deeper, richer chocolate flavor and darker color to the cupcakes.
- → How do I make the white icing swirl?
-
Mix powdered sugar with a small amount of milk until smooth and pipeable. Transfer to a piping bag with a fine tip or a zip-top bag with a tiny corner snipped off. Pipe thin swirls across the top of each glazed cupcake.
- → Can I flavor the cream filling differently?
-
Absolutely. Add a few drops of almond, coconut, or peppermint extract to the marshmallow filling for a delicious twist on the classic vanilla flavor.