 Pin It
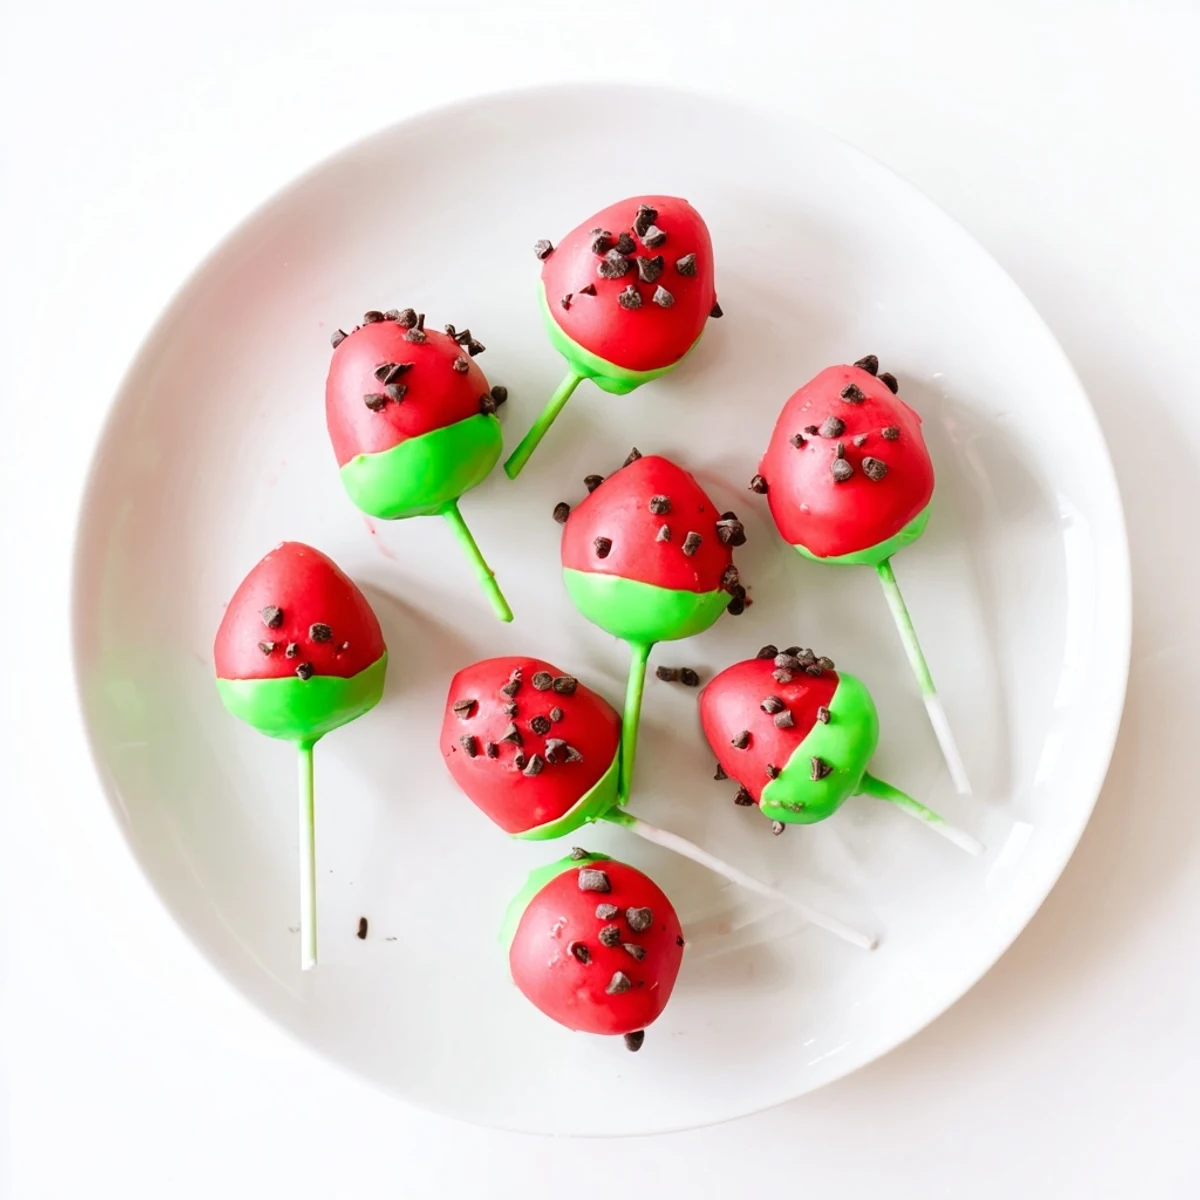
 Create adorable bite-sized treats that look exactly like watermelon slices. These moist vanilla cake balls are mixed with creamy frosting, shaped into teardrop forms, and coated in vibrant pink candy melts. Mini chocolate chips add realistic seeds, while a green candy bottom creates the classic rind. Ready in just one hour, these handheld desserts are ideal for summer parties, picnics, and celebrations.
The July heat wave had everyone craving something that felt like sunshine itself. My niece had been begging me to make something that looked like her favorite fruit, and after seeing those bright little watermelon-shaped treats on social media, I knew exactly what we'd attempt. We ended up with pink candy melt splatters all over the kitchen counter, but watching her eyes light up when the first one came together made every sticky moment worth it.
Last summer I made these for my daughters birthday party and they disappeared faster than anything else on the menu. Parents kept asking how I managed to make something so cute that actually tasted like real cake instead of just sugary decoration. The kids were fascinated by how much they looked like actual watermelon slices even though they were completely edible and surprisingly not too sweet.
Ingredients
- Vanilla cake mix or homemade cake: Starting with a completely cooled cake is essential since warmth makes the frosting melt into a gloppy mess that wont hold shapes
- Cream cheese and butter: Room temperature ingredients blend into a silky frosting that holds the cake crumbs together without making the mixture too dense
- Powdered sugar: This sweetens the frosting while helping stabilize it so your cake pops keep their form
- Pink or red candy melts: These create that instantly recognizable watermelon look and the candy coating seals in moisture
- Green candy melts: The essential rind detail that makes these pop visually and adds a nice color contrast
- Mini chocolate chips: These become the watermelon seeds and add a little chocolate surprise in every bite
Instructions
- Bake your cake base:
- Prepare the vanilla cake according to package directions or your favorite recipe then let it cool completely. Even a slight warmth will cause problems later.
- Whip up the frosting:
- Beat together the cream cheese butter powdered sugar and vanilla until completely smooth. This should take about 2 minutes on medium speed.
- Create the cake pop mixture:
- Crumble your cooled cake into fine crumbs in a large bowl then add frosting gradually. You want a texture that holds together when squeezed but still feels moist.
- Shape them like watermelon slices:
- Roll the mixture into 24 even balls then gently press each one into a slightly flattened teardrop shape. Think of a rounded triangle rather than a perfect sphere.
- Prepare the sticks:
- Melt a small portion of green candy melts then dip just the tip of each lollipop stick before inserting into the cake pops. This step keeps everything from sliding off later.
- Freeze briefly:
- Chill the cake pops in the freezer for 20 minutes to firm them up before coating. They should be firm but not frozen solid.
- Add the pink watermelon coating:
- Melt the pink candy melts with a tiny bit of oil to reach a smooth consistency. Dip each cake pop letting excess drip off then immediately press chocolate chips into the wet surface.
- Create the green rind:
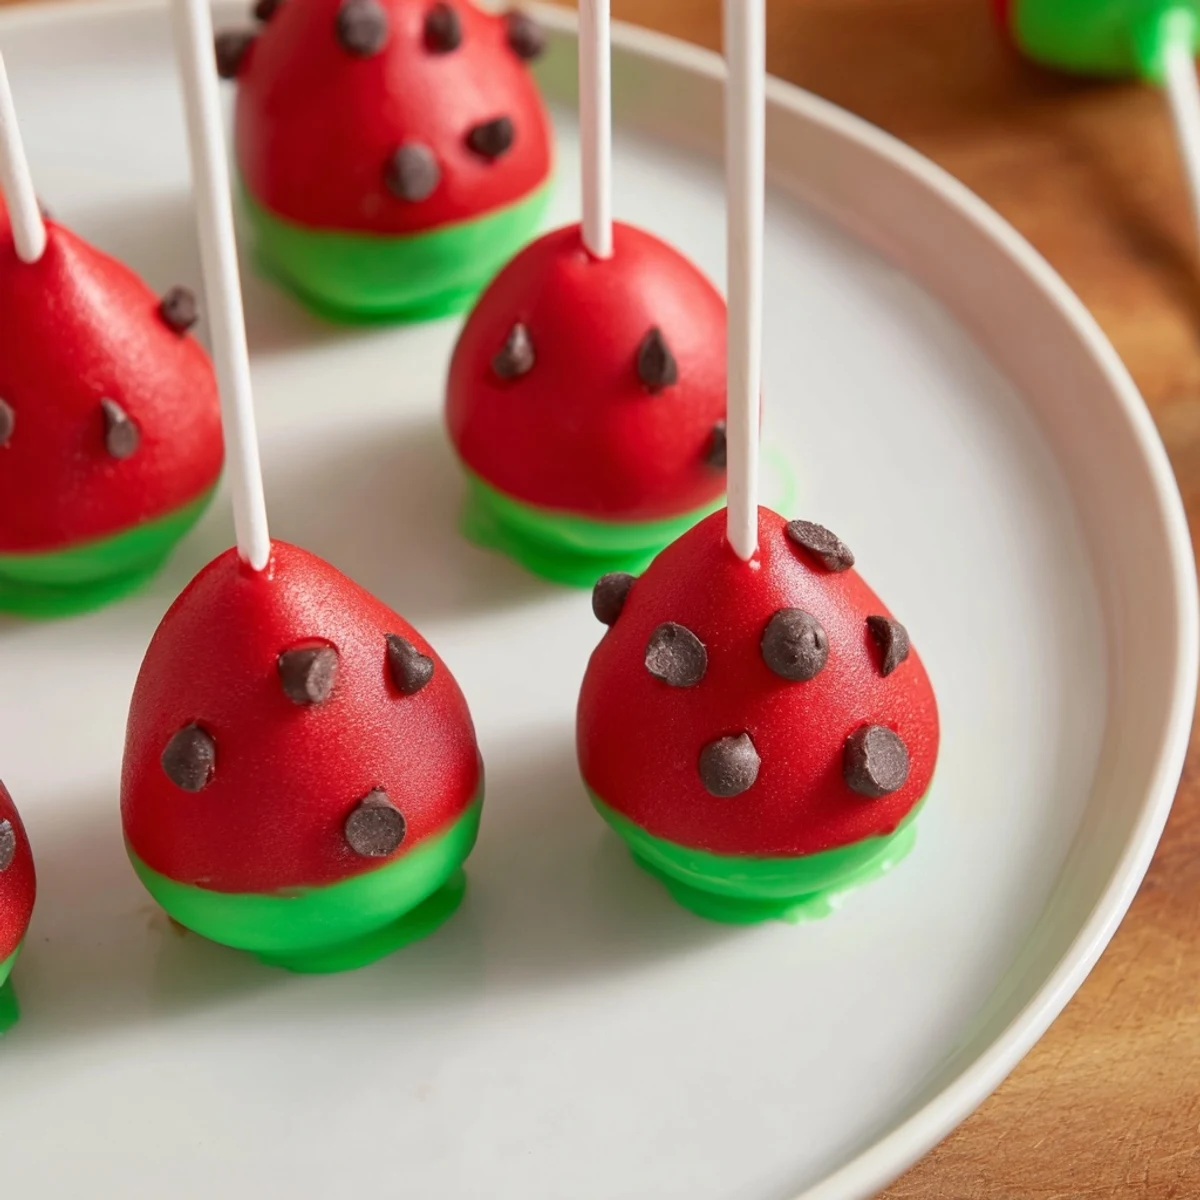
- Melt the green candy melts and carefully dip just the bottom portion of each pop. Stand them upright in a cake pop holder or styrofoam block until completely set.
 Pin It
 My daughter now requests these for every summer gathering and has started suggesting different fruit variations we could try. Her friends actually recognize them now when she brings them to school events and ask if her mom can make them for their birthdays too. Theyve become our signature summer treat.
Getting That Watermelon Shape
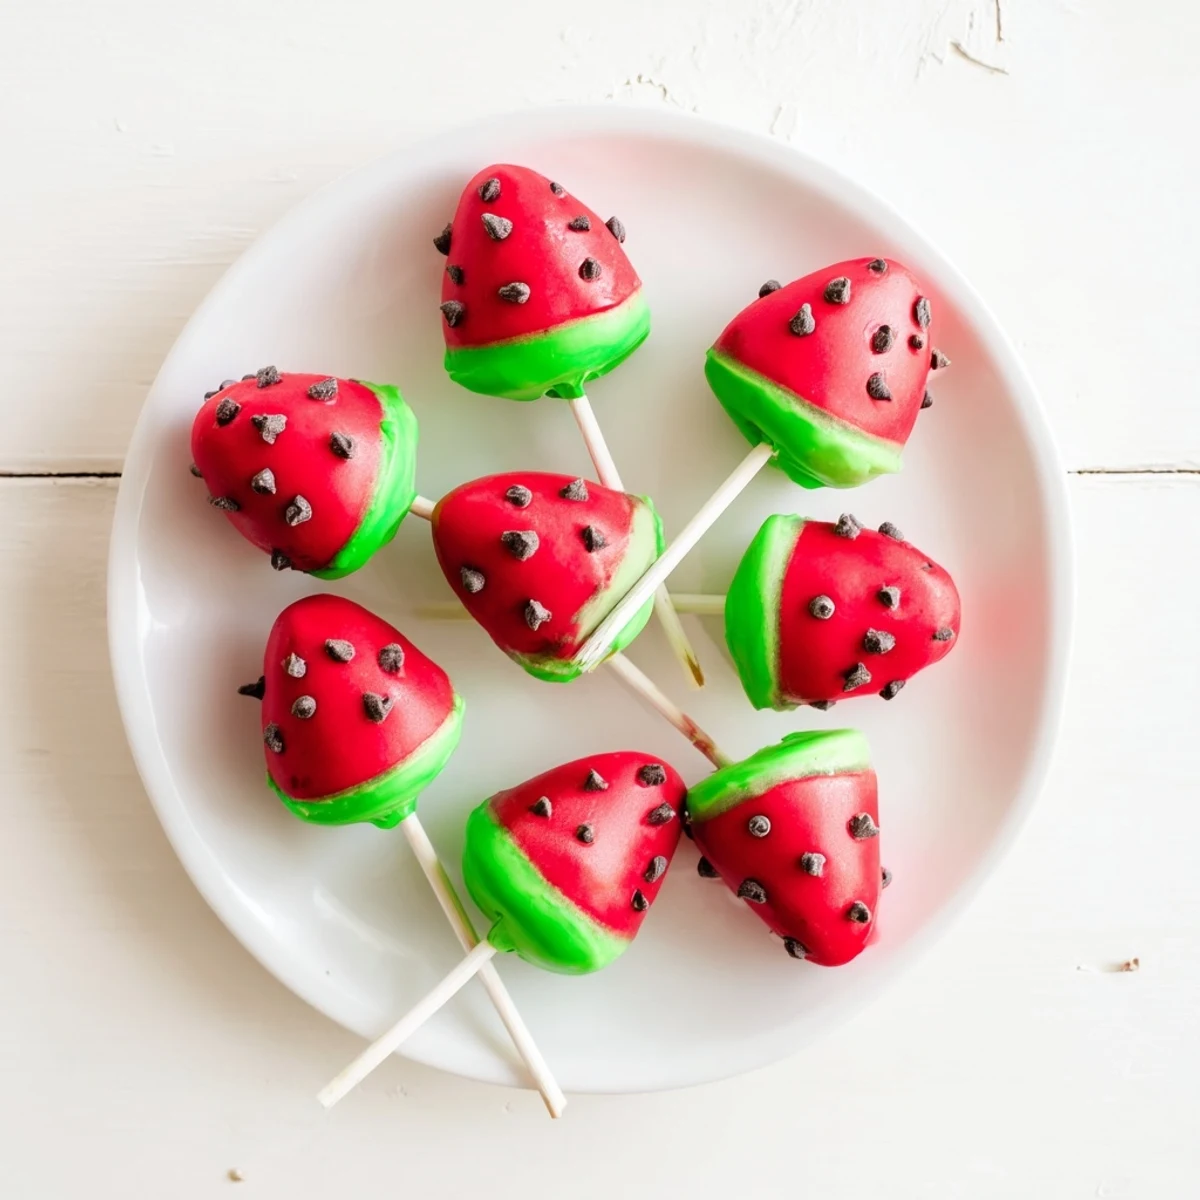
The teardrop shape might feel tricky at first but I found that gently pressing the sides while rolling the ball creates that natural watermelon slice curve. Dont worry about perfection since the real fruit has irregular shapes anyway and that adds to the charm.
Working With Candy Melts
Candy melts can be temperamental and suddenly thicken up while youre working. Keeping a small bowl of vegetable oil nearby lets you thin them back to a dippable consistency without starting over or wasting your precious coating supplies.
Storage And Transport Tips
These cake pops actually taste better after chilling for a few hours since the flavors have time to meld together.
- Store them upright in an airtight container with wax paper between layers
- They can stay fresh in the refrigerator for up to a week
- For transporting consider using a flat bottomed cup with rice or beans to hold them steady
 Pin It
 Theres something genuinely satisfying about biting into these and finding that creamy center beneath the crisp candy shell. Hope they bring a little summer joy to your kitchen too.
Recipe FAQs
- → How long do these watermelon-shaped treats stay fresh?
-
Store in an airtight container at room temperature for up to 3 days. For longer freshness, refrigerate for up to a week, though the coating may develop condensation when brought to room temperature.
- → Can I make these ahead of time for a party?
-
Absolutely! Prepare and shape the cake balls up to 2 days in advance, keeping them refrigerated. Coat and decorate the day of your event for the best appearance and texture.
- → What if my cake mixture is too crumbly or sticky?
-
If too dry, add frosting one teaspoon at a time. If too sticky, chill the mixture for 15-20 minutes before rolling. The texture should hold its shape when rolled into balls.
- → Can I use homemade cake instead of cake mix?
-
Yes! Any vanilla cake recipe works perfectly. Just ensure it's completely cooled before crumbling—warm cake will make the mixture too soft to shape properly.
- → Do I need special equipment for dipping?
-
Deep microwave-safe bowls make dipping easier. A cake pop stand or styrofoam block helps them set upright. If unavailable, invert an egg carton and poke holes for the sticks.