 Pin It
 Make a soft enriched dough, let it rise until doubled, then divide into 12 balls. Fill each with garlic butter, shredded mozzarella and Parmesan, seal and proof briefly. Bake until golden, then brush with garlic butter and scatter parsley. Ready in about 1 hour 50 minutes including rising; serve warm alongside soups, pasta, or a brunch spread.
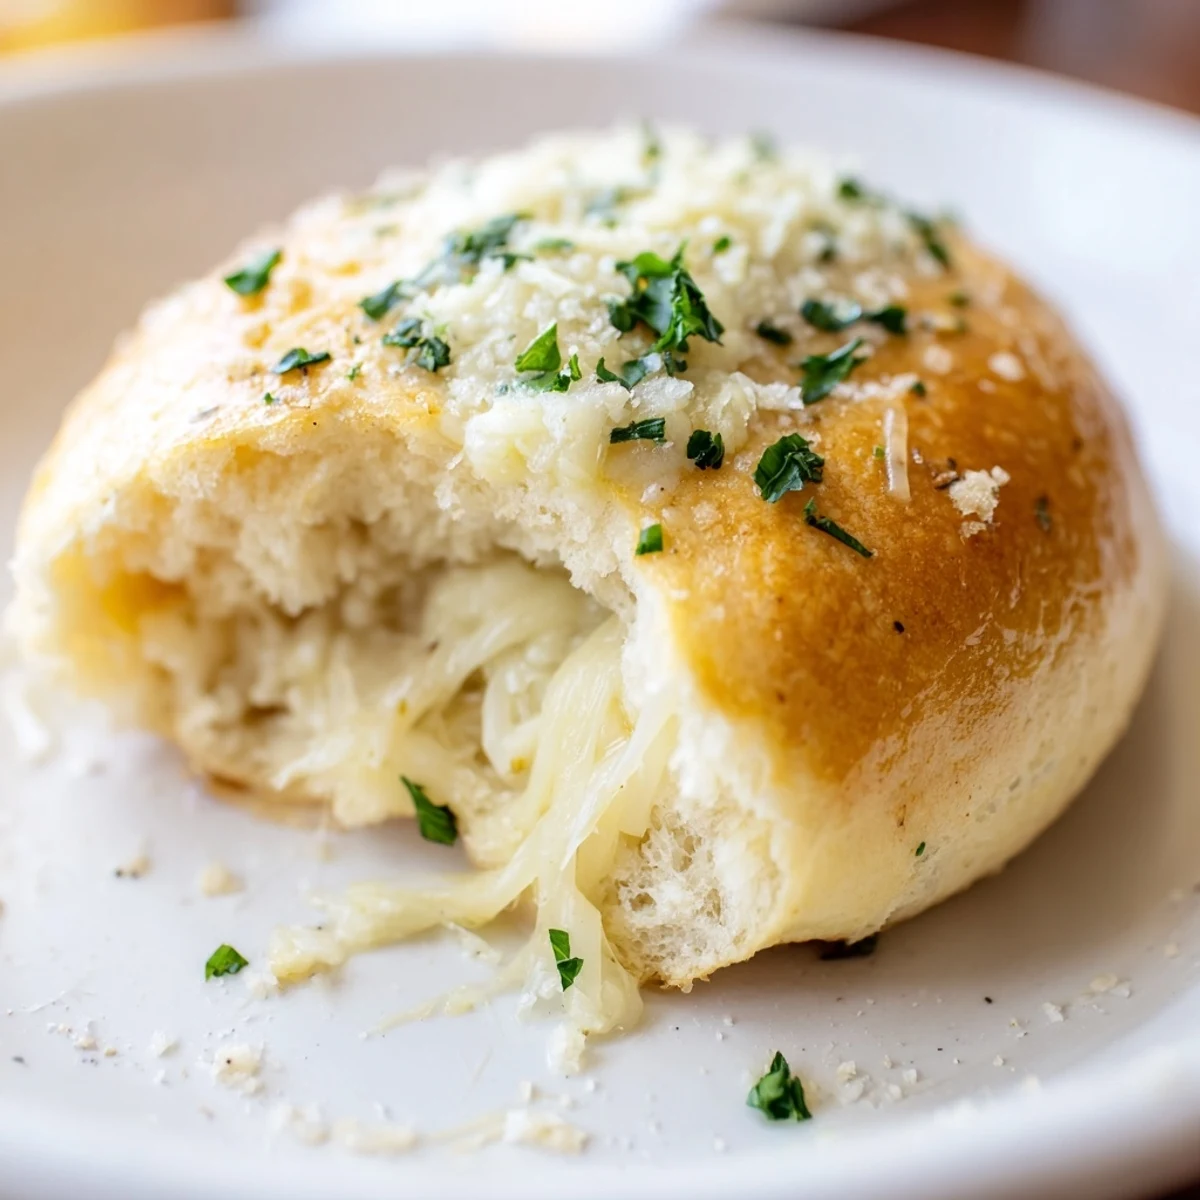
Some recipes immediately fill the kitchen with that particular warmth you can almost taste before the food even comes out of the oven. The first time I tried making these buttery cheese garlic rolls, my neighbor wandered in drawn purely by the aroma, joking that I should install a bakery sign over my door. What I love most is that moment when you break a roll open and the steam lifts a cloud of garlicky, cheesy perfume. There's something deeply comforting about baking bread that's so easy to share and even easier to devour.
When I made these for my book club, no one could focus on the story until the last roll disappeared. Someone actually asked if we could skip dessert and just eat another batch instead. Kitchen conversations just seem lighter and funnier when there’s a tray of these nearby. Now, friends offer to bring wine as long as I promise the rolls make an appearance.
Ingredients
- All-purpose flour: The foundation of pillowy, tender rolls—sift it if you want extra lightness.
- Active dry yeast: Proofing it properly ensures cloud-like bread; don’t rush this step.
- Sugar: Just enough to awaken the yeast and balance all the savory goodness.
- Salt: Adds depth; I once forgot it and wondered why the batch tasted flat.
- Warm milk: Kickstarts the dough and keeps things rich—lukewarm is the sweet spot, not hot.
- Unsalted butter: Soft in the dough, melted for the filling and topping—never skimp, this is what “buttery” means.
- Egg: Binds, enriches, and gives the rolls their sunny hue.
- Garlic (fresh): Mince it just before using for that sharp bite; bottled never measures up.
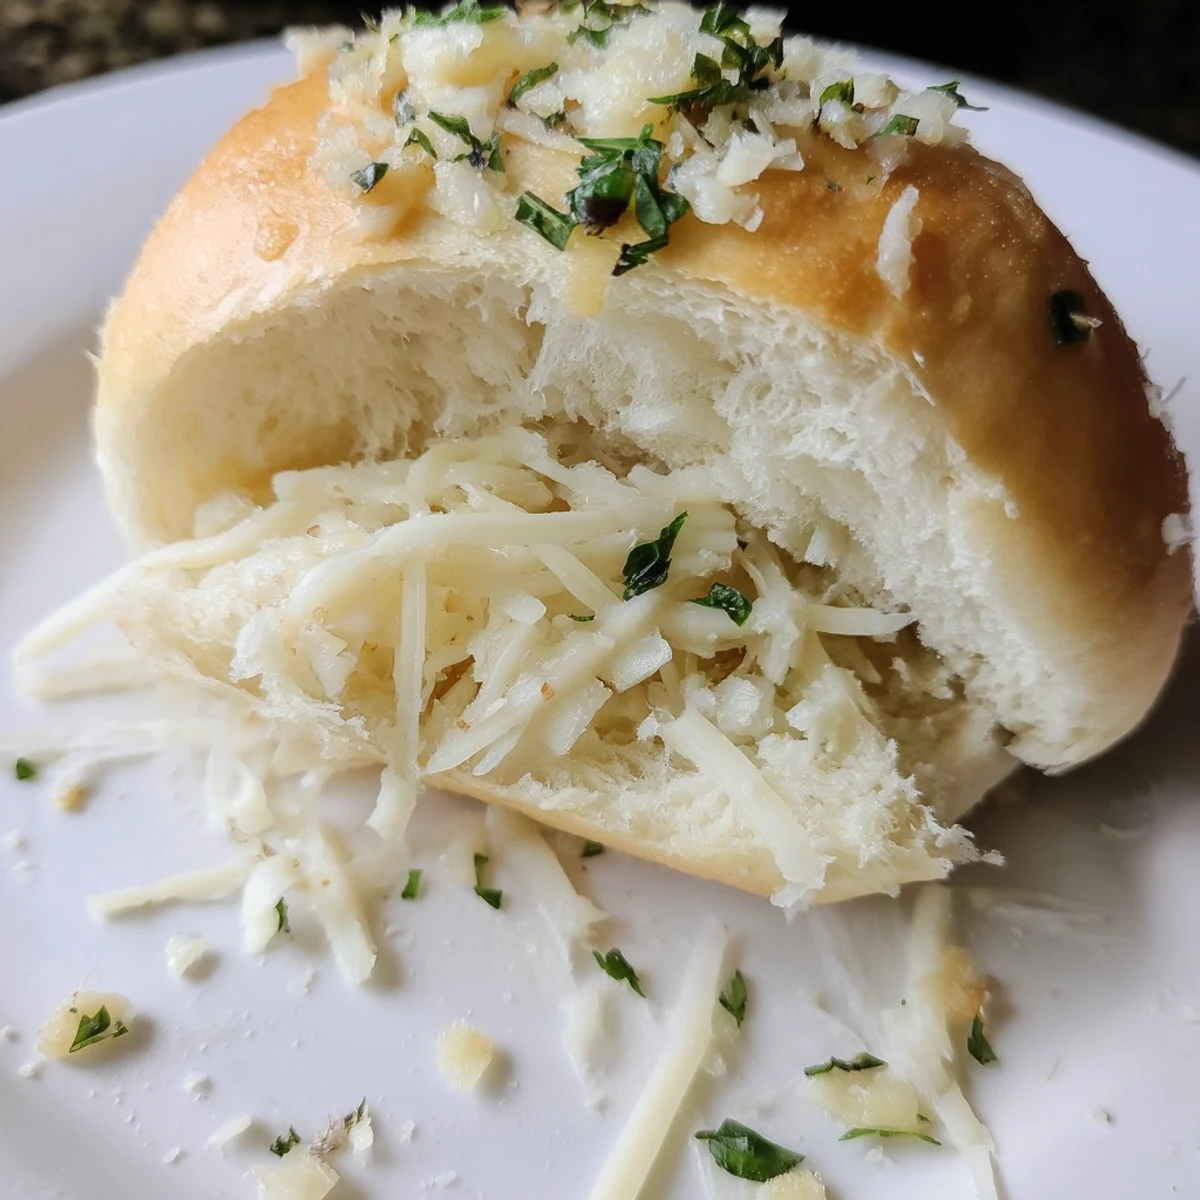
- Mozzarella cheese (shredded): For those long, gooey pulls—don’t be shy with it.
- Parmesan cheese (grated): The coup de grâce for flavor; use real Parmesan if you can.
- Fresh parsley (optional): Chopped and sprinkled, it gives the rolls a burst of color and freshness.
- Dried Italian herbs (optional): I love adding these for a subtle earthy lift.
Instructions
- Get that yeast going:
- In your biggest mixing bowl, stir warm milk, sugar, and yeast and wait for the mixture to get frothy, like the top of a cappuccino—this is yeast showing off.
- Build the base:
- Add in softened butter, the egg, and salt, mixing gently until just combined; it’ll look silky and a little messy.
- Add the flour, make the dough:
- Scoop flour in gradually, stirring and then kneading with floured hands or a dough hook until the dough feels smooth and slightly tacky but not sticky.
- First rise:
- Place dough in a greased bowl, flip once to coat, and cover—leave it somewhere cozy until it puffs up and doubles, usually about an hour.
- Prepare your blissful filling:
- Mix melted butter with minced garlic, mozzarella, Parmesan, parsley, and herbs—the scent alone is reason enough to keep going.
- Shape and fill:
- After punching down the dough, cut it into 12 equal pieces; flatten each, pile on filling, and pinch closed—don’t be afraid to use your fingers generously here.
- Second rise:
- Line up the filled balls seam-side down on a tray, cover loosely, and let them puff up for about 25-30 minutes (they’ll look chubbier).
- Bake to golden perfection:
- Bake at 180°C (350°F) for 20-25 minutes, until they’re golden brown and your kitchen smells completely unfair to your neighbors.
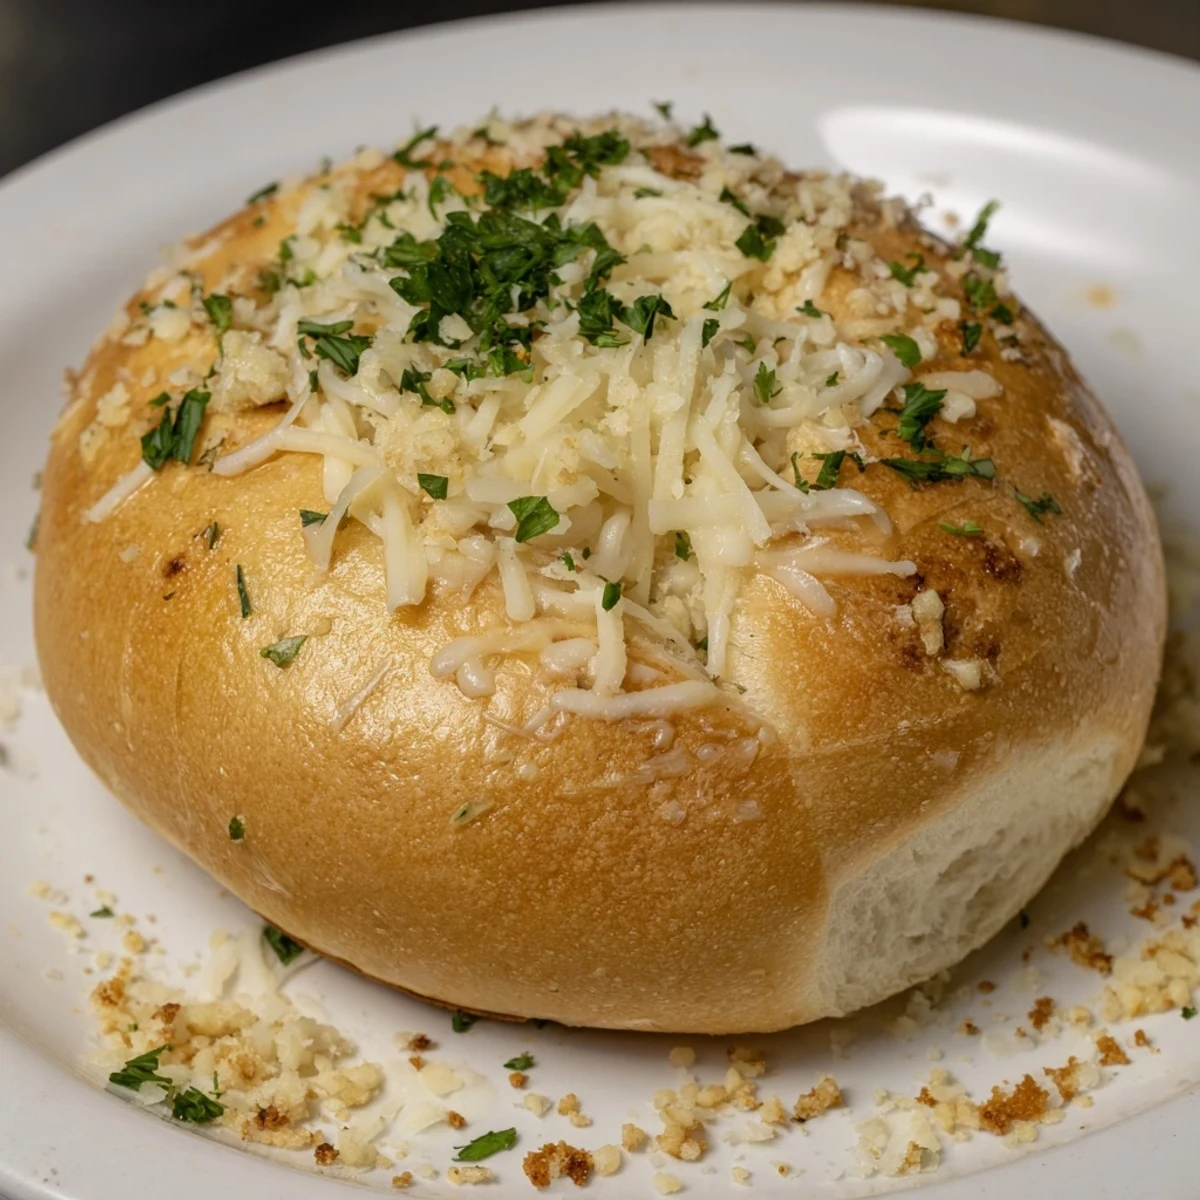
- Final flourish:
- Brush the tops with garlicky melted butter as soon as they come out, then sprinkle with extra parsley if you like a burst of green.
 Pin It
 There was an afternoon when my sister tried these straight out of the oven and quietly swiped another before anyone else noticed. That was when I realized these weren’t just bread—they were a reason for people to linger a little longer and laugh a little louder around the counter. It felt like magic, watching the tray empty faster than I could refill it. That gentle clatter and chatter stays with me every time I make them now.
Choosing Your Cheese and Herbs
Swapping in cheddar, fontina, or even a sharp provolone brings out a different personality in each batch. Fresh mozzarella gives longer stretches, but a firm block holds up well with the buttery garlic. I once tossed in a pinch of chili flakes on a whim, and it took the flavor up a notch—don’t be afraid to riff with what you have. Parsley freshens things up, but basil or oregano work just as well if that’s what’s in your crisper.
Making the Dough Your Own
Your dough will let you know how it’s feeling: if it’s sticky, sprinkle in an extra spoonful of flour and knead gently; if it’s too dry, a teaspoon of milk brings it back. After the first rise, don’t rush—taking time lets the texture become airy and light. Sometimes I let the dough proof near a sunny window, and it seems to reward me with extra fluffiness. Even a little patience here pays off big time in pillowy rolls later.
Serving and Storage Ideas
These rolls are at their best warm, with each bite releasing a little barley-sweet steam and gooey cheese. Leftovers (if any) toast up beautifully for breakfast or dunking in tomato soup. For parties, I sometimes double the batch and freeze half for a rainy day.
- Reheat directly from the freezer in a hot oven for fresh-from-the-bakery taste.
- Pair with a sharp salad or any tomato pasta to balance the richness.
- Always reserve a few for your own after-dinner snack—you’ll thank yourself later.
 Pin It
 I hope this batch brings as much contented silence and delighted grins to your table as it does to mine. Sometimes a simple pan of hot, golden rolls is really all anyone needs to turn any meal into an occasion.
Recipe FAQs
- → How do I keep these rolls soft after baking?
-
Brush the tops with melted butter while hot and store cooled rolls in an airtight container or wrapped in a clean towel. Reheat briefly in a low oven to refresh the crumb and restore softness.
- → Can I make the dough ahead of time?
-
Yes. After the first rise, refrigerate the dough for up to 24 hours to develop flavor. Bring it back to room temperature before shaping, then proceed with filling, proofing, and baking.
- → What are good cheese substitutions?
-
Swap mozzarella for provolone or fontina for similar melt and stretch; substitute Pecorino or Grana Padano for Parmesan to vary flavor intensity. Balance stronger cheeses with a milder melting cheese.
- → How can I prevent filling leakage while baking?
-
Seal edges firmly by pinching or folding the dough to eliminate gaps. Chill shaped rolls briefly before the final proof if the filling feels too soft, and avoid overfilling each ball.
- → Is freezing an option and how should I reheat?
-
Freeze baked rolls in a single layer then transfer to a sealed bag for up to 3 months. Reheat from frozen in a low oven until warmed through, or thaw overnight then refresh in a 180°C (350°F) oven for a few minutes.
- → Any tips to boost flavor?
-
Add a pinch of chili flakes to the filling for heat, fold in finely chopped roasted garlic for depth, or finish with a sprinkle of flaky sea salt and fresh parsley for brightness.