 Pin It
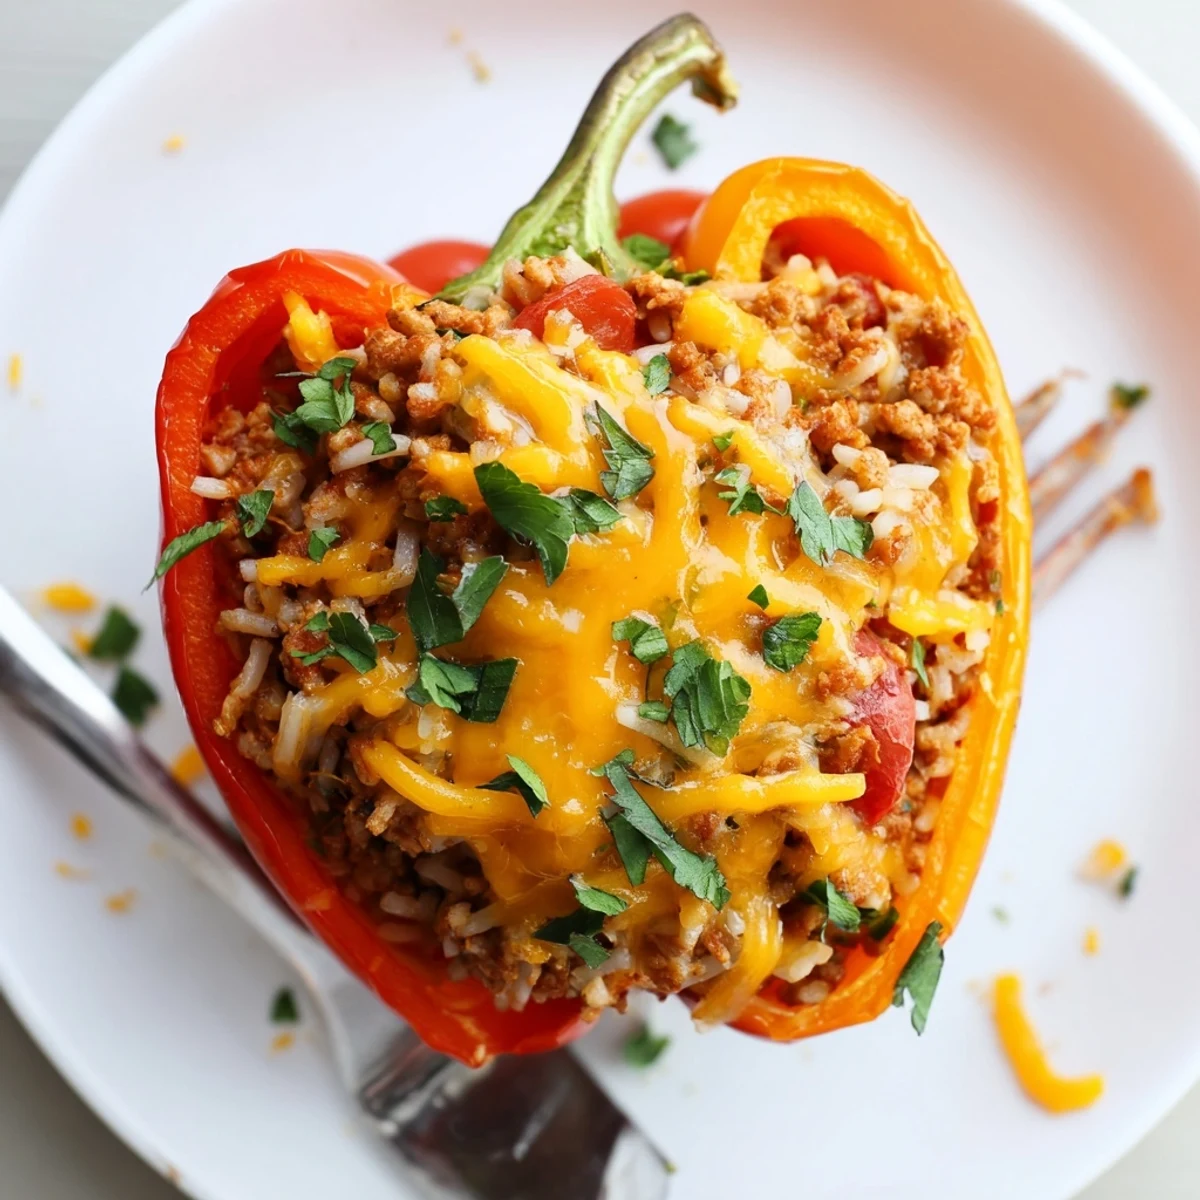
 This dish features vibrant bell peppers filled with a savory mixture of ground turkey, diced tomatoes, cooked rice, and aromatic herbs. The filling is sautéed with onion, garlic, oregano, and paprika, then stuffed into hollowed peppers. Baked until tender and optionally topped with melted cheese, it offers a colorful, satisfying meal that’s both nutritious and easy to prepare. Garnishing with fresh parsley adds brightness and a fresh finish to the dish.
There's something about the sizzle of ground turkey hitting a hot pan that still makes me smile, especially when I'm cooking for people who need something hearty but aren't expecting it to taste this good. These stuffed peppers came into my life on a random Tuesday when I had those four bell peppers sitting in my crisper drawer and absolutely no inspiration, so I grabbed what I had—turkey, rice, some garlic—and just started building. The house filled with the most incredible smell, and by the time they came out of the oven, I knew I'd stumbled onto something I'd make again and again.
I'll never forget when my neighbor peeked over the fence and asked what I was making because the aroma had drifted right into her garden. I sent her home with an extra pepper, and she came back the next week asking for the recipe—that's when I knew this wasn't just dinner, it was the kind of dish that brings people together.
Ingredients
- Bell peppers (4 large, any color): Pick whatever colors call to you at the market—red ones are sweeter, yellows are milder, and greens have a slight bite that plays beautifully with the turkey filling.
- Ground turkey (500 g): The leanness is what makes this work, but don't skip browning it properly or it'll stay pale and taste sad.
- Rice (1 cup cooked): White rice soaks up all the flavors, but brown rice adds a nuttiness that's worth the extra texture.
- Onion and garlic (1 small onion, 2 cloves): The holy duo that makes everything taste like you actually know what you're doing in the kitchen.
- Diced tomatoes (1 cup): Canned tomatoes work just fine here and honestly save you time, but fresh ones in summer are a completely different animal.
- Olive oil (2 tablespoons): Use something you actually like tasting, not the cheapest bottle on the shelf.
- Dried oregano and paprika (1 teaspoon each): These are your flavor anchors—they're what make this taste like comfort, not just food.
- Salt and black pepper (1/2 teaspoon and 1/4 teaspoon): Taste as you go because every pepper is a little different, and you want yours to be perfect.
- Mozzarella or cheddar cheese (1/2 cup, optional): Completely optional but if you add it, the top gets this golden, melty crust that's absolutely worth the few extra minutes of baking.
- Fresh parsley (2 tablespoons, plus garnish): It looks pretty but also tastes fresh and green, cutting through all the warmth of the spices.
Instructions
- Get your oven ready:
- Heat your oven to 375°F (190°C) and let it preheat fully while you prep everything else—this matters more than people think.
- Prepare the peppers:
- Slice the tops off your peppers and scoop out every seed and white membrane, running your knife along the inside walls. They should look like little cups ready to hold treasure.
- Brown the turkey base:
- Heat olive oil in a large skillet over medium heat, add your chopped onion and minced garlic, and let them get soft and fragrant for a couple minutes. Listen for that gentle sizzle—it means everything's cooking right, then add your ground turkey and break it apart with a spoon as it browns, which takes about 6 to 8 minutes and you'll know it's done when there's no pink left.
- Build the filling:
- Stir in your diced tomatoes, cooked rice, oregano, paprika, salt, and pepper, then let it all hang out together for 2 or 3 minutes so the spices can actually do their job. Pull it off the heat and fold in your fresh parsley right at the end.
- Stuff and arrange:
- Spoon the filling into each pepper until it's mounding slightly at the top, then stand them upright in your baking dish like they're ready for a photo shoot. If you're using cheese, sprinkle it over the tops now.
- Add moisture and cover:
- Pour about 1/4 cup of water into the bottom of the baking dish—this keeps everything from drying out—then loosely tent the whole thing with foil.
- Bake low and slow:
- Bake covered for 30 minutes, then pull off the foil and bake another 10 minutes so the peppers get tender and the cheese (if you added it) turns golden and melts like it means it.
- Finish with flourish:
- Pull them out, let them sit for just a minute so they're not molten, then scatter extra fresh parsley on top like you planned this all along.
 Pin It
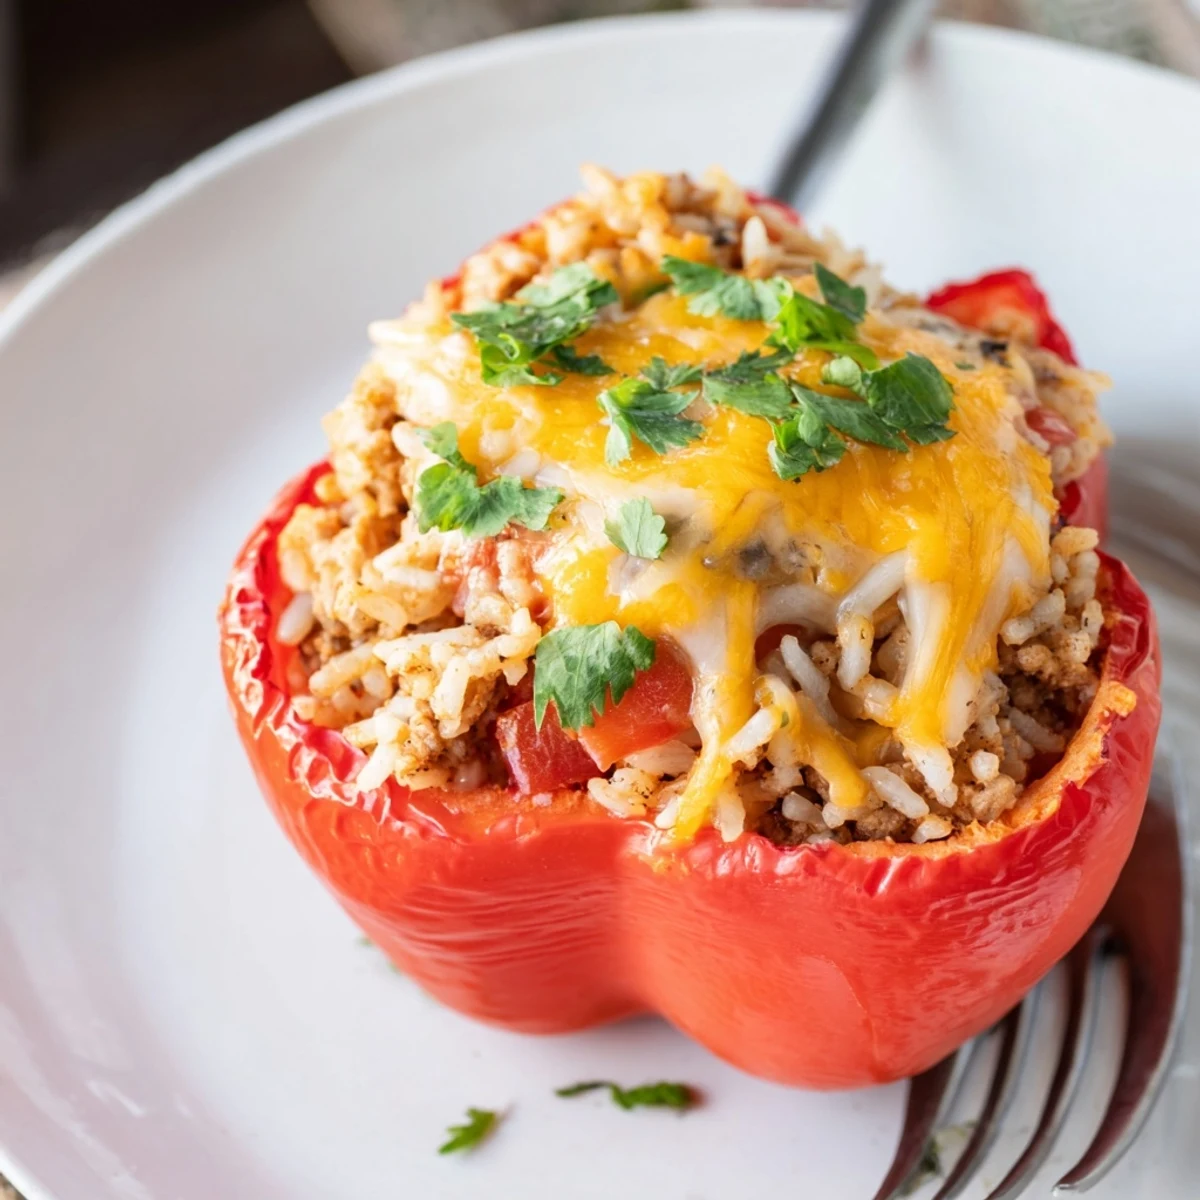
 What stays with me most is watching someone cut into one of these peppers and seeing all those layers—the tender pepper, the warm filling, the melted cheese if you went that route—it's like opening a present. That moment when someone takes a bite and their whole face just softens is exactly why I keep making these.
Why These Peppers Became My Go-To
I started making these because I needed something that felt special but didn't require me to stand at the stove for hours, and somehow they checked every box. They're the kind of dinner that looks like you fussed but honestly comes together while you're doing something else, and that's a rare thing to find. The best part is they taste exactly the same whether you make them on a hectic weeknight or when you have time to be thoughtful about it.
Making Them Your Own
Once you've made these once, you'll start seeing all the ways to bend them toward whatever you're craving that day. I've done quinoa instead of rice for a lighter feel, added spinach for color and nutrition, even drizzled tomato sauce over the top before baking when I wanted something saucier. The structure stays solid—it's the filling that gets to play, so don't be afraid to experiment once you know what the base feels like.
Serving and Storing
These taste incredible fresh and warm, but they also keep beautifully in the fridge for up to four days, which makes them perfect for meal planning or those nights when you need dinner but didn't cook. I like serving them alongside a crisp salad or with crusty bread to catch all the juices, and honestly they're just as good cold the next day straight from the fridge if you're in a hurry.
- Reheat in a 350°F oven for about 15 minutes covered with foil so they warm through without drying out.
- You can freeze these before baking and bake them straight from frozen, just add about 10 extra minutes to the baking time.
- Make them a day ahead to let all the flavors get to know each other better.
 Pin It
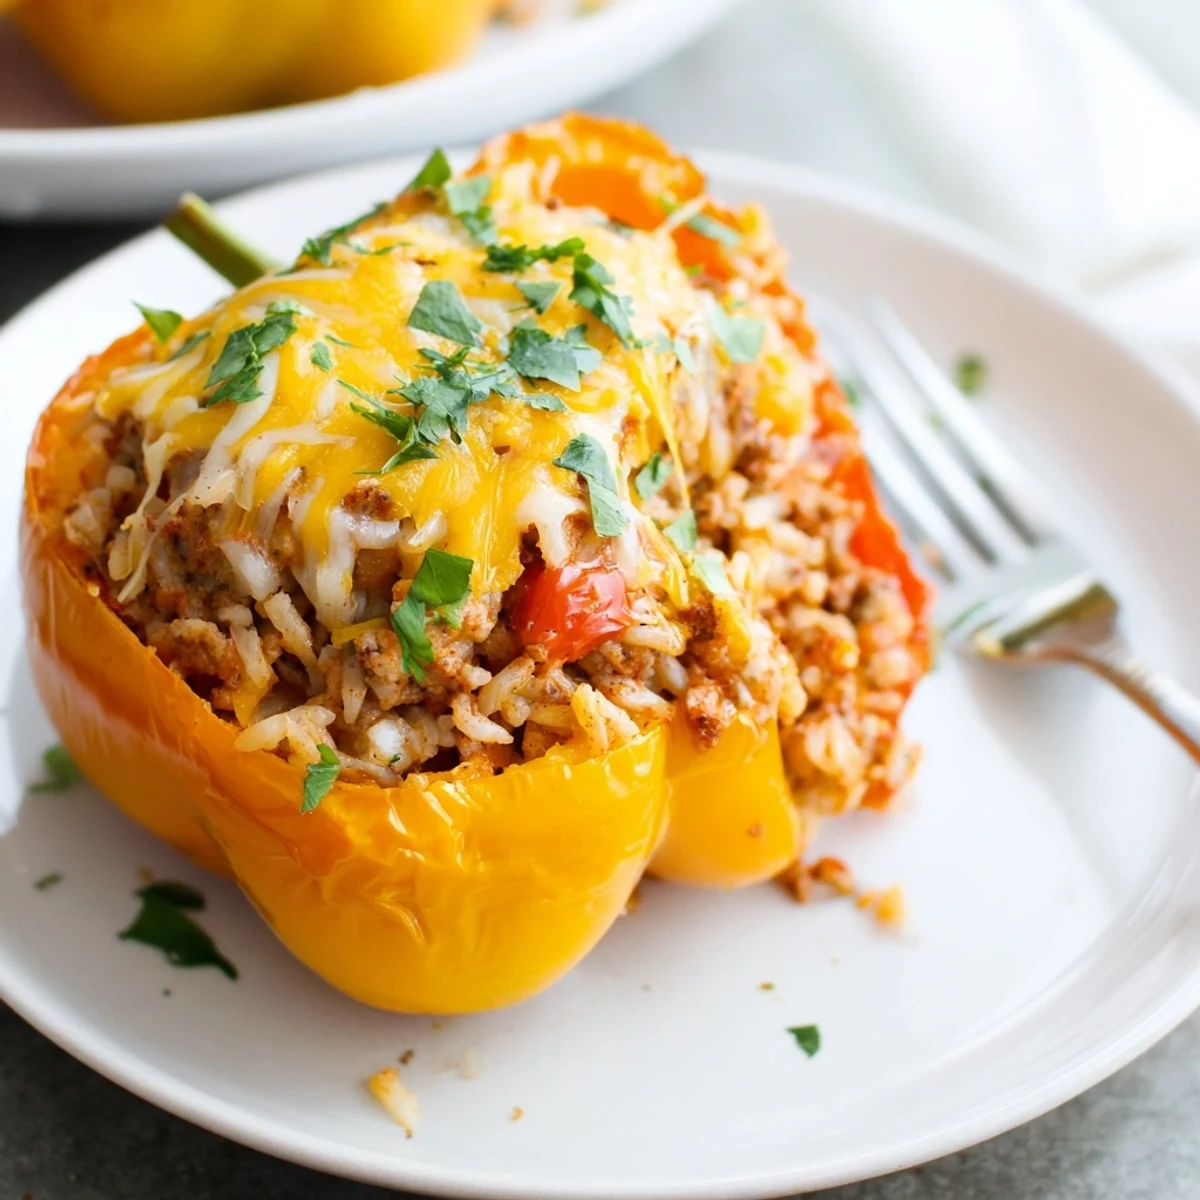
 There's something deeply satisfying about pulling a pan of these peppers out of the oven and knowing you've made something that tastes like care. I hope you love making them as much as I do.
Recipe FAQs
- → Can I use other grains instead of rice?
-
Yes, cooked quinoa or couscous can be used as alternatives to rice for a different texture and added protein.
- → How do I prevent peppers from drying out during baking?
-
Adding a splash of water to the baking dish and covering it loosely with foil helps keep peppers moist and tender.
- → Is it necessary to add cheese on top?
-
No, cheese is optional but adds a rich, golden finish when melted over the stuffed peppers.
- → Can I prepare the filling ahead of time?
-
Absolutely, the filling can be made in advance and stored in the refrigerator before stuffing the peppers and baking.
- → What herbs enhance the flavor of the filling?
-
Oregano, paprika, and fresh parsley provide a balanced and aromatic flavor profile to the turkey and vegetable mixture.