 Pin It
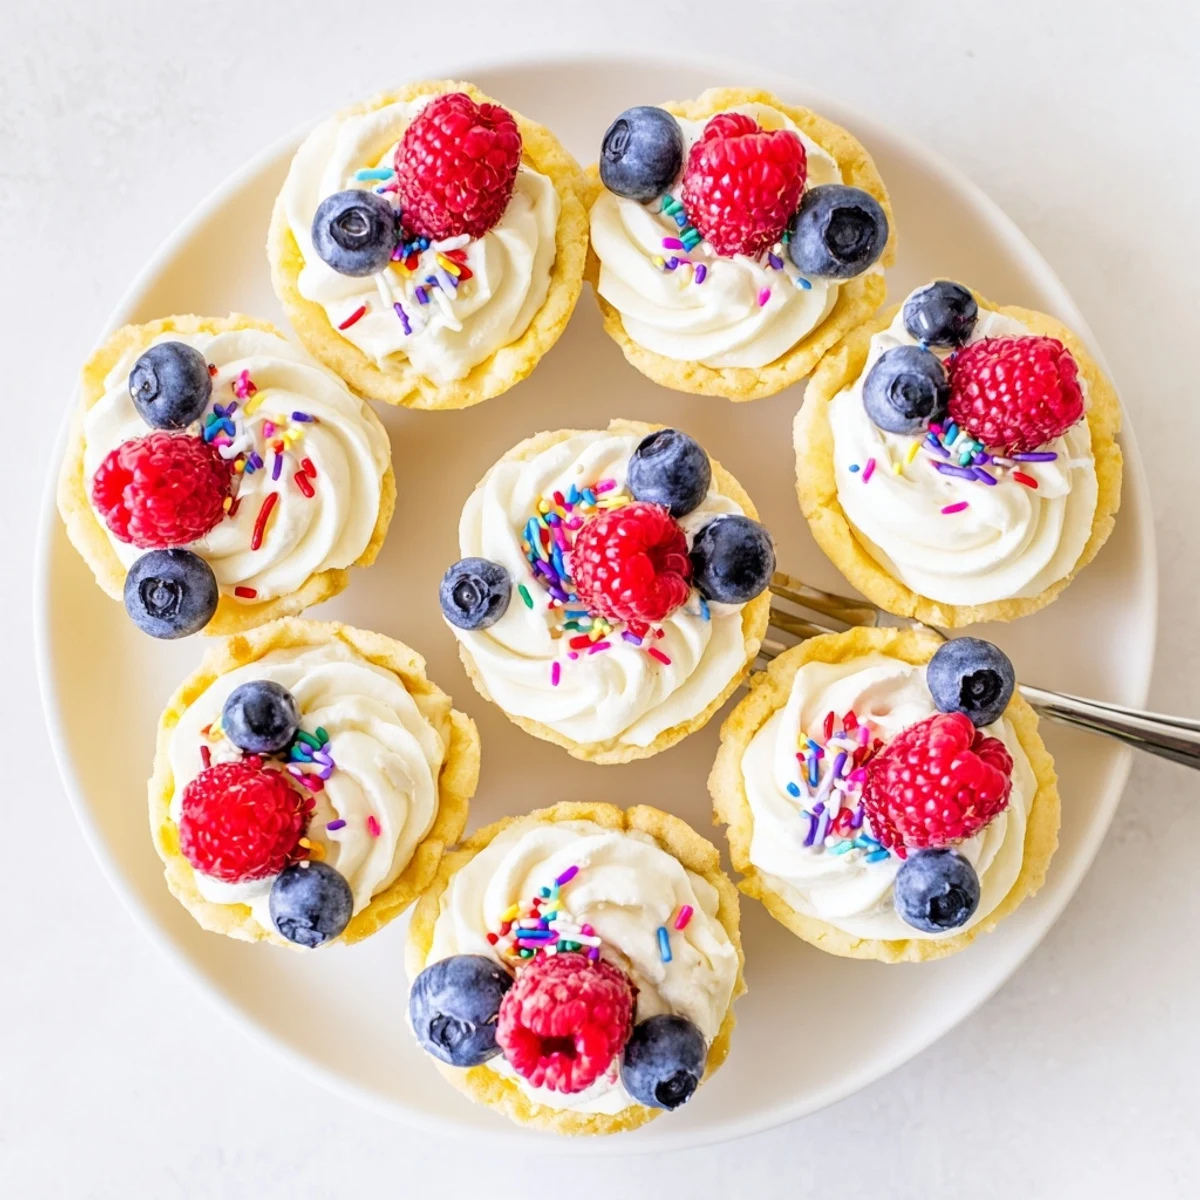
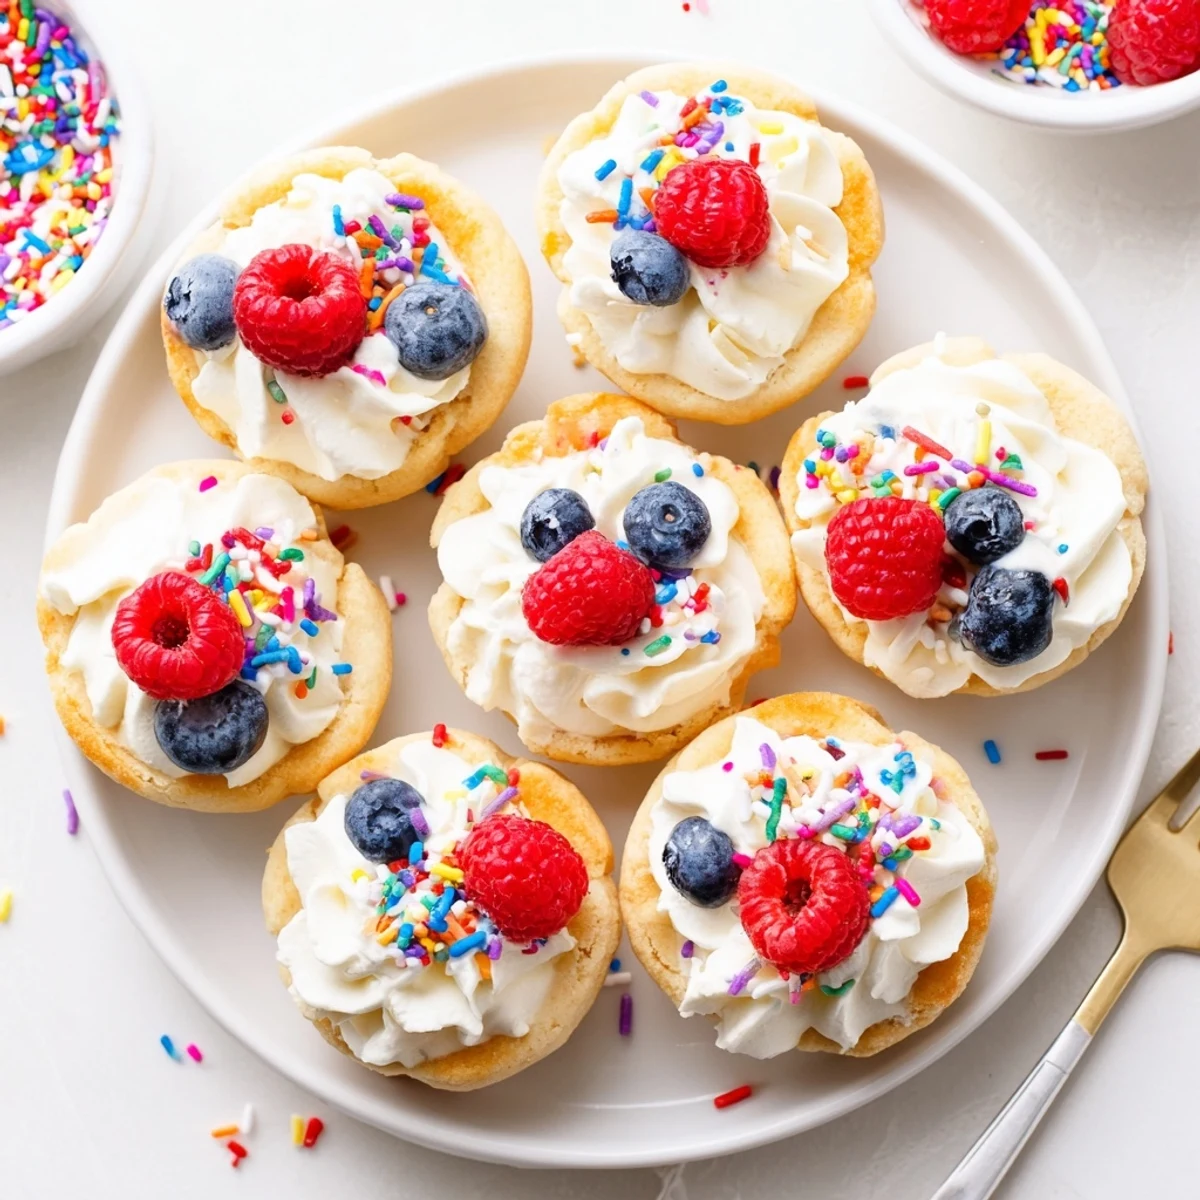
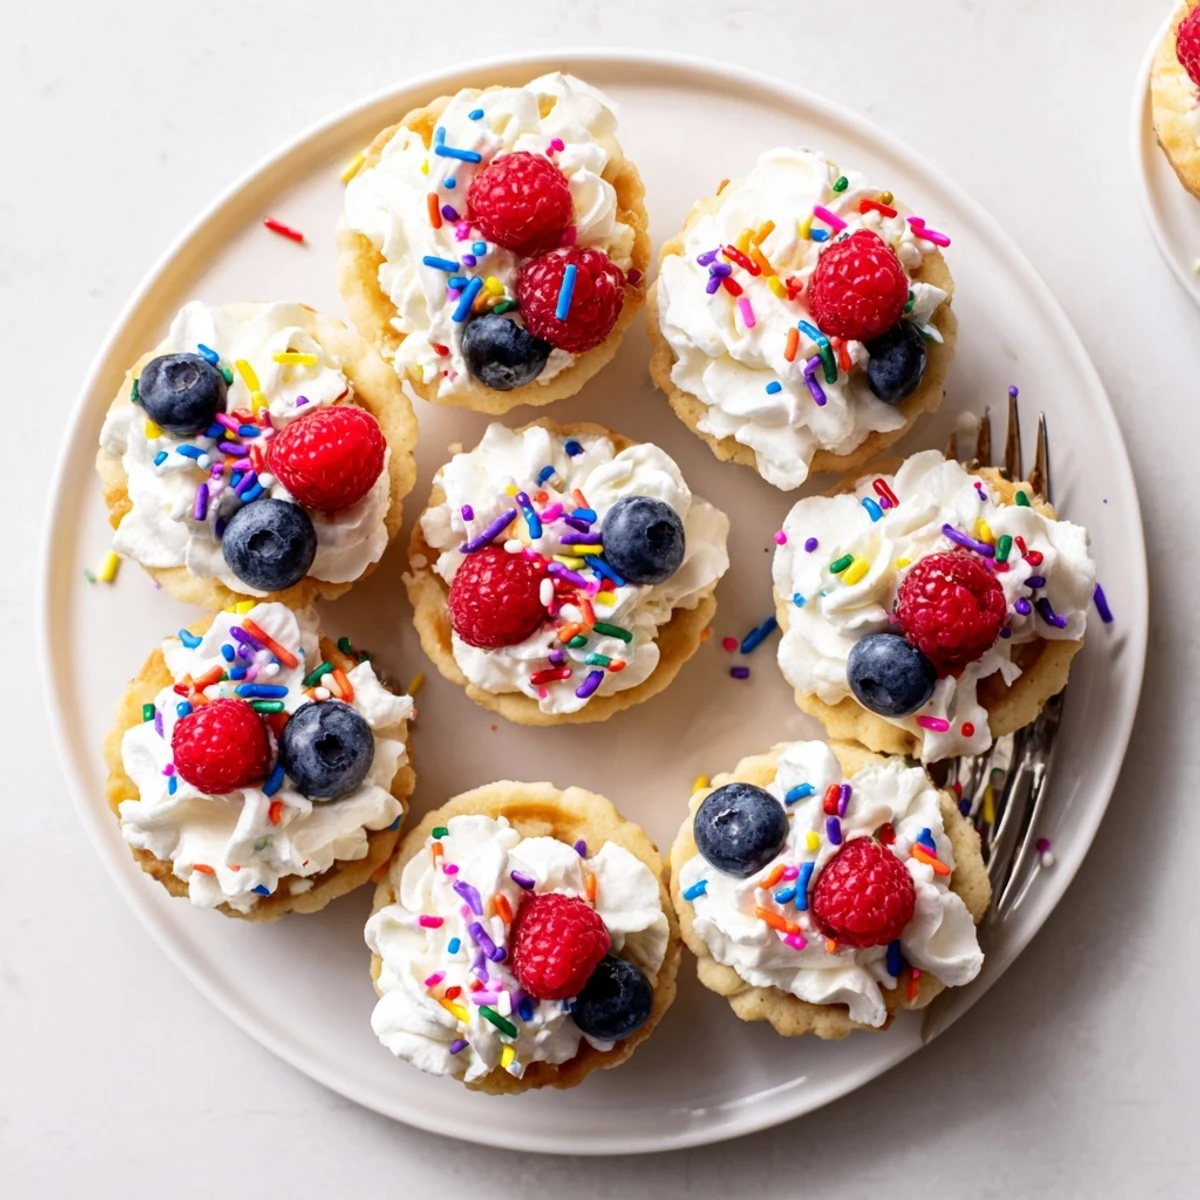
 These adorable sugar cookie cups combine the classic taste of homemade sugar cookies with a fun, portable shape. Baked in mini muffin tins, each cup features a tender, buttery cookie shell that's perfect for holding your favorite fillings. The vanilla-infused dough creates lightly golden edges with soft centers, while the whipped cream filling adds a rich, creamy contrast.
Top them with fresh berries for a pop of color and tartness, add sprinkles for festive occasions, or drizzle with chocolate ganache for an indulgent twist. These handheld treats are ideal for birthday parties, holiday gatherings, or as an after-school snack that both kids and adults will love reaching for.
The afternoon sun was streaming through my kitchen window when my neighbor Sarah popped over with her mini muffin tin, demanding we try something new for the block party. We ended up pressing sugar cookie dough into those tiny cups, and honestly? I've never seen something disappear so quickly at a gathering. Now I keep mini muffin tins stacked in my cupboard just for these moments.
Last summer, my niece Sophia helped me make a batch for her birthday, and she insisted we fill half with rainbow sprinkles cream and half with fresh strawberry compote. Watching her tiny hands carefully pipe the filling into each cup reminded me why cooking with kids is worth every extra minute of cleanup.
Ingredients
- 2 1/4 cups all-purpose flour: The foundation of that classic sugar cookie taste we all remember from childhood
- 1/2 tsp baking soda: Helps the cups hold their shape without puffing too much
- 1/2 tsp salt: Balances the sweetness and brings out the vanilla
- 3/4 cup unsalted butter, softened: Room temperature is nonnegotiable here for that perfect creamy texture
- 1 cup granulated sugar: Creates the crisp edges while keeping centers tender
- 1 large egg: Binds everything together and adds structure
- 2 tsp pure vanilla extract: Do not skimp on quality here because it makes all the difference
- 1 cup heavy cream, chilled: Whips into the most luscious filling that holds its shape beautifully
- 2 tbsp powdered sugar: Just enough sweetness to let the cream shine without overpowering
- 1/2 tsp vanilla extract: For the filling because vanilla on vanilla is never a bad idea
Instructions
- Get your oven ready:
- Preheat to 350°F and generously grease a 24-cup mini muffin tin because sticking is nobody's idea of a good time
- Whisk the dry team:
- Combine flour, baking soda, and salt in a medium bowl and set it aside for later
- Cream the butter and sugar:
- Beat them together for a solid 2 minutes until they look fluffy and pale like a cloud
- Add the egg and vanilla:
- Mix until everything is incorporated and the mixture looks smooth and glossy
- Bring it together:
- Gradually add those dry ingredients and mix just until you do not see flour anymore
- Shape your cups:
- Scoop about 1 tablespoon of dough into each muffin cup and press it up the sides like a tiny bowl
- Bake to golden perfection:
- Pop them in for 10 to 12 minutes until the edges are just barely golden
- Create that cup shape:
- While they are still warm, gently press the center with a spoon to deepen the well
- Cool completely:
- Let them hang out in the tin for 10 minutes before moving to a wire rack
- Whip the cream:
- Beat the heavy cream, powdered sugar, and vanilla until stiff peaks form
- Fill and decorate:
- Pipe or spoon the cream into each cup and go wild with toppings
 Pin It
 My friend texted me at midnight after her first batch, asking if she could just eat the plain cups because she kept forgetting to actually fill them. There is something dangerously snackable about them even before the toppings happen.
Making Them Ahead
I have learned through trial and error that the cookie cups themselves store beautifully in an airtight container for up to three days. The filling is best done right before serving though, because moisture will eventually make those crisp edges get soft and sad.
Filling Ideas Beyond Cream
Lemon curd has become my spring go to, and chocolate ganache transforms these into something almost fancy. My personal favorite discovery was pressing a chocolate truffle into the center while they are still warm so it melts into a puddle of heaven.
Getting Creative with Colors
Food coloring in the dough creates the most stunning rainbow effects for birthday parties. I have also found that splitting the dough and making half chocolate and half vanilla creates a beautiful marbled look that adults seem to love just as much as kids.
- Add sprinkles to the dough before baking for a confetti surprise inside
- Brush the edges with egg white and dip in colored sugar for a sparkly rim
- Try pressing a candy into the bottom of each cup before baking
 Pin It
 These little cups have become my go to for everything from school bake sales to fancy dinner parties. There is something about individual portions that makes people feel special.
Recipe FAQs
- → How do I prevent the cookie cups from sticking to the muffin tin?
-
Lightly grease your mini muffin tin with butter or cooking spray before adding the dough. Allow the cups to cool in the tin for about 10 minutes after baking, then carefully run a small knife around the edges before transferring them to a wire rack. This helps them release cleanly without breaking.
- → Can I make the cookie dough ahead of time?
-
Yes, you can prepare the dough up to 2 days in advance and store it in the refrigerator wrapped tightly in plastic wrap. Let it soften slightly at room temperature for about 15-20 minutes before scooping into the muffin cups. The baked unfilled cups can also be stored in an airtight container for up to 3 days before filling.
- → What other fillings work well in these cups?
-
Beyond vanilla whipped cream, try filling these cups with lemon curd for a bright citrus twist, chocolate ganache for richness, cream cheese frosting, or even pastry cream. Fruit preserves like raspberry or strawberry also work beautifully. For a savory option, skip the sugar topping and fill with herbed cream cheese and smoked salmon.
- → Why do I need to press the centers again after baking?
-
During baking, the cookie dough naturally puffs up in the center. Gently pressing the warm centers with the back of a spoon helps reshape the cup indentation, creating more space for your fillings. This step ensures each cup has a deep well to hold plenty of whipped cream or other toppings without overflowing.
- → Can I freeze these cookie cups?
-
Yes, freeze the unfilled baked cups in a single layer on a baking sheet until firm, then transfer to a freezer-safe bag or container. They'll keep for up to 3 months. Thaw at room temperature for about an hour before filling. It's best to add fillings after thawing rather than freezing filled cups, as the fillings may separate or become watery.
- → How do I know when the cookie cups are done baking?
-
The cups are ready when the edges turn lightly golden and the centers appear set but still slightly soft, typically after 10-12 minutes at 350°F. They'll continue firming up as they cool in the tin. Avoid overbaking, as this can make the cups too hard and difficult to eat. Start checking at the 10-minute mark.