 Pin It
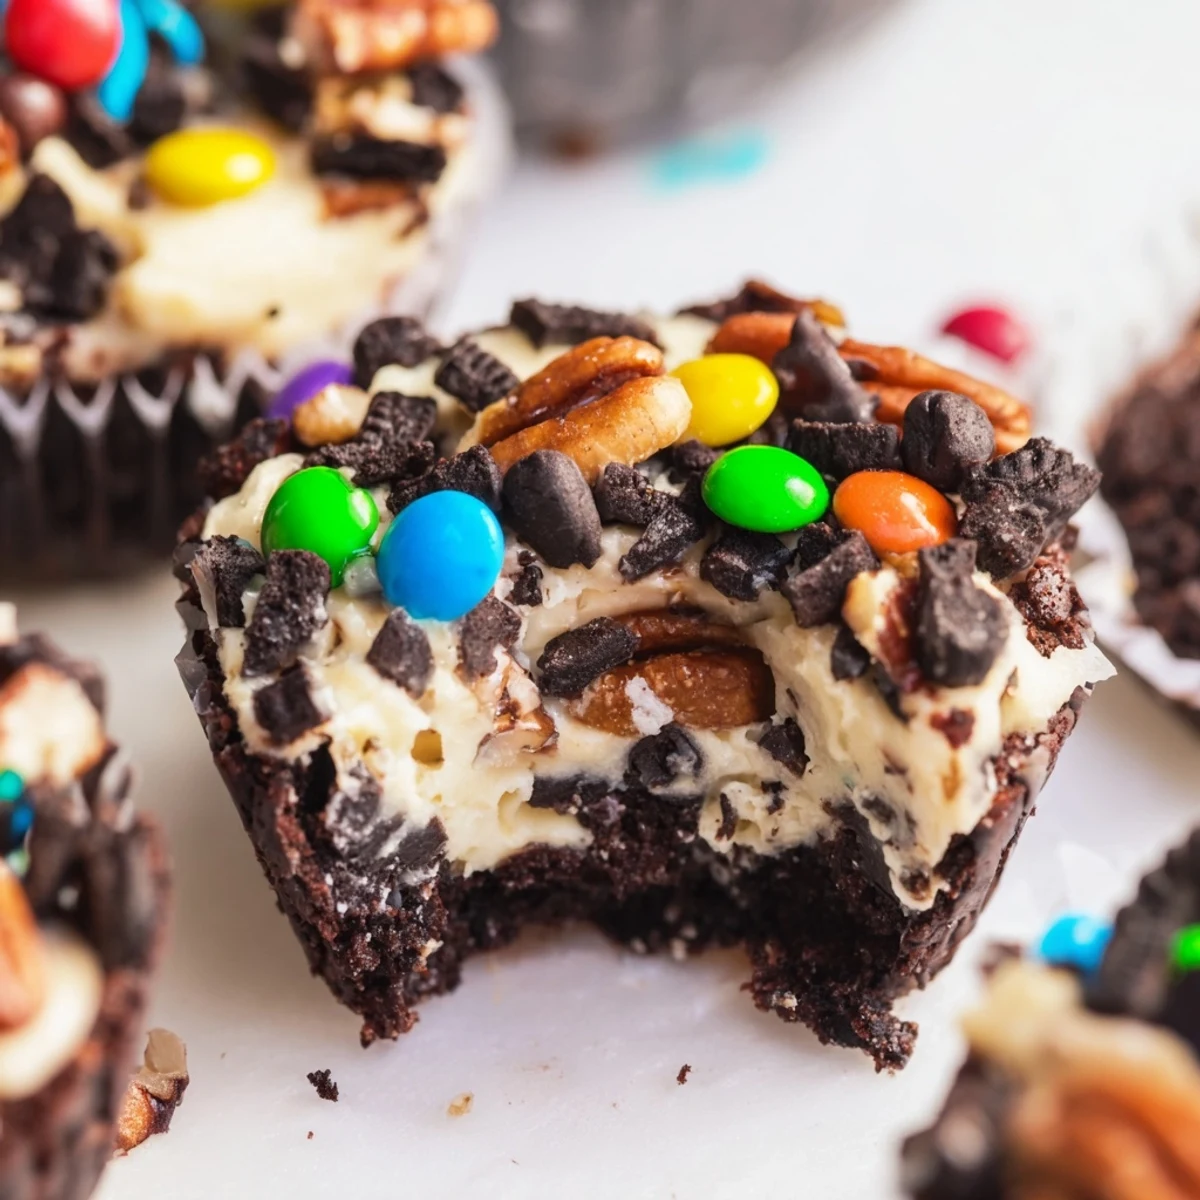
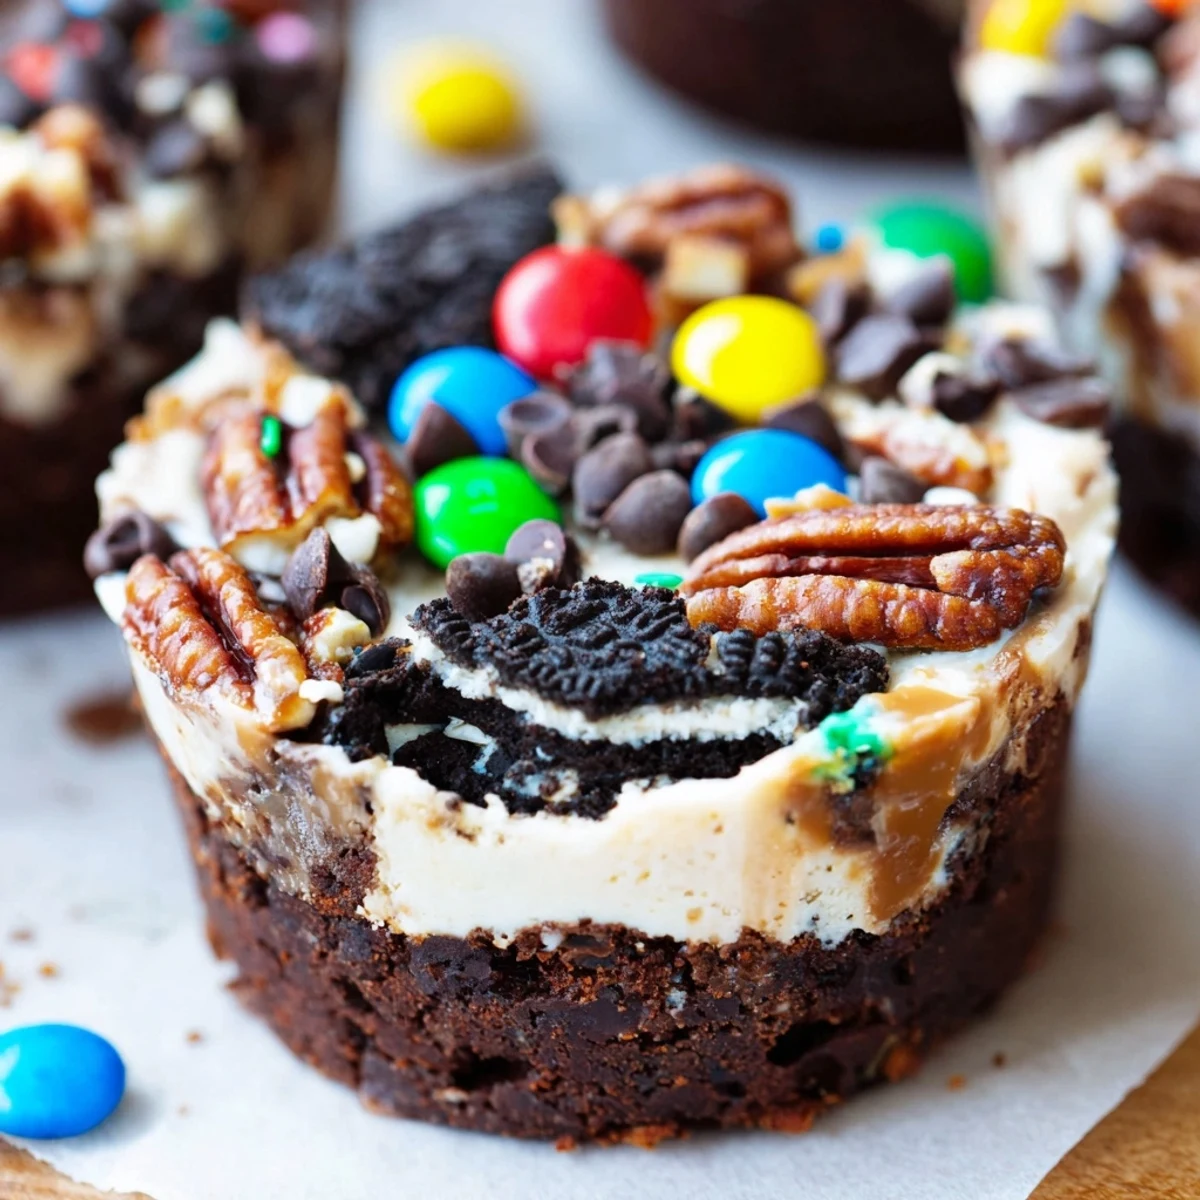
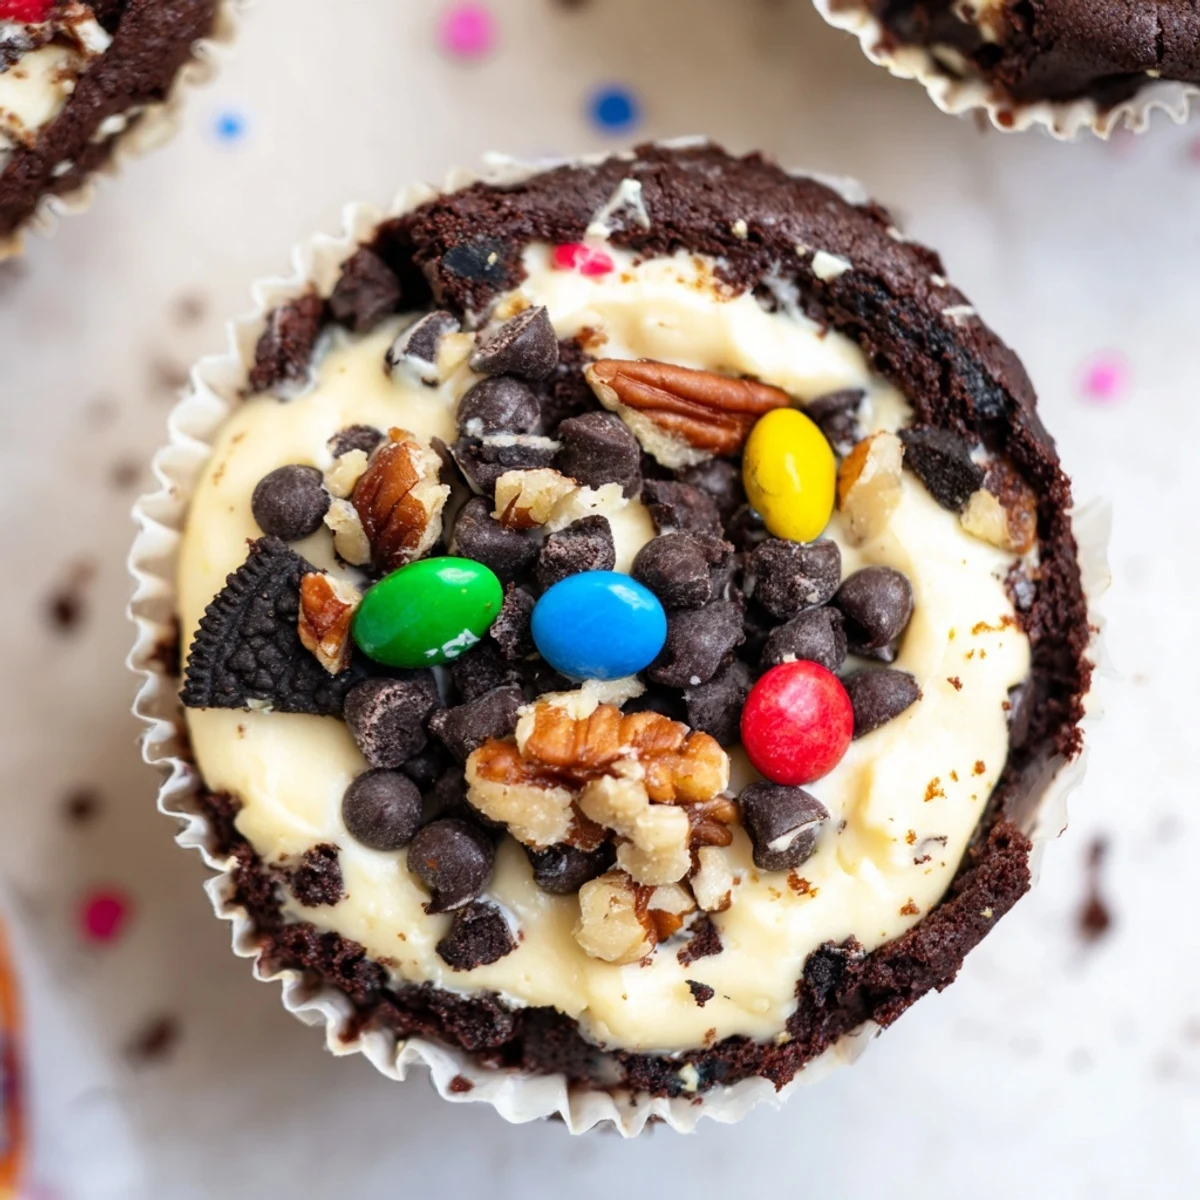
 These indulgent brownie cheesecake cups combine the best of both worlds—a rich, fudgy chocolate base topped with smooth, tangy cheesecake filling. The magic happens when you add the loaded toppings: mini chocolate chips melt into warm layers, crunchy pecans add texture, crushed Oreos bring cookies-and-cream flavor, and colorful M&Ms make them irresistible.
Perfect for parties, holidays, or whenever you need a crowd-pleasing dessert, these cups come together in just 50 minutes. The brownie stays moist and fudgy while the cheesecake layer sets into a creamy, dreamy topping. Chill them for an hour before serving to achieve the perfect texture.
Customize the toppings based on your preferences—try peanut butter chips, toffee bits, shredded coconut, or even fresh berries. These portable treats store beautifully in the refrigerator for up to five days, making them ideal for make-ahead dessert planning.
The first time I made these, my kitchen smelled like chocolate heaven and my roommate kept wandering in asking if they were done yet. Now they are my go-to for when I need to impress someone without spending hours decorating anything fancy.
I brought these to a potluck last winter and watched three different people ask for the recipe before they even finished their first bite. Something about that swirled brownie and cheesecake combination just makes people happy.
Ingredients
- Unsalted butter: Melt it gently so it blends seamlessly into the sugars for that shiny brownie top
- Granulated and brown sugar: The combo gives you crispy edges and a fudgy center
- Large eggs: Room temperature eggs incorporate better and prevent grainy cheesecake filling
- Vanilla extract: Do not skip this—it is what bridges the chocolate and cheesecake flavors
- Unsweetened cocoa powder: Use good quality cocoa because it is the star of the brownie layer
- All-purpose flour: Just enough to hold everything together without making it cakey
- Cream cheese: Definitely let it soften completely or you will end up with lumpy filling
- Loaded toppings: Go wild here because the toppings are what make these feel festive and fun
Instructions
- Get your oven ready:
- Preheat to 175°C (350°F) and line your muffin tin with liners because these stick otherwise
- Make the brownie batter:
- Melt butter then whisk in both sugars until glossy before adding eggs and vanilla
- Add the dry ingredients:
- Sift in cocoa flour and salt stirring just until combined because overmixing makes tough brownies
- Layer it up:
- Divide brownie batter among cups then top with cheesecake mixture which you beat until totally smooth
- Load on the toppings:
- Pile on your favorite mix-ins pressing them gently so they stick during baking
- Bake to perfection:
- Bake 22 to 25 minutes until cheesecake is set but still slightly jiggly in the center
- The waiting game:
- Cool in pan 10 minutes then cool completely before chilling for at least an hour
 Pin It
 My niece called them dessert cupcakes and proceeded to eat two in one sitting which I think is the highest compliment a seven year old can give.
Making These Your Own
Switch up the toppings based on holidays or what you have in your pantry. Peanut butter cups and pretzels work amazing here as do crushed candy canes in December.
Serving Suggestions
These shine brightest when served chilled with something cold to drink. The contrast between the fudgy brownie and creamy cheesecake deserves a proper audience.
Storage And Make Ahead Tips
The texture actually improves after a night in the fridge which makes these perfect for prep ahead entertaining.
- Store in an airtight container for up to five days
- Freeze unfrosted cups for up to two months
- Let frozen cups thaw in the fridge overnight
 Pin It
 There is something deeply satisfying about a dessert that looks this impressive coming out of a muffin tin. Happy baking.
Recipe FAQs
- → Can I make these brownie cheesecake cups ahead of time?
-
Absolutely! These cups actually taste better after chilling. You can make them up to 2 days in advance and store them in an airtight container in the refrigerator. The flavors meld together beautifully, and the texture becomes even more fudgy and creamy.
- → How do I know when the cheesecake layer is set?
-
The cheesecake filling is done when the center is slightly jiggly but not liquid—similar to setting custard. The edges should appear firm and set. Remember that the cups will continue to cook slightly from residual heat as they cool, and they'll firm up further during chilling.
- → Can I use different toppings?
-
Definitely! The 'loaded' concept is fully customizable. Try peanut butter or white chocolate chips, crushed pretzels for a salty crunch, shredded coconut, chopped Heath bars, or fresh raspberries. You can also theme them for holidays—red and green M&Ms for Christmas or pastel sprinkles for spring.
- → Why did my brownie cups stick to the pan?
-
This usually happens if the pan wasn't greased thoroughly enough. Always use paper liners or generously grease each muffin cup with butter and dust with cocoa powder. Letting them cool in the pan for exactly 10 minutes before removing also helps prevent sticking and breaking.
- → Can I freeze these brownie cheesecake cups?
-
Yes, they freeze wonderfully! Wrap each cooled cup individually in plastic wrap, then place in a freezer-safe container. They'll keep for up to 3 months. Thaw overnight in the refrigerator before serving—the texture remains remarkably close to freshly made.
- → What's the best way to get even layers?
-
Use a kitchen scale or measuring spoons to portion the brownie batter (about 1 heaping tablespoon per cup). Gently tap the pan on the counter to settle the batter, then use the back of a spoon to create a small well in the center before adding the cheesecake layer.