 Pin It
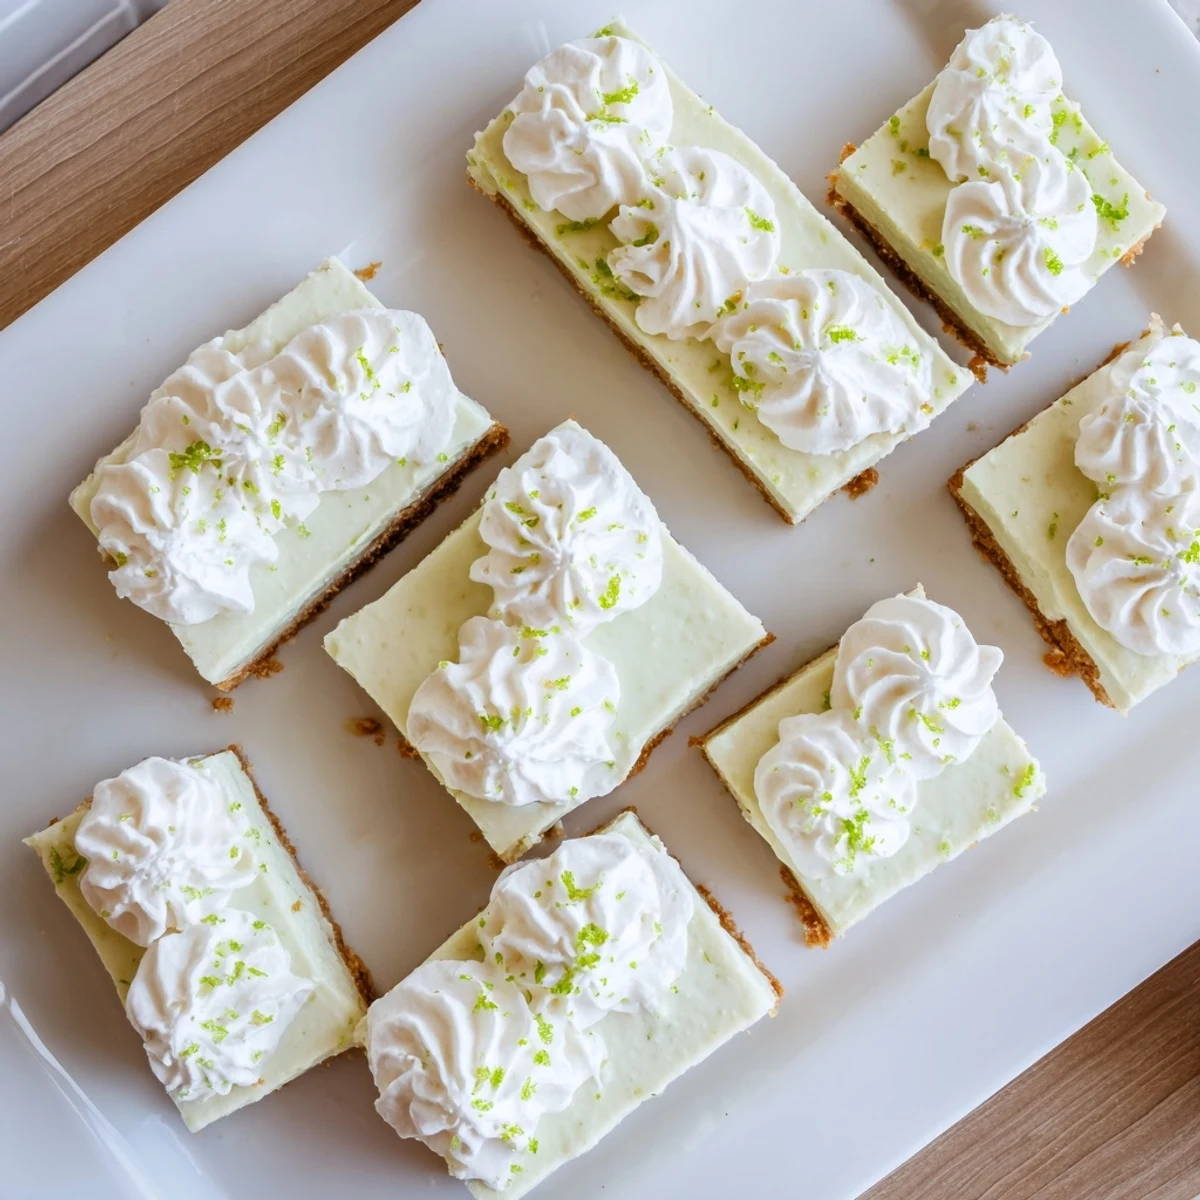
 These delightful bars feature a crisp, buttery graham cracker base topped with a silky smooth key lime custard that balances tangy citrus notes with sweetened condensed milk richness. The refreshing lime flavor shines through while the crust provides the perfect crunchy contrast, creating a harmonious bite that's both indulgent and light.
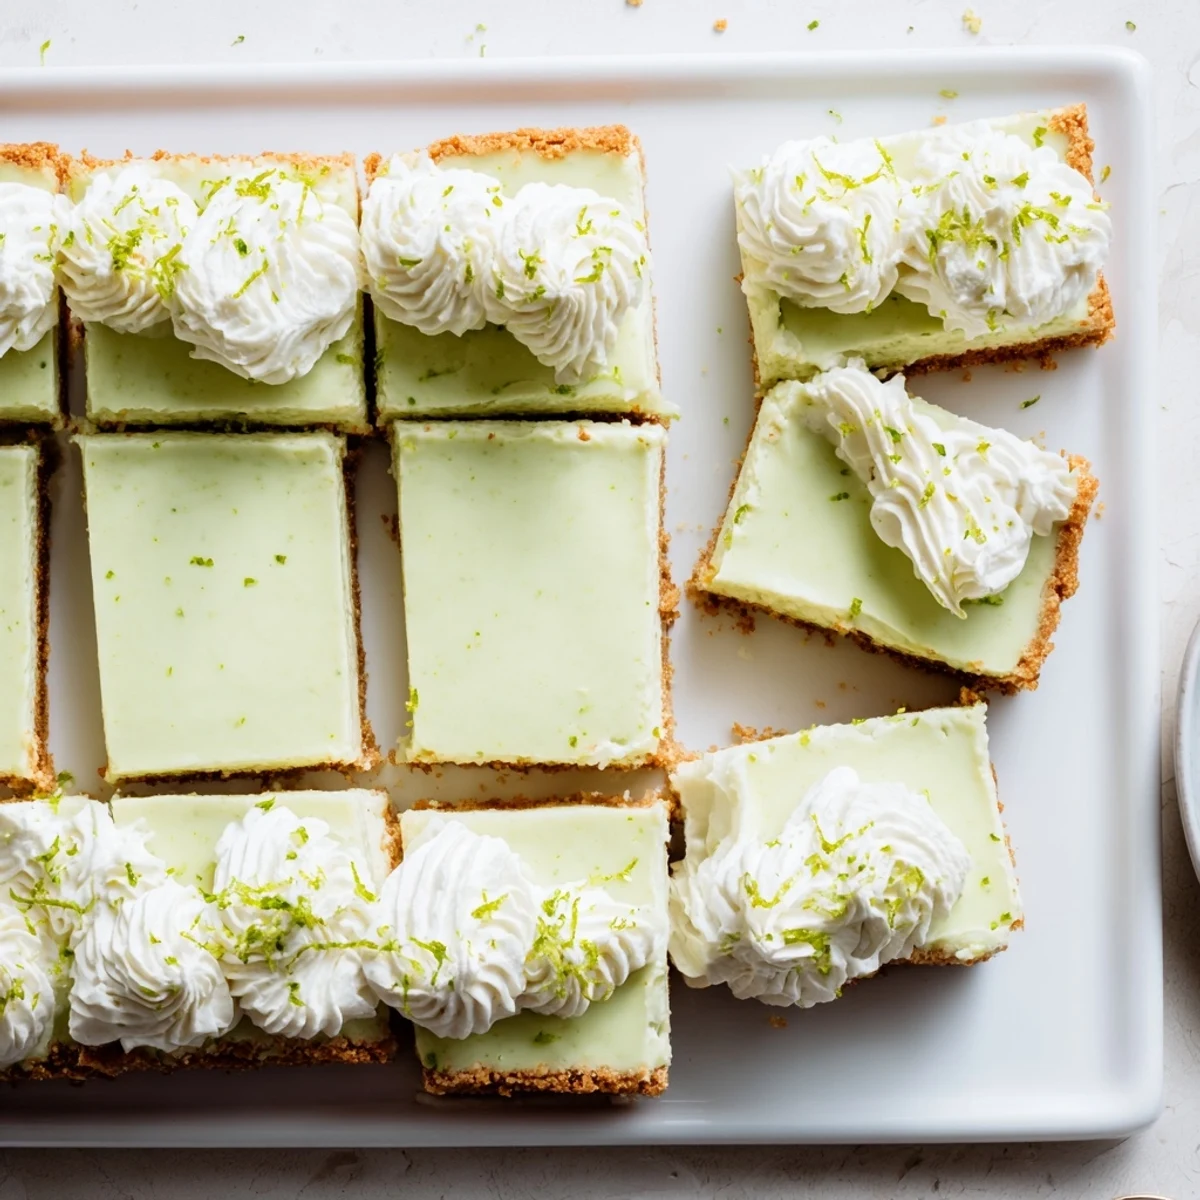
Preparing these bars is straightforward—the pressed crumb crust gets a quick bake, then the simple whisked filling of egg yolks, condensed milk, and fresh lime juice pours over before setting in the oven. After chilling until firm, the optional whipped cream topping adds an extra layer of luxurious creaminess that complements the bright citrus flavors beautifully.
The first time I made Key Lime Pie Bars, I accidentally bought regular limes instead of key limes and spent twenty minutes zesting enough to compensate. My husband walked into the kitchen to find me furiously grating away, lime zest coating my arms like green snow, and asked if this was really necessary. Now I keep a bag of key limes in the freezer specifically for these moments, though the powdered sugar explosion from the whipped cream incident is another story entirely.
These bars became my go-to contribution for summer potlucks after my coworker Sarah literally moaned when she took her first bite. People started requesting them specifically for the holidays, which surprised me since lime feels like such a summery flavor, but theres something about that bright citrus cutting through all the heavy winter food that just works.
Ingredients
- Graham cracker crumbs: Make your own from crackers or buy them pre-crushed, but pack them tightly when measuring for the best crust texture
- Unsalted butter: Melt it completely and let it cool slightly so it mixes evenly with the crumbs without making them soggy
- Egg yolks: Room temperature yolks incorporate more smoothly into the condensed milk
- Sweetened condensed milk: This is what gives the filling that impossibly creamy, velvety texture
- Key lime juice: Fresh squeezed has the brightest flavor, but bottled works perfectly in a pinch
- Key lime zest: Zest before juicing your limes, and only zest the green part, not the bitter white pith underneath
- Heavy whipping cream: Cold cream whips up faster and holds its shape better on top of the bars
- Powdered sugar: Sift it before adding to the cream to avoid any lumps in your topping
Instructions
- Preheat your oven and prepare the pan:
- Heat oven to 350°F and line an 8-inch square baking pan with parchment paper, letting the paper hang over the sides like handles for easy removal later
- Make the graham cracker crust:
- Mix the graham cracker crumbs with sugar in a medium bowl, then pour in the melted butter and stir until everything is evenly moist and resembles wet sand
- Press the crust into the pan:
- Dump the mixture into your prepared pan and use the bottom of a measuring cup or glass to press it down firmly and evenly across the bottom
- Bake the crust:
- Bake for 8 to 10 minutes until it smells toasty and looks lightly golden around the edges, then set it aside to cool while you make the filling
- Whisk the yolks and condensed milk:
- In a large bowl, whisk the egg yolks and sweetened condensed milk until completely smooth and no yellow streaks remain
- Add the lime flavor:
- Pour in the key lime juice and zest, whisking just until combined, but do not overmix or the filling might become foamy
- Fill the crust:
- Pour the filling over the cooled crust and smooth the top with a spatula or the back of a spoon
- Bake until just set:
- Bake for 15 to 18 minutes until the center is set but still jiggles slightly when you gently shake the pan, like gelatin
- Chill completely:
- Let the bars cool to room temperature, then refrigerate for at least 1 hour before slicing, though overnight is even better
- Make the whipped cream topping:
- Whip the cold heavy cream with powdered sugar until stiff peaks form, then spread or pipe it over the chilled bars and finish with fresh zest
 Pin It
 My mom started making these for Thanksgiving instead of traditional pumpkin pie one year, and now my extended family literally argues over who gets to take home the leftover bars. The secret weapon is definitely the whipped cream topping, which my sister insists on piping into little rosettes even though I just spread it on with a knife and call it a day.
Making The Crust Your Own
After dozens of batches, I have found that pressing the crust mixture into the pan with the bottom of a flat measuring cup gives you the most even, tightly packed layer. Some recipes suggest using a food processor to make the crumbs, but I actually prefer the slightly uneven texture you get from crushing crackers by hand in a zip-top bag, and my kids love helping with that part.
The Filling Science
The acid in the lime juice actually cooks the egg yolks as it bakes, which is why these bars set so beautifully without needing a water bath or custard-style technique. I learned the hard way that whisking too much air into the filling creates bubbles that bake into weird little pockets, so I now gently fold everything together just until combined.
Serving And Storage Secrets
These bars need to be thoroughly chilled to hold their shape when sliced, so I always make them the day before I plan to serve them. The texture actually improves after a night in the refrigerator as the flavors meld together and the filling becomes even creamier.
- Use the parchment paper overhangs to lift the whole batch out of the pan before slicing
- Room temperature bars are delicious but messier to eat, so keep them chilled until serving
- Leftovers keep perfectly in the refrigerator for up to three days, though they rarely last that long in my house
 Pin It
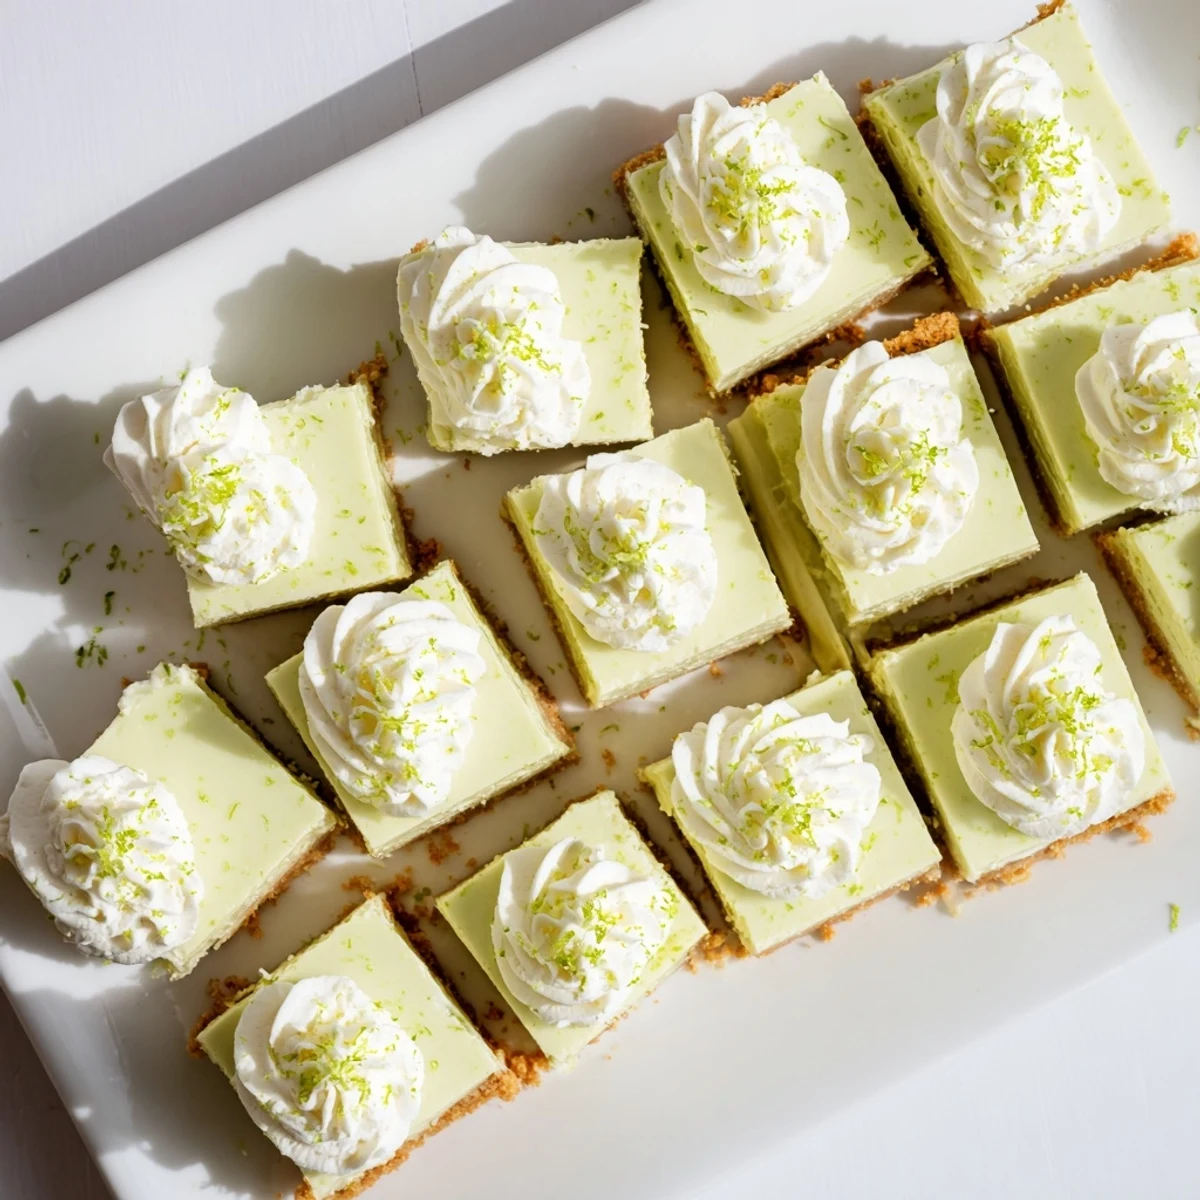
 Whether you are feeding a crowd or just treating yourself to something bright and creamy, these bars hit that perfect balance of sweet and tangy that makes you close your eyes and savor every bite.
Recipe FAQs
- → Can I use regular limes instead of key limes?
-
Yes, regular Persian limes work perfectly as a substitute. You'll need slightly fewer regular limes since they're larger and produce more juice. The flavor will be slightly less intense but still delicious and refreshing.
- → How long do these need to chill before serving?
-
The bars require at least 1 hour of refrigeration to set properly and achieve clean slices. For the best texture and flavor, chilling for 2-3 hours allows the filling to fully firm up and the flavors to meld together beautifully.
- → Can I make these ahead of time?
-
Absolutely! These bars actually improve after a day in the refrigerator. You can make them up to 3 days in advance—store them in an airtight container and add any whipped cream topping just before serving for the freshest presentation.
- → How do I know when the filling is done baking?
-
The filling is ready when the edges are set but the center still has a slight jiggle, similar to a cheesecake. It will continue to firm up as it cools. Overbaking can cause cracks, so remove it when it's just set.
- → Can I freeze these bars?
-
Yes, you can freeze the bars without the whipped cream topping for up to 2 months. Wrap individual squares tightly in plastic wrap and place in a freezer bag. Thaw overnight in the refrigerator before serving.
- → What's the best way to get clean cuts?
-
Chill the bars thoroughly, then use a sharp knife wiped clean between cuts. For extra precision, run the knife under hot water and dry it before slicing. The parchment paper overhang also helps lift the entire batch out for easier cutting on a cutting board.