 Pin It
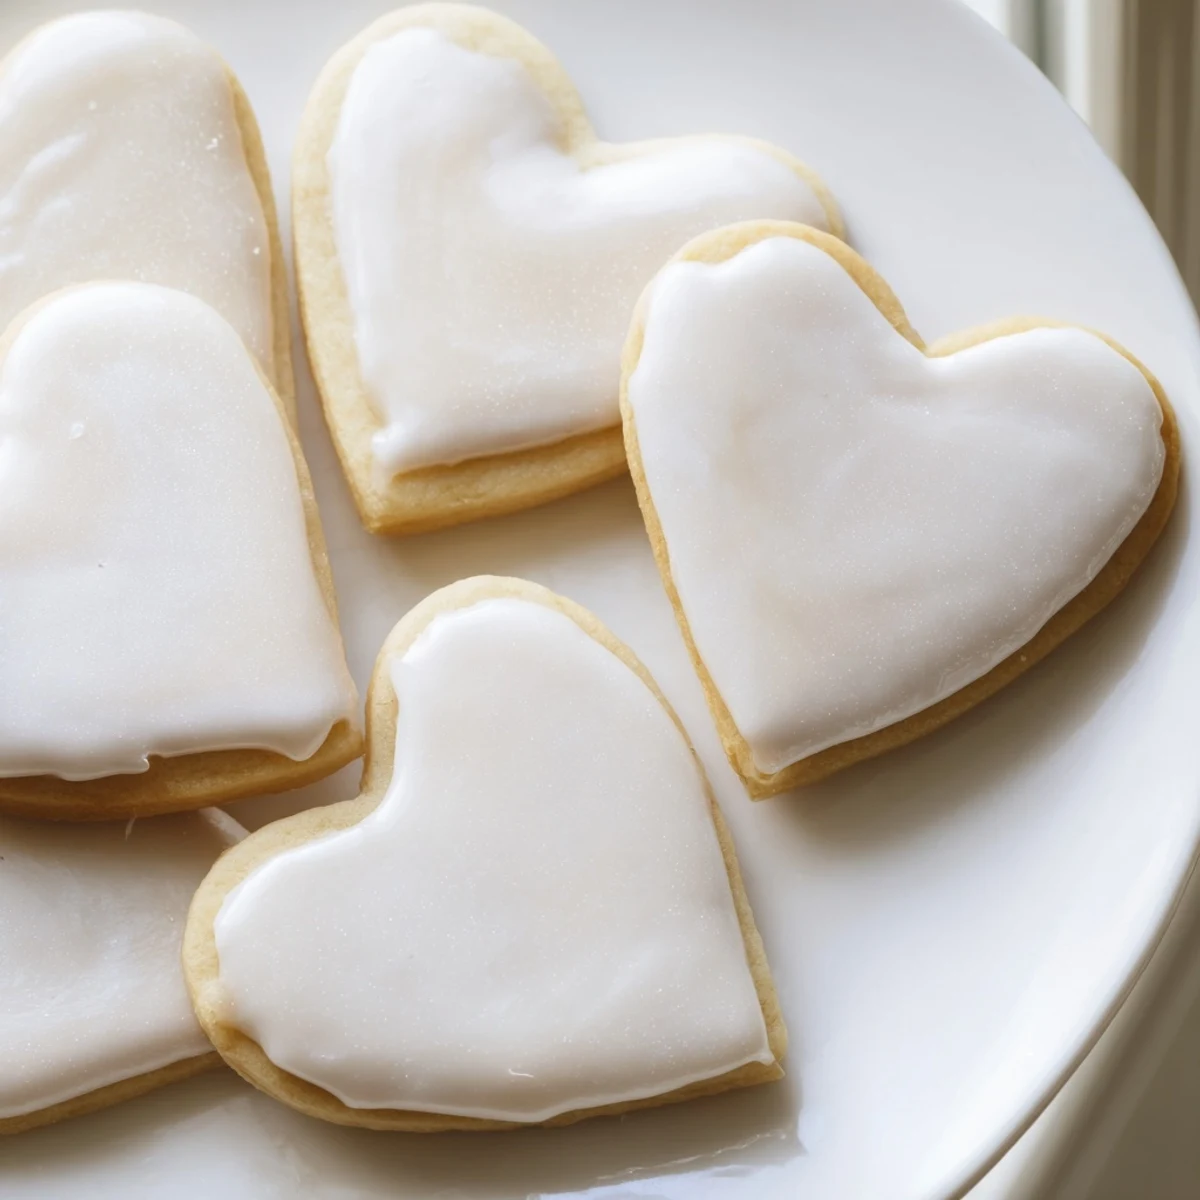
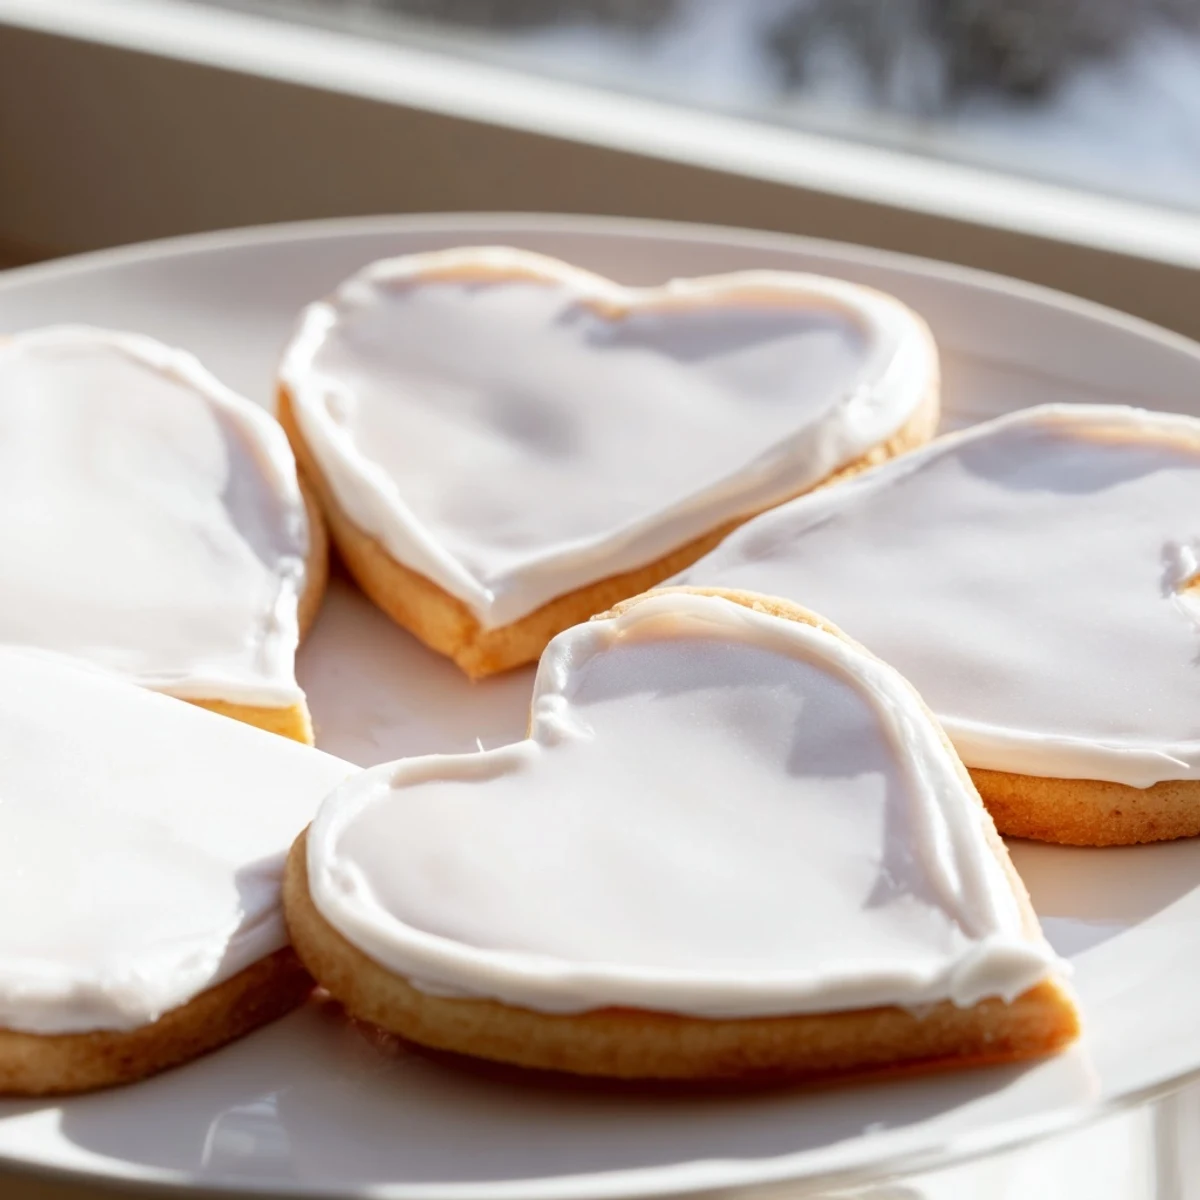
 These classic sugar cookies are tender and buttery, shaped into charming hearts for festive occasions. The dough is chilled for easy handling, then rolled and cut before baking to a delicate golden edge. Once cooled, the cookies are decorated with smooth, glossy royal icing that sets perfectly with a crisp finish. Optional gel coloring allows for playful designs, and tips for soft texture and advance freezing make preparation flexible. Perfect for celebrations or thoughtful gifting, these cookies combine simple ingredients into a delightful treat.
The scent of vanilla and butter warming together still pulls me back to my first apartment kitchen, where I learned that heart shaped cookies could turn an ordinary Tuesday into something worth celebrating. I had no clue what I was doing with royal icing back then, creating more mess than masterpiece, but the joy of handing out those slightly imperfect hearts to friends made every minute worth it.
Last February, I made three batches for my daughter's classroom party. The kids fought over the ones with the most sprinkles, and one little boy told me they tasted like love, which is basically the highest compliment a cookie can receive.
Ingredients
- 2 1/2 cups all-purpose flour: The backbone that gives these cookies their perfect tender crumb
- 1/2 teaspoon baking powder: Just enough lift to keep them from being too dense
- 1/4 teaspoon salt: Balances the sweetness and brings out all the buttery notes
- 3/4 cup unsalted butter: Softened to room temperature, this is where all that rich flavor comes from
- 1 cup granulated sugar: Creates the classic sugar cookie sweetness and helps with crisp edges
- 1 large egg: Binds everything together while adding structure
- 2 teaspoons pure vanilla extract: Do not skip this, it makes the kitchen smell incredible
- 2 cups powdered sugar: Sifted first to prevent lumps in your royal icing
- 1 1/2 tablespoons meringue powder: The secret to icing that dries hard and glossy
- 3 to 4 tablespoons water: Adjust this to get your perfect piping or flooding consistency
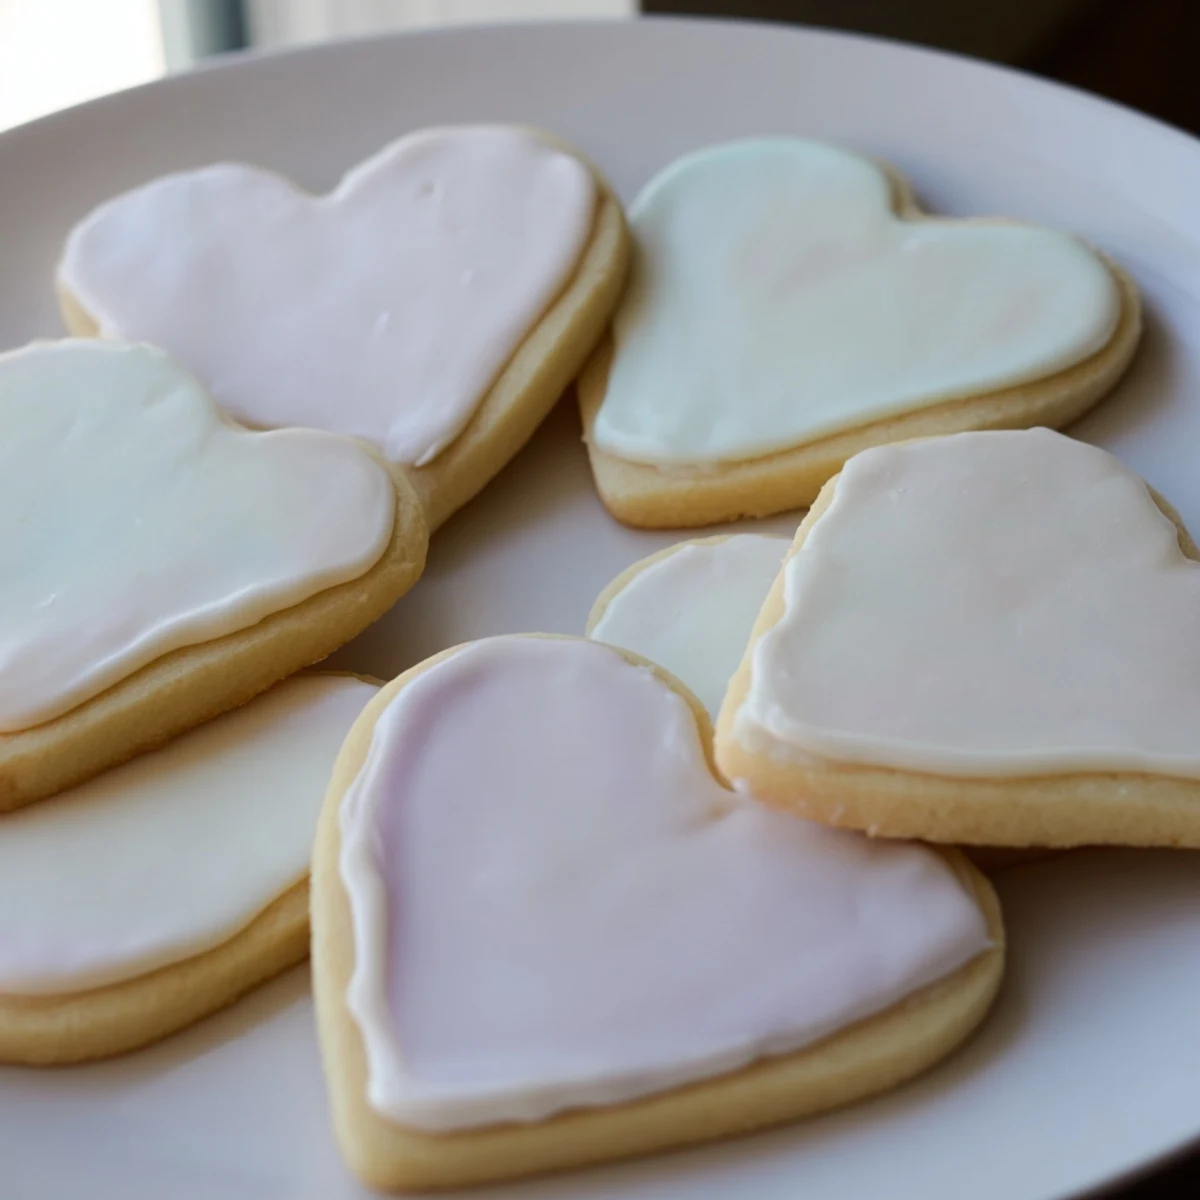
- Gel food coloring: Optional, but this is how you get those vibrant, professional looking colors
Instructions
- Mix the dry ingredients:
- Whisk flour, baking powder, and salt in a medium bowl until well combined, then set it aside while you work on the butter mixture.
- Cream the butter and sugar:
- Beat butter and sugar in a large bowl for about 2 to 3 minutes until the mixture looks pale and fluffy, scraping down the sides once to make sure everything gets incorporated.
- Add the egg and vanilla:
- Pour in the egg and vanilla extract, beating again until the mixture looks smooth and creamy.
- Combine the dough:
- Gradually mix in the dry ingredients on low speed until a soft dough forms, being careful not to overwork it.
- Chill the dough:
- Divide the dough in half, shape each piece into a disc, wrap tightly in plastic wrap, and refrigerate for at least 1 hour so the flavors meld and the dough becomes easier to handle.
- Preheat and prepare:
- Heat your oven to 350°F and line two baking sheets with parchment paper while the dough chills.
- Roll and cut:
- On a lightly floured surface, roll the dough out to 1/4 inch thickness and cut out heart shapes with your cookie cutters.
- Bake:
- Arrange cookies 1 inch apart on the prepared baking sheets and bake for 8 to 10 minutes until the edges are just starting to turn golden.
- Cool completely:
- Let the cookies rest on the baking sheets for 2 minutes before transferring them to wire racks to cool completely.
- Make the royal icing:
- Beat powdered sugar, meringue powder, and 3 tablespoons water until stiff peaks form, then add more water a few drops at a time until you reach your desired consistency.
- Decorate:
- Tint the icing with gel food coloring if you like, then decorate the cooled cookies and let them sit uncovered until the icing is completely set.
 Pin It
 My sister in law asks for these every Valentine Day, and I have learned to double the batch because they disappear faster than I can pipe the icing.
Getting The Perfect Icing Consistency
Flooding consistency should be like honey, running smooth when you tilt the bowl but holding its shape briefly. Piping consistency needs to be slightly thicker, like toothpaste, so it holds those clean outlines and details.
Making These Ahead
The dough freezes beautifully for up to two months, so I often make a double batch and keep half tucked away for emergency cookie needs. Undecorated baked cookies also freeze well if you wrap them tightly.
Decorating Like A Pro
Outline each cookie first with thicker icing, then immediately fill in the center with thinner flooding icing. Add sprinkles or edible pearls right away while the icing is still wet so they stick without any extra effort.
- Let the outline set for about 5 minutes before flooding to prevent colors from bleeding together
- Keep a damp paper towel over your icing bowls to prevent them from drying out while you work
- Practice your piping technique on parchment paper before decorating the actual cookies
 Pin It
 There is something magical about watching someone's face light up when you hand them a heart cookie you made yourself, especially when they can tell it was made with love.
Recipe FAQs
- → How do I achieve the perfect cookie texture?
-
Chilling the dough helps maintain the shape and prevents spreading. Bake just until edges turn golden for a soft, tender bite.
- → What is royal icing made of?
-
Royal icing is a mixture of powdered sugar, meringue powder, and water, whipped until stiff peaks form for a smooth finish.
- → Can I add color to the icing?
-
Yes, gel food coloring can be added to create vibrant and customizable decorations that set well.
- → How should I store the cookies after decorating?
-
Allow icing to set completely at room temperature, then store in an airtight container to keep cookies crisp and fresh.
- → Is it possible to prepare these cookies in advance?
-
Undecorated cookies can be frozen for up to two months. Decorate after thawing for best results.