 Pin It
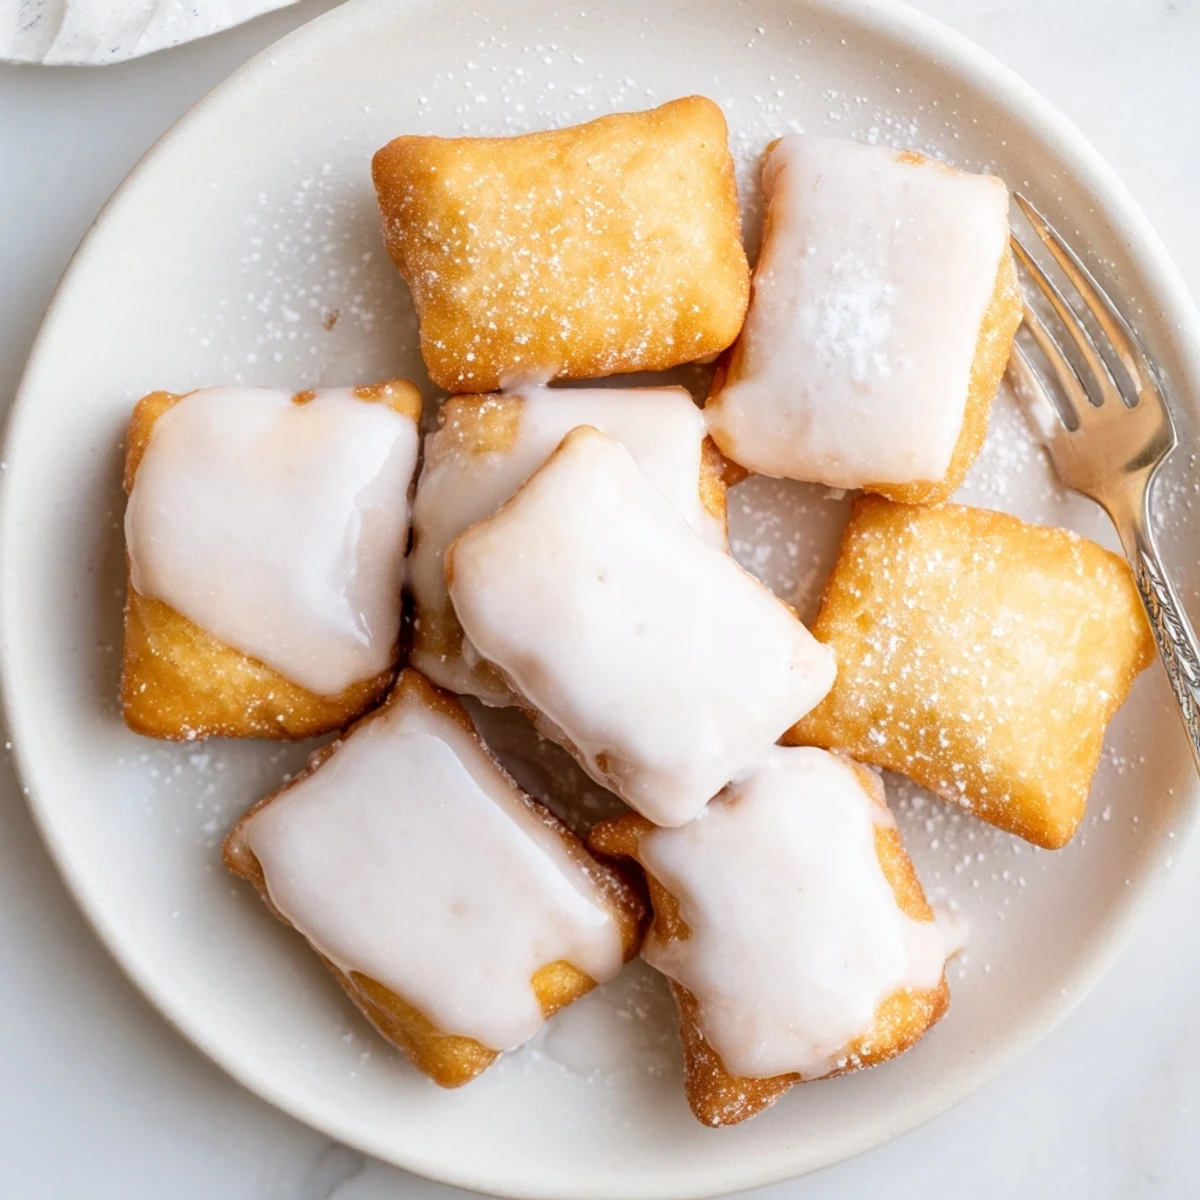
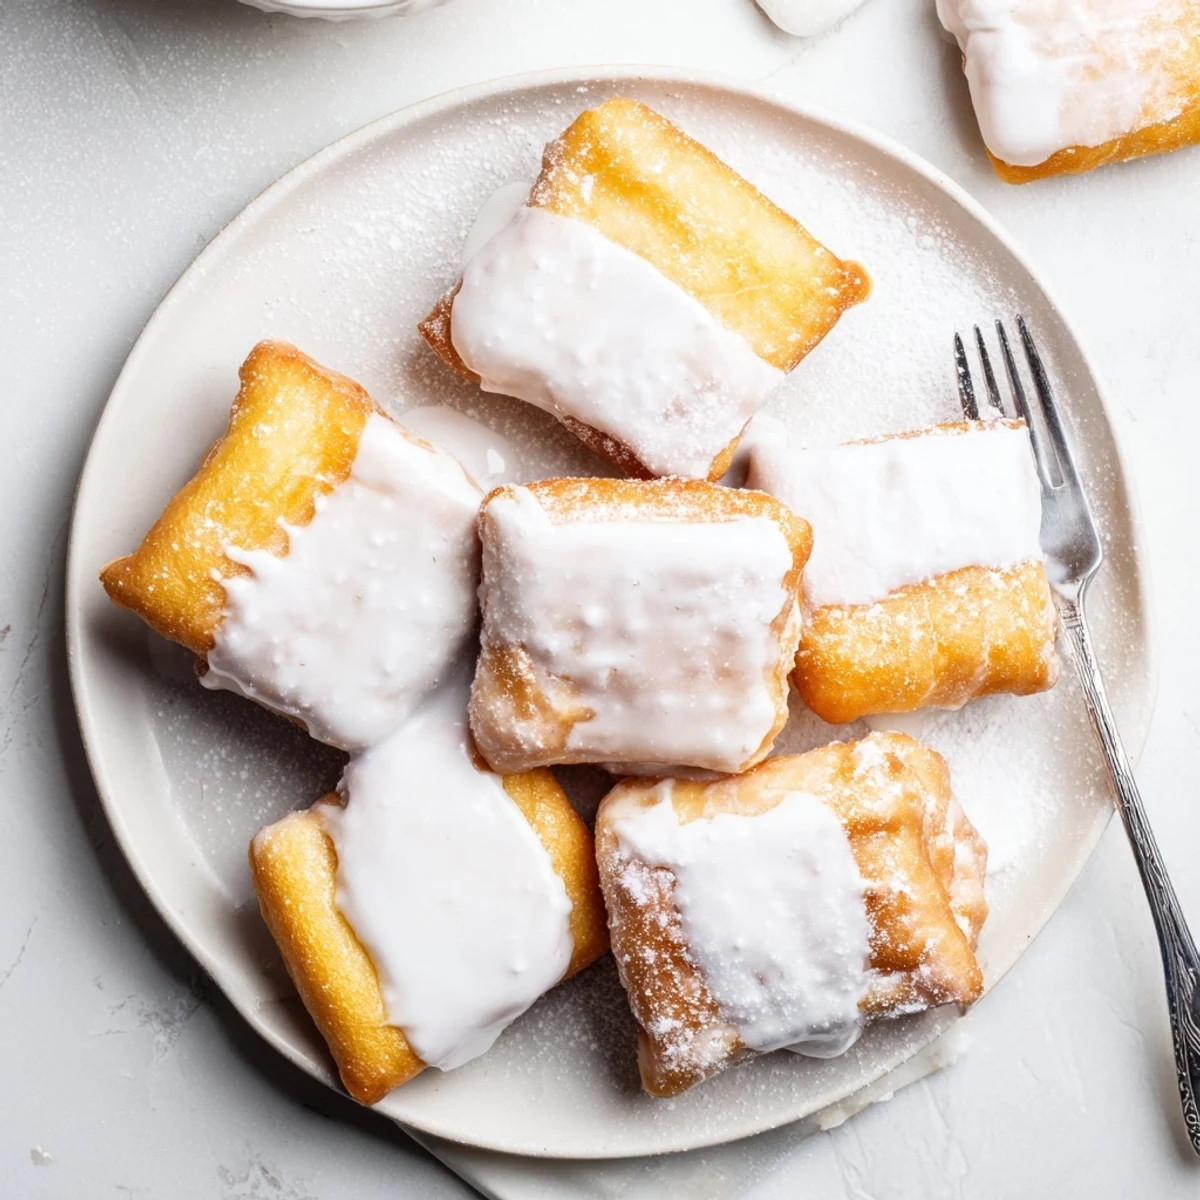
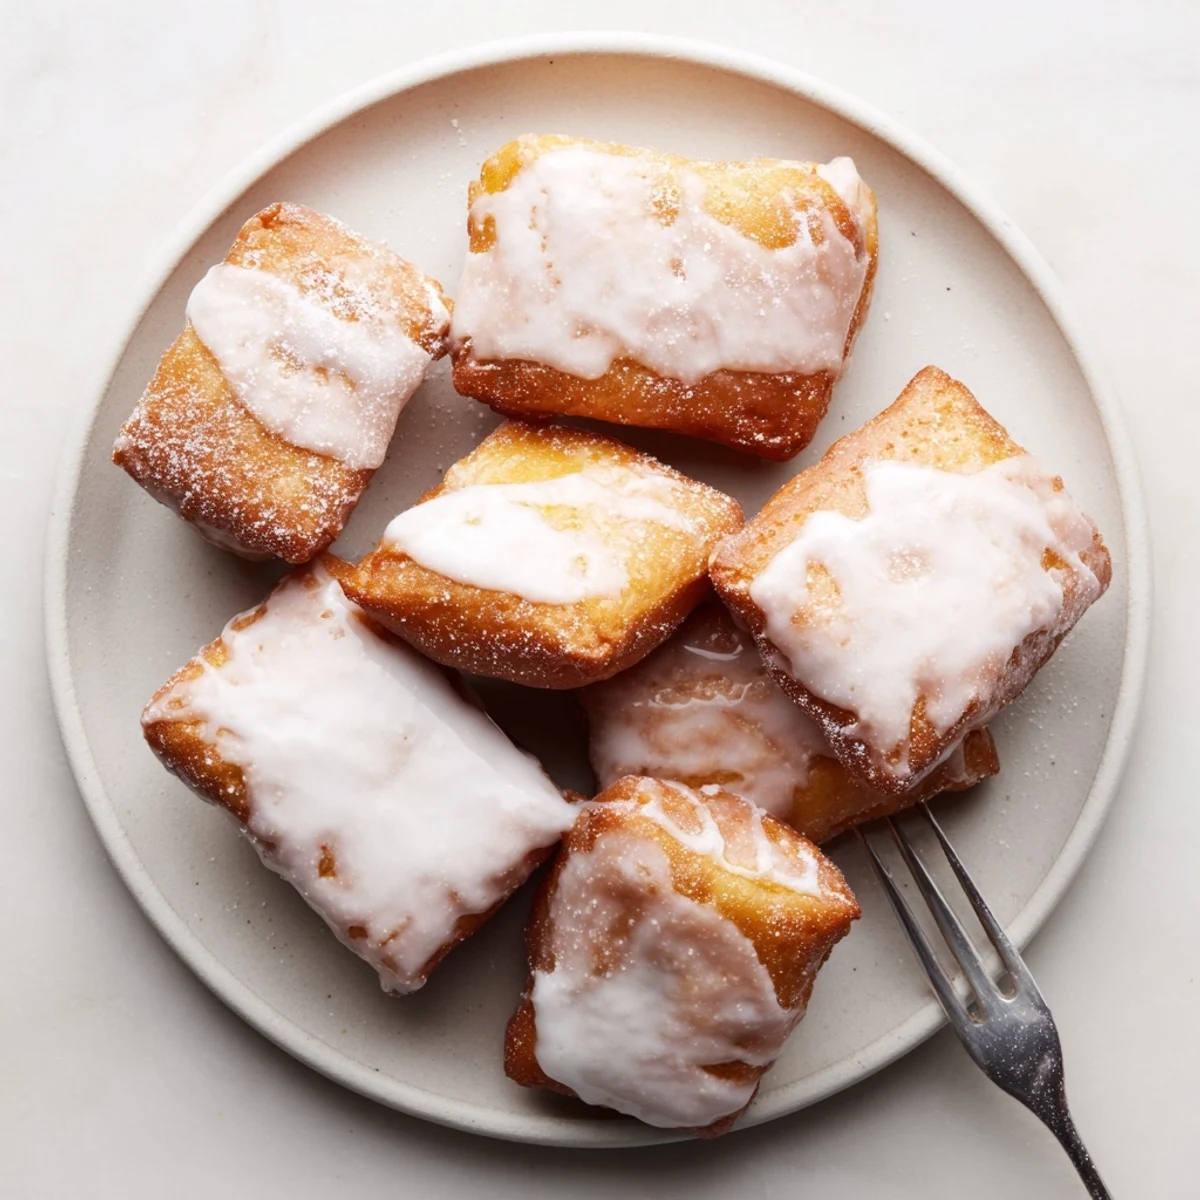
 These airy squares feature a tender crumb achieved through buttermilk enrichment, followed by deep frying until golden brown and puffy. The finishing touch involves dipping each warm piece into a silky vanilla glaze that creates a perfect sweet coating. Best enjoyed fresh while still slightly warm, allowing the contrast between crisp exterior and soft interior to shine. The dough requires proper rising time for optimal texture, while the frying temperature ensures even cooking without excess grease absorption.
The first time I made beignets, it was a rainy Sunday morning and my kitchen smelled like yeast and possibility. I had just returned from a trip to New Orleans where powdered sugar covered everything within a three-foot radius of Café du Monde. These buttermilk versions became my obsession because that tangy richness makes them somehow lighter than the traditional ones, yet just as indulgent.
Last winter I made these for my sister's birthday brunch, and there's something magical about standing over a pot of bubbling oil while snow falls outside the kitchen window. Everyone gathered around, coffee mugs in hand, watching each square puff up like magic. My nephew declared them better than any donut shop, and honestly, I think he was right.
Ingredients
- All-purpose flour: This forms the structure, and I've learned that measuring by weight gives you the most consistent results every time
- Active dry yeast: Make sure it's fresh and bubbly when you bloom it, otherwise your dough won't rise properly
- Buttermilk and whole milk: The combination creates that signature tang while keeping the crumb incredibly tender
- Unsalted butter: Melt it and let it cool completely so it doesn't scramble your eggs when you mix everything together
- Powdered sugar: Sifting this is non-negotiable unless you want lumpy glaze, which nobody wants
- Pure vanilla extract: Don't skimp here, the real stuff makes the glaze taste like it came from a bakery
Instructions
- Mix your dry foundation:
- Whisk the flour, yeast, sugar, and salt in a large bowl until everything is evenly distributed and you can smell the faint sweetness of the yeast activating
- Whisk the wet mixture:
- Combine the buttermilk, whole milk, eggs, and cooled melted butter until smooth, making sure no butter solids are clinging to the bowl
- Bring it together:
- Create a well in the dry ingredients, pour in the wet mixture, and stir with a wooden spoon until a shaggy, sticky dough forms
- Knead until smooth:
- Turn the dough onto a floured surface and knead for 6 to 8 minutes, or let your stand mixer do the work for 5 minutes, until the dough feels elastic and smooth
- Let it rise:
- Place the dough in a lightly oiled bowl, cover with plastic wrap, and let it rise in a warm spot for 60 to 75 minutes until it's doubled in size
- Roll and cut:
- Punch down the dough gently, roll it out to about a half-inch thickness, and cut into 2-inch squares using a sharp knife or pastry cutter
- Rest before frying:
- Arrange the squares on a parchment-lined tray, cover loosely, and let them rest for 20 minutes while you heat your oil to 350°F
- Fry to golden perfection:
- Carefully drop the squares into the hot oil, frying for 1 to 2 minutes per side until they're puffed and gorgeously golden brown, then drain on paper towels
- Make the glaze:
- Whisk together the sifted powdered sugar, milk, and vanilla until completely smooth, adjusting with a teaspoon more milk if it's too thick
- Glaze while warm:
- Dip each beignet into the glaze while still warm, letting the excess drip off before placing on a cooling rack to set
 Pin It
 These became a Christmas morning tradition after I accidentally made a triple batch one year and refused to let any go to waste. Now my family expects nothing less, and the house fills with that incredible fried dough scent before anyone even opens their presents.
Making Ahead
You can prepare the dough the night before and let it do its slow rise in the refrigerator. The cold fermentation actually develops more flavor, and come morning, you just roll, cut, and fry. I've done this for brunch gatherings and it saves so much stress.
Frying Like a Pro
Invest in a good kitchen thermometer, because guessing oil temperature is a rookie mistake that leads to disappointment. Also, line your cooling rack with paper towels underneath to catch the glaze drips, otherwise you'll have a sticky situation on your counter.
Serving Suggestions
These are best enjoyed immediately while still slightly warm, though nobody will complain if they're room temperature either. I love serving them alongside strong coffee or a milky café au lait to cut through the sweetness.
- Sprinkle a pinch of sea salt over the wet glaze for that sweet-salty contrast
- Add a tablespoon of espresso powder to the glaze for a mocha variation
- Keep them warm in a 200°F oven if you're frying a big batch for a crowd
 Pin It
 There's something deeply satisfying about making pastry from scratch, watching it transform from simple ingredients into something that brings people together. Hope your kitchen fills with as much joy as mine does.
Recipe FAQs
- → What makes these beignets different from traditional ones?
-
Buttermilk adds tanginess and creates a more tender crumb, while the square shape provides more surface area for the vanilla glaze to coat evenly compared to the classic round New Orleans style.
- → Can I prepare the dough ahead of time?
-
Yes, the dough can be refrigerated after the first rise for up to 24 hours. Let it come to room temperature before rolling and cutting into squares for frying.
- → Why is my dough not rising properly?
-
Ensure your yeast is fresh and the liquids are at room temperature, not too hot. The rising environment should be warm and draft-free, ideally between 75-80°F.
- → What's the best way to reheat leftovers?
-
Reheat in a 350°F oven for 3-4 minutes to restore crispiness. Avoid microwaving as it makes them soggy. Refresh with additional glaze if desired.
- → Can I bake these instead of frying?
-
Baking won't achieve the same crispy exterior and airy interior. However, you can bake at 400°F for 12-15 minutes if preferred, though the texture will be more bread-like.
- → How do I know when the oil is ready for frying?
-
Use a thermometer to ensure the oil reaches 350°F. Alternatively, drop a small piece of dough into the oil—if it sizzles immediately and rises to the surface, it's ready.