 Pin It
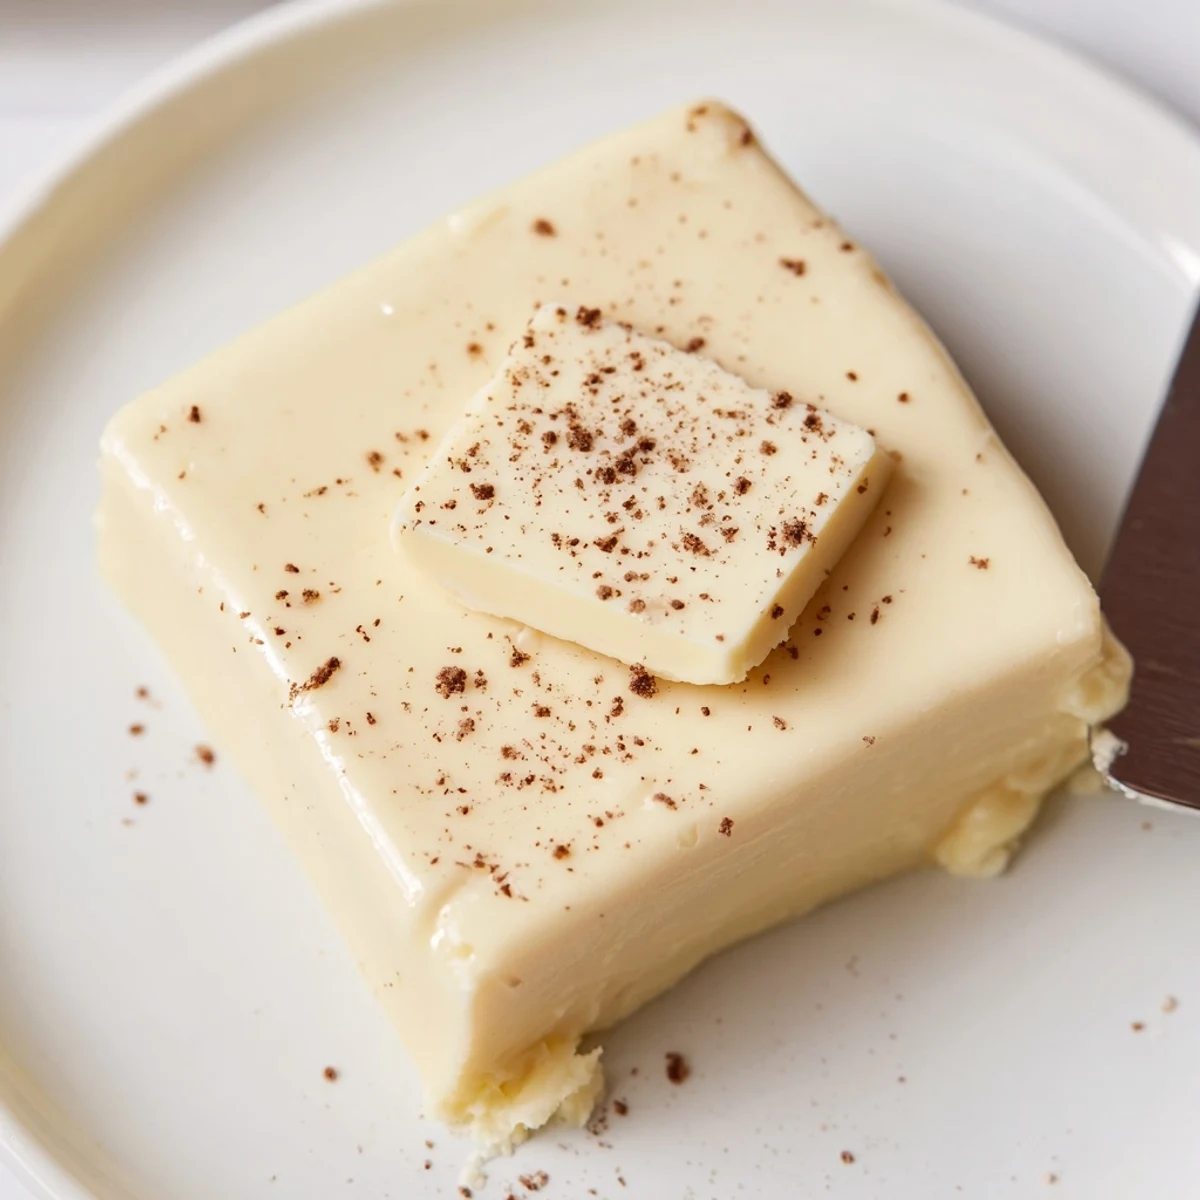
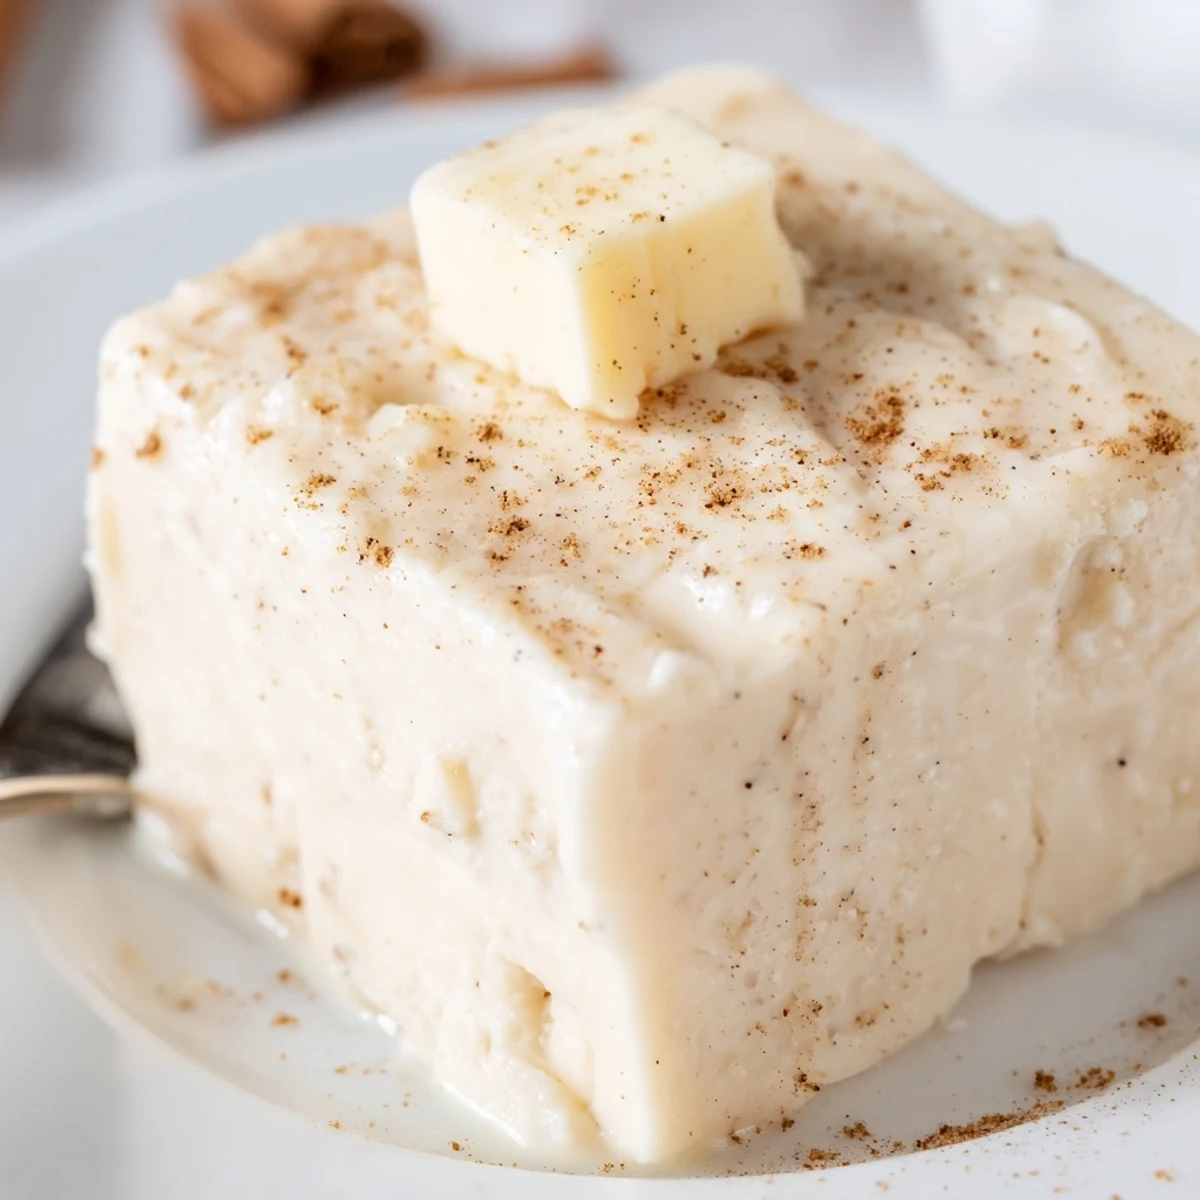
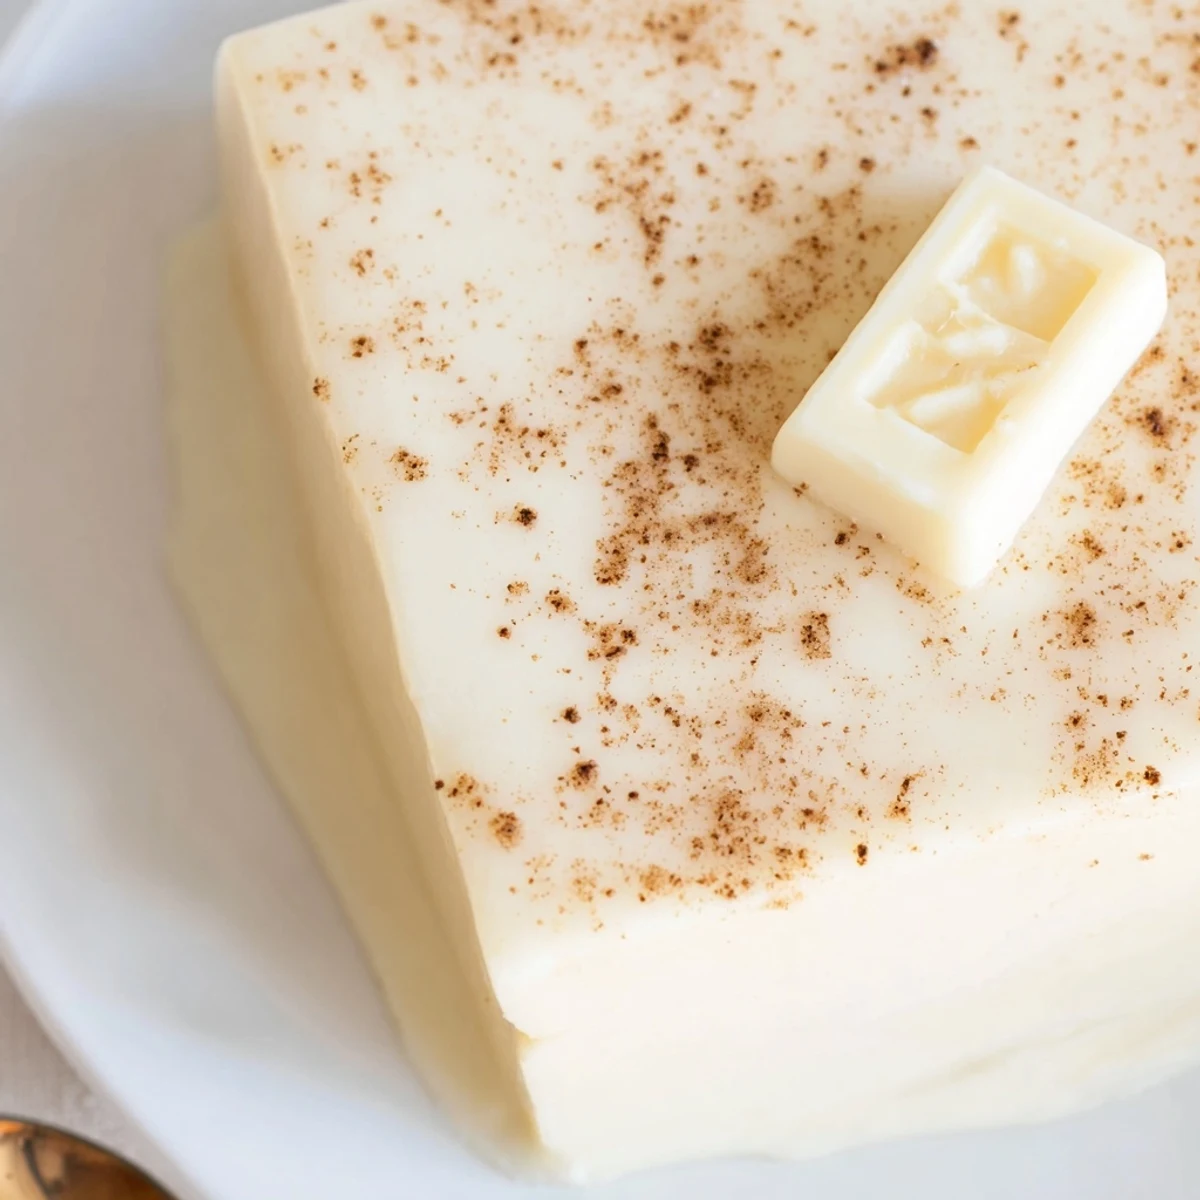
 This creamy eggnog fudge starts by simmering butter, eggnog and sugar until slightly thickened, then melting white chocolate into the hot mixture with nutmeg, cinnamon and vanilla. Pour into a lined pan, smooth the top, sprinkle grated nutmeg if desired, and chill until firm. Slice into 36 squares; add chopped nuts or a splash of spiced rum for variation. Store chilled in an airtight container.
The weekend I first attempted eggnog fudge, my kitchen smelled like a blend of holidays past and sugar-fueled hope. A surprise snowstorm was dusting the windows, so I cranked up a jazzy playlist and set about testing this creamy confection. There was a quiet thrill in stirring together all those rich, spicy ingredients as the house filled with warm, nutmeg-laced air. This fudge has been my go-to winter treat ever since, impossible to resist after dinner or while wrapping gifts.
Last December, I brought a tin of this eggnog fudge to a neighbor’s impromptu holiday game night, worried I’d made too much. By the end of the evening, not a single crumb remained, and friends kept asking if the recipe was a family secret. Turns out, even skeptics wrapped up another piece for the road. Watching the tray empty faster than the eggnog punch bowl is now my favorite holiday tradition.
Ingredients
- White chocolate chips: Go for quality chips; they melt more smoothly and give your fudge its creamy base.
- Unsalted butter: Adds richness—keeping butter unsalted lets you control the flavor and prevents it from tasting too salty.
- Eggnog: Authentic holiday flavor comes from real-deal eggnog, not substitutes; pick your favorite brand or homemade.
- Granulated sugar: Don’t be tempted to reduce the sugar—it’s the backbone that sets the fudge.
- Ground nutmeg: Essential for that signature eggnog aroma; fresh is extra fragrant if you have it.
- Ground cinnamon: Just a hint goes a long way in deepening the festive flavor.
- Pure vanilla extract: Adds warmth and rounds out the spices; don’t skip it or use imitation.
- Freshly grated nutmeg (optional): A sprinkle on top makes the fudge look and smell even more tempting.
Instructions
- Prepare the pan:
- Line your 8x8-inch pan with parchment paper, letting it hang over the edges so you can lift out the fudge easily later.
- Simmer and stir:
- In a saucepan over medium heat, combine butter, eggnog, and sugar—stir often and listen for that gentle bubbling as everything melts together.
- Thicken the base:
- Once boiling, lower the heat and continue stirring for about 4–5 minutes; the mixture should look glossy and slightly thicker.
- Add chocolate and spices:
- Off heat, pour in the white chocolate chips, nutmeg, cinnamon, and vanilla, stirring until the chips fully melt and everything turns luxurious and smooth.
- Pour and smooth:
- Scrape the mixture into your pan, spreading it evenly with a spatula—the aroma is pure holiday spirit at this point.
- Garnish (optional):
- If you’re feeling fancy, dust the top with a little freshly grated nutmeg.
- Let it set:
- Allow the pan to cool on the counter for 30 minutes, then transfer to the fridge for at least 2 hours until the fudge is firm to the touch.
- Slice and enjoy:
- Use the parchment to lift the fudge out, and cut it into neat, bite-sized squares with a sharp knife—it will disappear quickly.
 Pin It
 Sharing this fudge at my cousin’s cookie swap, I watched someone take a bite and stop mid-conversation, eyes wide in surprise. In that instant, the usual chatter faded and everyone reached for more, making me quietly proud that a simple pan of fudge could spark genuine delight. It’s still the first treat to vanish from every holiday dessert table.
How to Store Eggnog Fudge So It Tastes Fresh
I’ve learned to keep my fudge in an airtight container in the fridge—you’ll find it tastes best when it’s just slightly chilled and smooth. Cut only what you’ll serve, since the squares can dry out if left exposed too long.
Simple Ways to Dress Up Your Fudge
If you want to get creative, press a few chopped pecans or walnuts on top before chilling, or stir in a glug of spiced rum with the vanilla for a grown-up twist. Sometimes I sprinkle edible gold dust for a little sparkle, especially when I want to impress guests.
Serving Suggestions for Holiday Cheer
Offer the fudge after dinner with coffee, or box it up as a homemade gift—the creamy texture wins fans every time. For parties, I sometimes tuck a tiny piece into cookie tins or set them out on platters with other festive bites.
- Chill before cutting for neat squares.
- Wipe your knife between slices for tidy edges.
- Hide a few pieces for yourself before the crowd arrives.
 Pin It
 Even after the last bite is gone, the sweet memory lingers each season. Here’s to cozy nights and simple joys—may your kitchen stay merry and bright.
Recipe FAQs
- → How do I prevent a grainy texture?
-
Stir constantly while the butter, eggnog and sugar come to a gentle boil, then reduce to a low simmer for the brief time specified. Ensure the sugar fully dissolves before removing from heat and add the white chocolate off the heat so it melts smoothly into the warm base.
- → Can I use store-bought eggnog varieties?
-
Yes. Use a good-quality eggnog for best flavor. Thicker commercial varieties add richness; if it's very thick, warm gently and stir to incorporate evenly during the simmer step.
- → What nuts pair well with eggnog fudge?
-
Chopped pecans or walnuts offer a warm, buttery contrast to the sweet white chocolate. Fold them in before pouring or sprinkle on top for texture.
- → How long should I chill before cutting?
-
Allow the fudge to cool at room temperature for about 30 minutes, then refrigerate at least 2 hours or until fully firm. Chilling longer firms the center and yields cleaner slices.
- → Can I add alcohol without altering texture?
-
Yes. Stir in a small amount—about 1 tablespoon of spiced rum—after the heat is off to preserve texture. Too much liquid can prevent proper setting, so measure carefully.
- → How should I store the finished squares?
-
Keep the pieces in an airtight container in the refrigerator for up to one week. Separate layers with parchment to prevent sticking and allow them to come to a slightly warmer temperature before serving if desired.