 Pin It
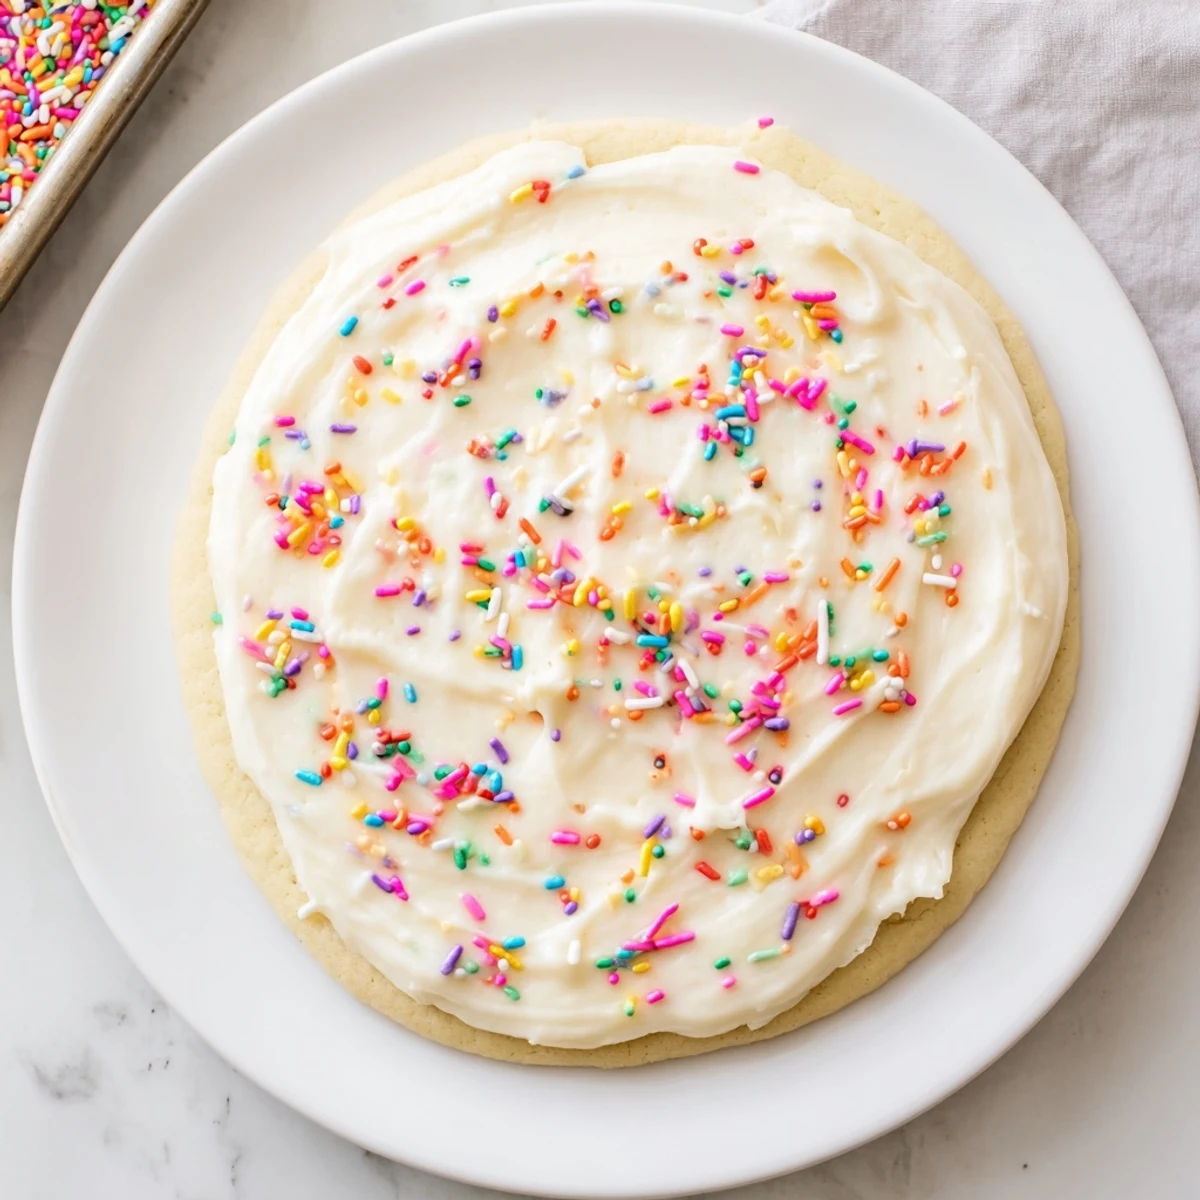
 This luscious frosting comes together in just 10 minutes using pantry staples like powdered sugar, butter, vanilla, and milk. The consistency is easily adjustable—use less milk for piping detailed designs or more for a smooth glaze that spreads effortlessly. The mixture sets to a beautiful soft finish that won't flake off, making it ideal for cookie decorating projects, holiday treats, or everyday baking adventures.
The kitchen counter was covered in a dusting of white powder after yet another failed attempt at royal icing that cracked and shattered. My daughter looked at the broken cookies with such disappointment that I knew I needed something more forgiving. That afternoon we stumbled upon this simple frosting recipe that turned everything around, and now its the only one we use for holiday baking.
Last December my kitchen became a cookie decorating station for the entire neighborhood. Kids sat around the island with bowls of colored frosting, and I watched as this recipe transformed from mere ingredients into memories. The best part was how the frosting set just enough to stack the cookies for gift boxes without smearing, yet still melted perfectly on the tongue.
Ingredients
- 2 cups powdered sugar: Sifting first prevents those frustrating lumps that never seem to dissolve no matter how much you beat the mixture
- 2–3 tablespoons milk: Whole milk adds a subtle richness but any milk works perfectly fine
- 2 tablespoons unsalted butter: Softened to room temperature so it incorporates smoothly without leaving tiny butter pockets throughout
- 1 teaspoon pure vanilla extract: The real stuff makes a noticeable difference in flavor depth
- Pinch of salt: This tiny amount balances all the sugar and prevents the frosting from tasting flat
- Food coloring: Gel coloring gives vibrant hues without thinning the frosting like liquid does
- 1/2 teaspoon almond extract: Optional but adds a lovely subtle undertone that pairs beautifully with vanilla
Instructions
- Mix the dry base:
- Beat together the powdered sugar softened butter vanilla and salt until the mixture looks like fine crumbs and holds together when squeezed
- Add milk gradually:
- Pour in one tablespoon of milk at a time beating well after each addition until you reach your desired consistency for spreading or piping
- Customize your creation:
- Stir in almond extract if using then add food coloring drop by drop mixing thoroughly to achieve the perfect shade
- Frost and set:
- Spread or pipe the frosting onto completely cooled cookies and let them sit undisturbed for about an hour until the surface sets to a soft glossy finish
 Pin It
 My grandmother kept a special batch of colored frostings in small jars in her refrigerator ready for unexpected visitors or afternoon cookie decorating sessions with grandchildren. Now I understand why she always had them prepared, there is something magical about being able to turn a plain moment into a celebration with just a spoonful of sweetness.
Getting the Right Consistency
Learning to judge frosting consistency by sight and feel took me many batches of practice. A good test is dragging a spoon through the frosting, if the line fills in within ten seconds it is perfect for flooding cookies, but if it holds its shape longer it is ready for detailed piping work.
Color Without Compromise
I ruined so many batches of frosting adding liquid food coloring until my local bakery supply owner introduced me to gel colors. The concentrated pigment means you need only a tiny amount on a toothpick to achieve deep reds blues and greens without turning your beautiful frosting into a thin watery mess.
Make Ahead Storage
Keeping extra frosting in the refrigerator has saved me more times than I can count during busy baking seasons. The frosting thickens when chilled but comes back to life beautifully after fifteen minutes on the counter and a quick stir with a fork.
- Press a piece of plastic wrap directly onto the surface to prevent a hard crust from forming
- Let the frosting come completely to room temperature before using for the smoothest results
- Add fresh milk one teaspoon at a time if the refrigerated frosting feels too stiff
 Pin It
 There is something deeply satisfying about a cookie frosted with this simple recipe, the way it catches the light and brings a smile before anyone even takes that first sweet bite.
Recipe FAQs
- → How long does the frosting take to set?
-
Allow frosted cookies to sit at room temperature for at least 1 hour. The frosting will dry to a soft, glossy finish that's perfect for stacking or storing.
- → Can I make this frosting ahead of time?
-
Yes! Store unused frosting in an airtight container in the refrigerator for up to 1 week. Bring to room temperature and stir well before using. You may need to add a splash of milk to restore spreadable consistency.
- → What's the best way to color this frosting?
-
Gel food coloring works best for vibrant colors without thinning the consistency. Add drops gradually until you reach your desired shade. Liquid coloring can be used but may require additional powdered sugar to maintain proper thickness.
- → Can I make this dairy-free?
-
Absolutely! Substitute the butter with vegan butter sticks and use your favorite plant-based milk. Coconut, almond, or oat milk all work well in this frosting while maintaining creamy texture and sweet flavor.
- → How many cookies does this batch cover?
-
This amount frosts approximately 24 standard-sized sugar cookies (3-inch diameter). Adjust quantities up or down depending on your cookie count and how thickly you apply the topping.
- → Why use salt in sweet frosting?
-
A pinch of salt balances the sweetness and enhances the vanilla flavor, creating a more complex, professional taste. It's a small addition that makes a noticeable difference in the final flavor profile.