 Pin It
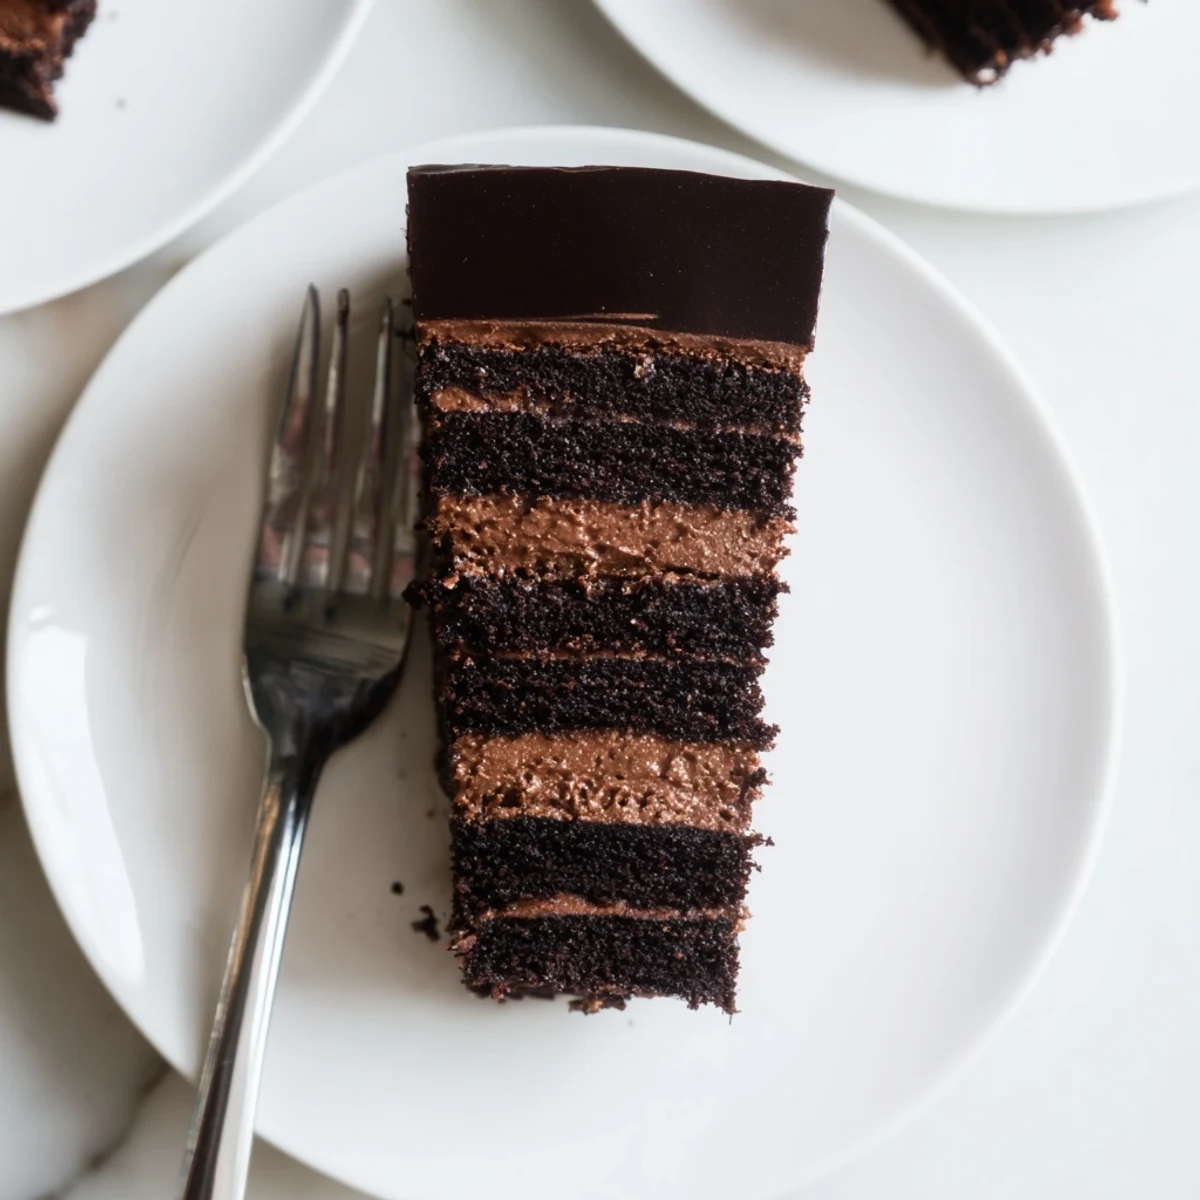
 This luxurious dessert combines three essential chocolate elements: a tender cocoa sponge base, an airy dark chocolate mousse infused with vanilla and a hint of salt, and a mirror-like ganache glaze. The mousse incorporates whipped heavy cream folded into a cooked egg yolk and chocolate base, creating an incredibly smooth texture that sets perfectly around the sponge. Serve chilled after a minimum four-hour rest period, allowing flavors to meld and the layers to firm.
The first time I attempted this cake, my kitchen smelled like a chocolate shop for three days straight. My roommate kept wandering in, hoping I'd made a mistake and baked enough for an army. I hadn't, but that perfume of melted dark chocolate was absolutely worth the tiny portion sizes we ended up with.
I made this for my mothers birthday last year instead of her usual carrot cake. The whole family went quiet during dessert, which is basically the highest compliment possible in my family. She still talks about it.
Ingredients
- 3 large eggs: Room temperature eggs whip up much faster and hold air better than cold ones
- 100 g granulated sugar: Dont reduce this—the sugar structure is crucial for that light sponge texture
- 80 g all-purpose flour: Sift it twice to prevent any lumps in your delicate cake layer
- 20 g unsweetened cocoa powder: Use Dutch-processed for a deeper, smoother chocolate flavor
- 1/2 tsp baking powder: The only leavening agent, so make sure its fresh
- 1/4 tsp salt: Balances the sweetness and enhances the chocolate
- 30 ml whole milk: Adds moisture to the sponge without weighing it down
- 30 ml vegetable oil: Keeps the cake tender while the eggs provide structure
- 1 tsp vanilla extract: Pure vanilla makes a noticeable difference in the final flavor
- 250 g dark chocolate: Splurge on good chocolate here—it accounts for most of the flavor
- 400 ml heavy cream: Very cold cream whips faster and holds its shape longer
- 3 large egg yolks: Pasteurized are safest since they wont be fully cooked
- 60 g granulated sugar: For the mousse base—this gets cooked with water into a syrup
- 2 tbsp water: Creates the sugar syrup that stabilizes the yolks
- 1/2 tsp vanilla extract: Aromatic warmth that complements the dark chocolate
- Pinch of salt: Just enough to make the chocolate flavor pop
- 120 g dark chocolate: Same quality as the mousse chocolate for consistency
- 80 ml heavy cream: Warm this gently—simmering makes it separate
- 1 tbsp unsalted butter: Adds shine and helps the glaze set beautifully
Instructions
- Prep your pan and oven:
- Preheat oven to 175°C and line a 23 cm springform pan with parchment, greasing the sides thoroughly
- Mix the dry sponge ingredients:
- Sift together flour, cocoa, baking powder, and salt into a medium bowl
- Whip the eggs and sugar:
- Beat eggs and sugar until pale and tripled in volume, about 5 minutes
- Fold everything together:
- Gently incorporate dry ingredients, then drizzle in milk, oil, and vanilla
- Bake the sponge:
- Pour into prepared pan and bake 18 to 20 minutes until a toothpick comes out clean, then cool completely
- Melt the mousse chocolate:
- Melt chocolate over simmering water, stirring until smooth, then let cool slightly
- Make the sugar syrup:
- Heat sugar and water until dissolved and simmering
- Temper the yolks:
- Gradually whisk hot syrup into yolks until thick and pale
- Combine chocolate and yolks:
- Stir melted chocolate and vanilla into the yolk mixture with a pinch of salt
- Whip the cream:
- Beat cold cream to soft peaks
- Make the mousse:
- Fold one third of whipped cream into chocolate mixture, then gently fold in the rest
- Set up for assembly:
- Place cooled sponge on a platter and reassemble the springform ring around it
- Add the mousse layer:
- Pour mousse over sponge, smooth the top, and refrigerate at least 4 hours until set
- Make the glaze:
- Heat cream until just simmering, pour over chocolate and butter, let sit 1 minute, then stir until glossy
- Glaze the cake:
- Cool glaze 10 minutes, pour over set mousse, letting it drip down the sides
- Final chill:
- Refrigerate 30 minutes to set the glaze before serving
 Pin It
 This cake has become my go to for dinner parties because it needs to be made ahead, freeing me up to actually enjoy my guests. Plus, something about serving a three layer chocolate dessert makes people feel extra special.
Mastering the Sponge
Under whipping the egg and sugar mixture is the most common mistake. Keep going until the mixture falls from the whisk in a thick ribbon that slowly dissolves back into itself. This structure is what keeps the sponge light despite the heavy chocolate layers on top.
Working with Mousse
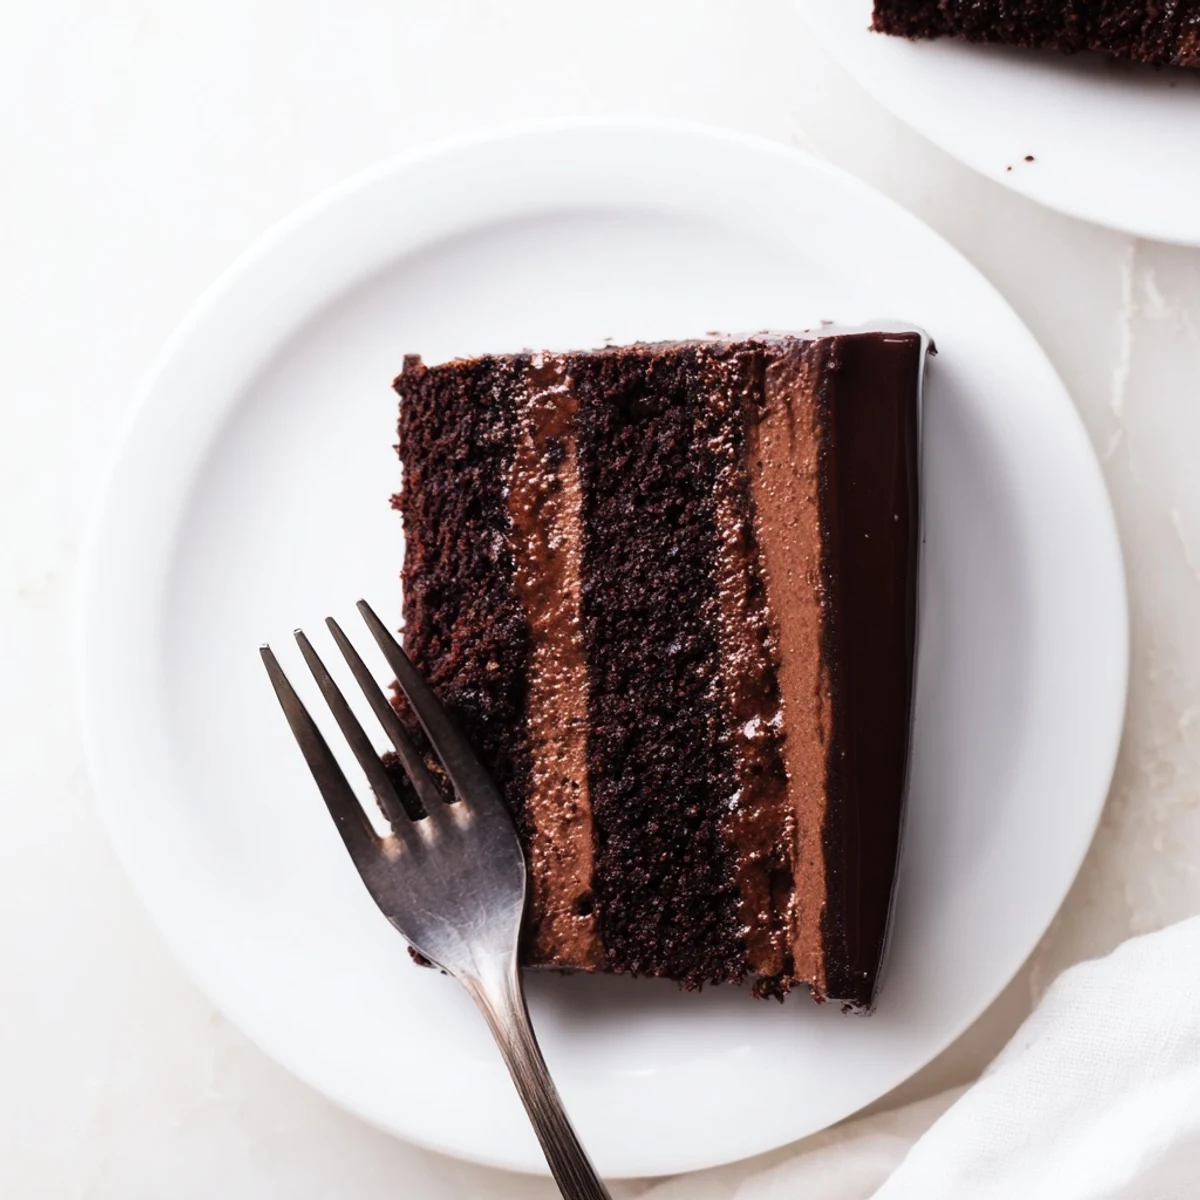
Fold the whipped cream in gently but thoroughly. I use a silicone spatula and scrape around the sides of the bowl, then fold through the middle, rotating the bowl each time. The mousse should look uniform and silky smooth, with no visible white streaks remaining.
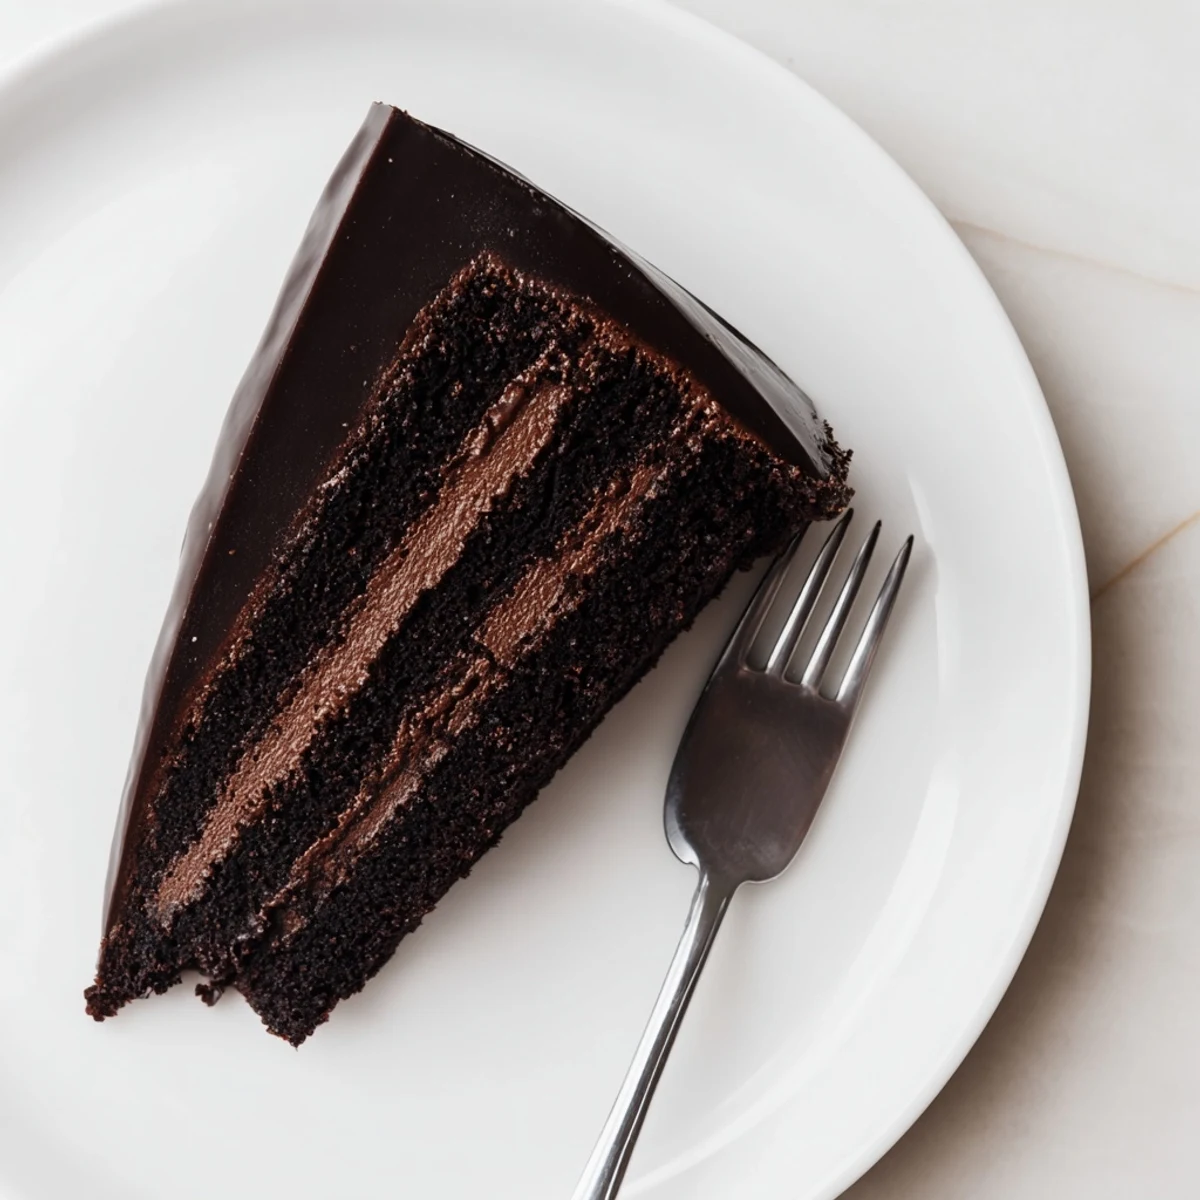
Getting That Perfect Glaze
The glaze temperature is everything. Too hot and it runs right off the cake. Too cold and it clumps instead of pouring smoothly. Ten minutes of cooling time is usually perfect—it should feel warm to the touch, not hot.
- Set your cake on a wire rack over a baking sheet to catch glaze drips
- Use an offset spatula to smooth the top after pouring
- If the glaze thickens too much, microwave for 5 seconds
 Pin It
 Serve this with nothing more than a cup of strong coffee and let the chocolate speak for itself.
Recipe FAQs
- → What percentage of dark chocolate works best?
-
Dark chocolate between 60–70% cocoa provides the ideal balance—bitter enough to cut through the sweet mousse while maintaining smoothness when melted.
- → Can I make this cake ahead of time?
-
Absolutely. The assembled cake improves after 24 hours in the refrigerator. Add the glaze on the day of serving for the glossiest finish.
- → Why does my mousse sometimes separate?
-
Separation occurs when whipped cream is overfolded or the chocolate base is too hot when combined. Ensure the chocolate cools to room temperature before folding in the cream.
- → What can substitute the springform pan?
-
A standard 9-inch cake pan works, but line it completely with parchment paper including the sides. Use an acetate collar for easy removal if available.
- → How do I get perfectly smooth glaze?
-
Let the glaze cool for exactly 10 minutes before pouring—it should feel warm but not hot. Pour in the center and let gravity spread it naturally.