 Pin It
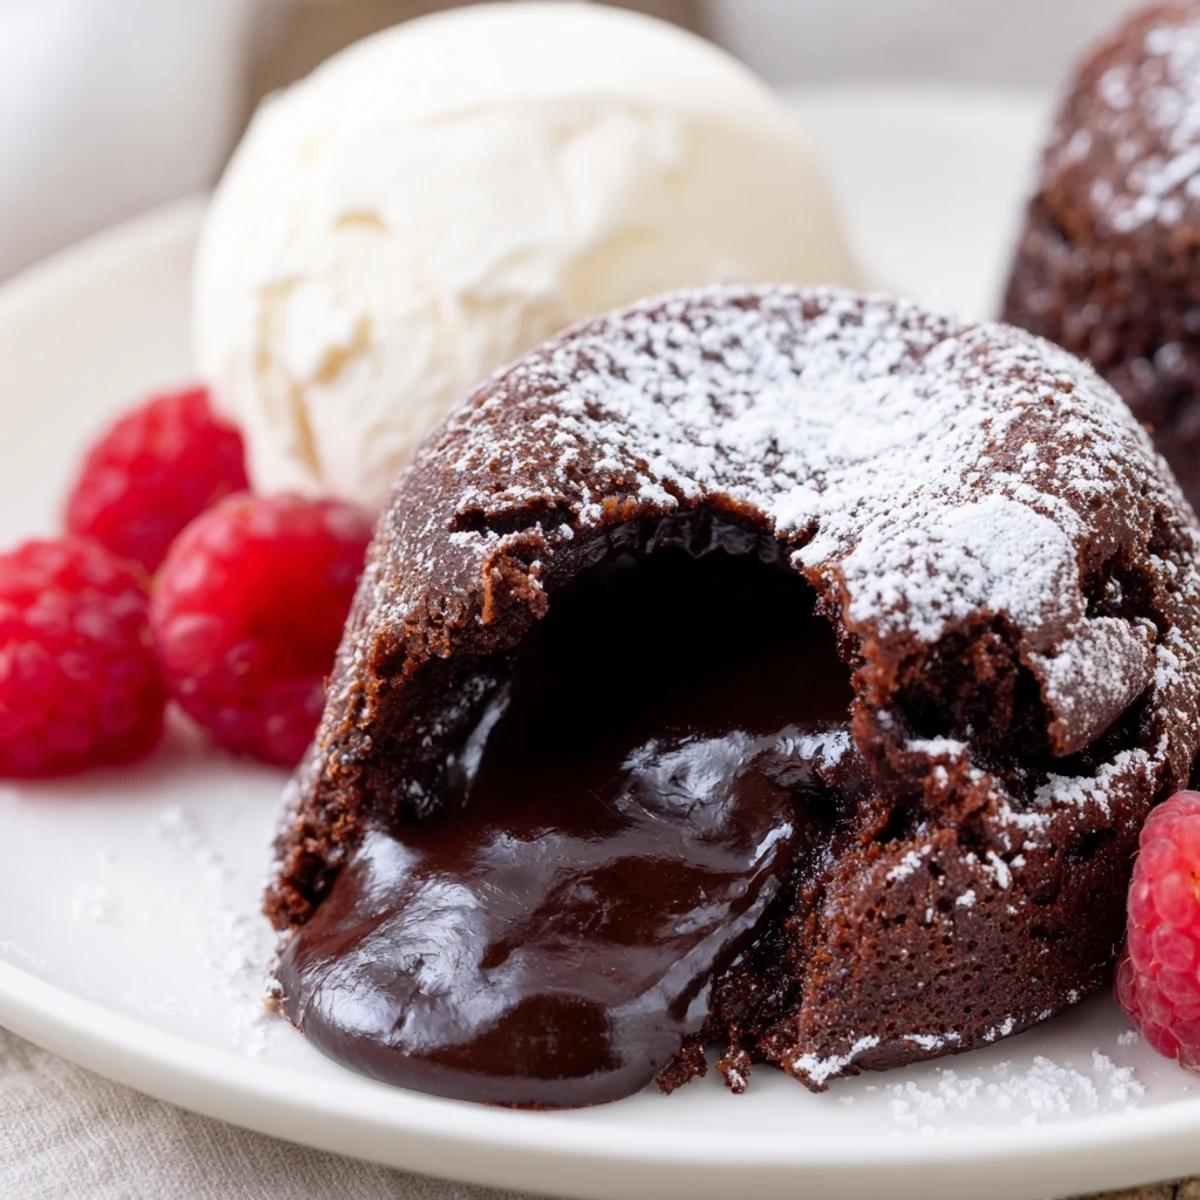
 These individual chocolate cakes boast a luscious molten center that melts in your mouth. Crafted by melting high-quality dark chocolate and butter, then folding into a smooth batter of eggs, sugar, and flour, they bake quickly to create a delicate outer edge with a warm, gooey core. Serve dusted with powdered sugar alongside fresh berries or vanilla ice cream for an elegant finish. Simple prep and baking yield a decadent dessert sure to impress.
I burned my first batch because I left them in thirty seconds too long. The centers were firm, the magic gone. My dinner guest laughed and said we'd call them chocolate muffins instead. That's when I learned lava cakes don't forgive, but they do teach you to watch the clock like your life depends on it.
I made these for my sister's birthday once, and when she cut into hers the chocolate oozed out so slowly she actually grabbed my arm. We sat there in silence just watching it pool on the plate. She told me later that was the moment she forgave me for forgetting her birthday the year before.
Ingredients
- High-quality dark chocolate (60–70% cocoa): This is not the place for cheap chocolate, the flavor carries the whole dessert and you'll taste every shortcut you take.
- Unsalted butter: Melts into the chocolate to create that silky base, plus you need extra to coat the ramekins so they release cleanly without a fight.
- Eggs and egg yolks: The yolks add richness and help keep that center soft, I once tried it with just whole eggs and it was drier, less luxurious.
- Powdered sugar: Dissolves faster than granulated and keeps the batter smooth, sift it or you'll get little sugar pebbles in your cake.
- All-purpose flour: Just enough to give structure without making it cakey, sift this too or you'll have lumps you can't whisk out.
- Vanilla extract: A background note that makes the chocolate taste more like itself, not less.
- Salt: One pinch wakes up all the other flavors, I forget it sometimes and the cake tastes flat.
Instructions
- Prep the ramekins:
- Butter them like you mean it, every edge and corner, then dust with cocoa powder and tap out the excess. This step is the difference between a clean inversion and a broken cake stuck to the dish.
- Melt the chocolate and butter:
- Use a double boiler and stir slowly until it's completely smooth and glossy. Let it cool for a few minutes or the eggs will scramble when you add them.
- Whisk the eggs and sugar:
- Beat them for about two minutes until they're pale and foamy, this adds air and makes the texture lighter. Don't rush it, the volume matters here.
- Combine chocolate and eggs:
- Pour the chocolate into the egg mixture and whisk gently until it's one color, then add vanilla and salt. The batter should look shiny and flow like thick cream.
- Fold in the flour:
- Sift it over the top and fold just until you don't see white streaks anymore. Overmixing makes them tough, I learned that the hard way.
- Fill and bake:
- Divide the batter evenly, about three-quarters full in each ramekin, and bake for 11 to 13 minutes. The edges should be set and the centers should jiggle slightly when you tap the pan.
- Invert and serve:
- Let them sit for one minute, run a knife around the edge, and flip onto plates. Dust with powdered sugar and serve immediately while the center is still molten.
 Pin It
 One night I served these to friends who didn't believe I'd made them from scratch. They kept asking where I ordered them from. I finally had to show them the dirty bowl in the sink before they'd believe me, and even then one of them checked the trash for a bakery box.
How to Know When They're Done
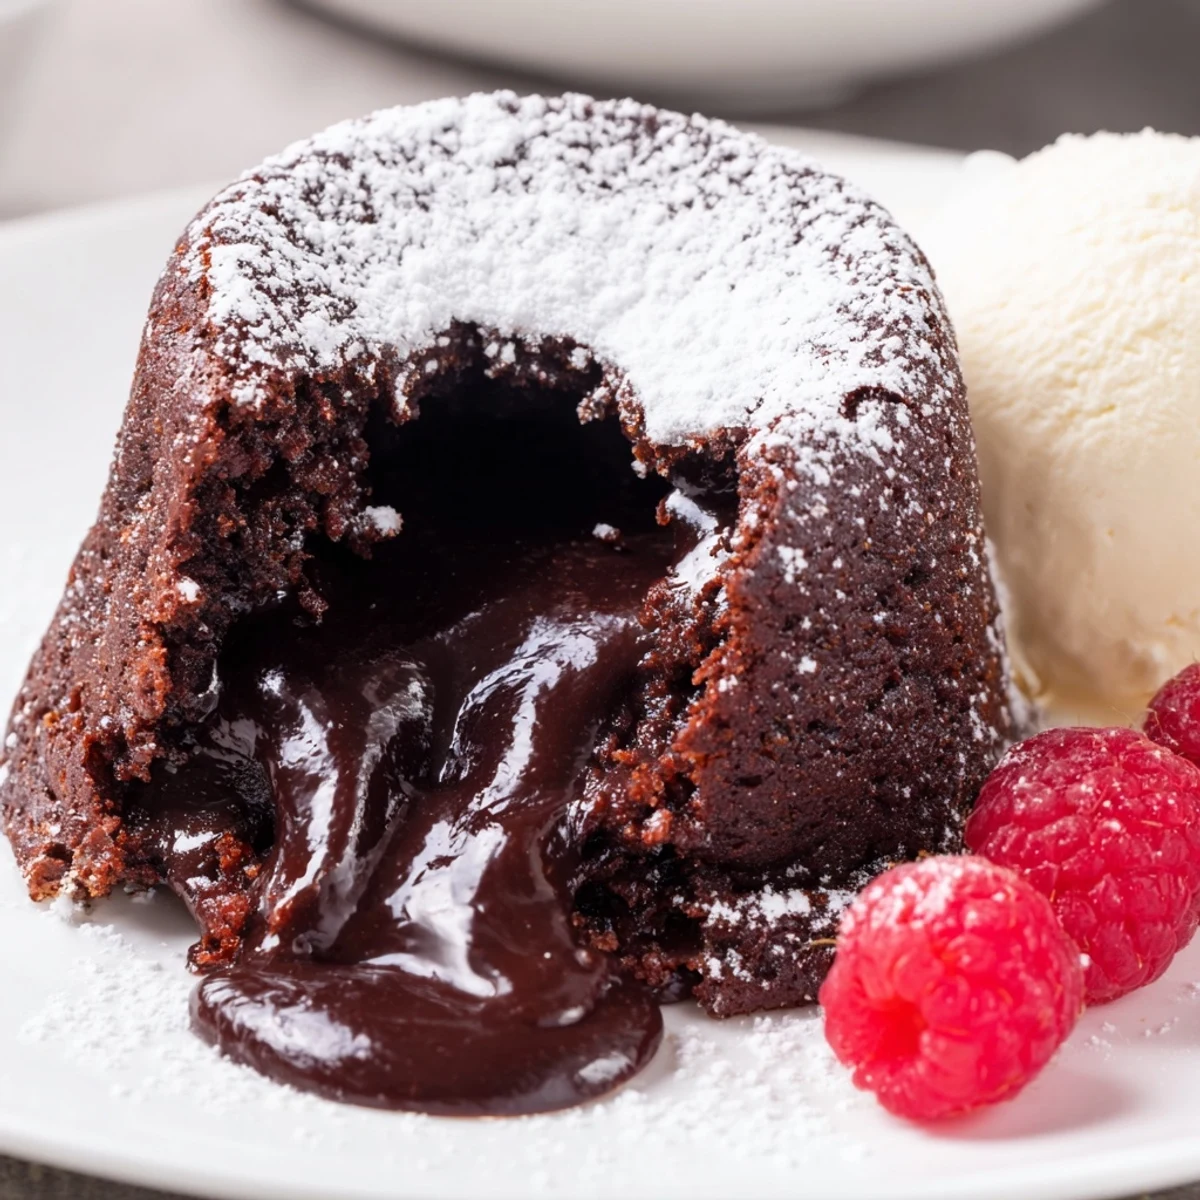
The edges will puff up and look firm, almost matte, while the center stays shiny and soft. If you gently shake the pan, the middle should jiggle like set pudding, not slosh like liquid. I usually pull them at 12 minutes and they're perfect, but every oven runs different so start checking at 11.
Make-Ahead and Storage Tips
You can fill the ramekins with batter, cover them tightly with plastic wrap, and refrigerate for up to 24 hours before baking. When you're ready, pull them straight from the fridge to the oven and add a minute or two to the bake time. I've never had luck reheating these, they're meant to be eaten the second they come out.
Serving Suggestions and Variations
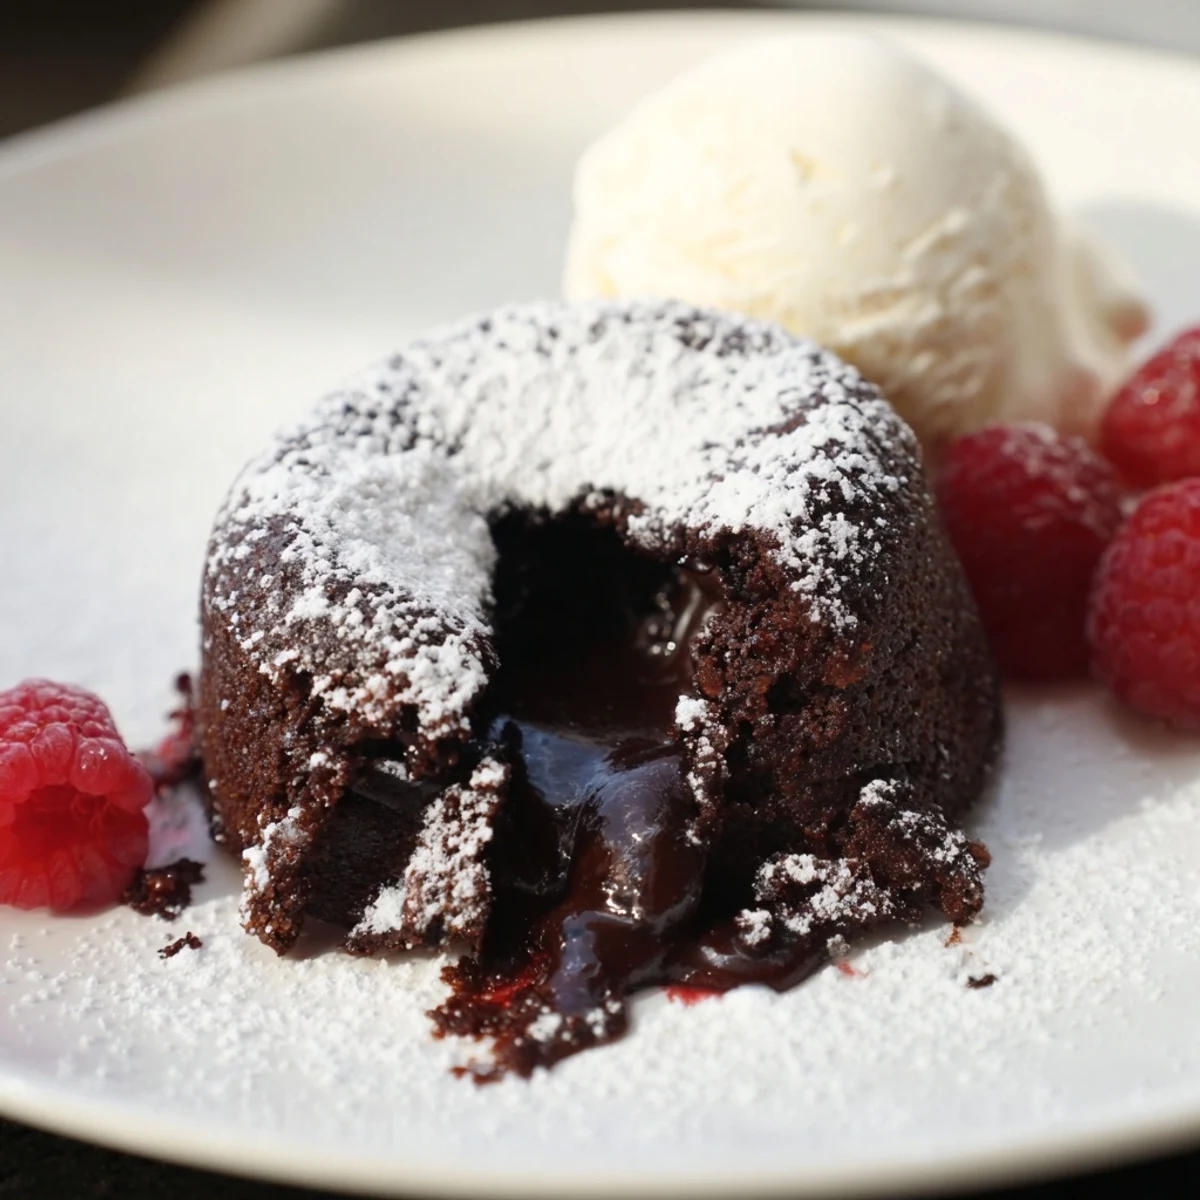
I love serving these with cold vanilla ice cream so it melts into the warm chocolate, or with fresh raspberries for a tart contrast. You can add a pinch of espresso powder to the chocolate mixture to deepen the flavor, or swap in milk chocolate if you want something sweeter, just cut back the sugar by a tablespoon or so.
- Dust with powdered sugar and add a sprig of mint for a classic look.
- Serve with whipped cream and a drizzle of salted caramel if you're feeling extra.
- Try adding a square of chocolate in the center of each ramekin before baking for an even gooier middle.
 Pin It
 These cakes have saved more dinner parties than I can count. They're the kind of dessert that makes people forget whatever came before, and they'll remember the chocolate long after they've forgotten the conversation.
Recipe FAQs
- → What chocolate works best for molten lava cakes?
-
High-quality dark chocolate with 60–70% cocoa content melts smoothly and offers a rich, balanced flavor ideal for molten lava cakes.
- → How do I achieve the gooey molten center?
-
Baking the cakes for 11–13 minutes allows the edges to set while keeping the center soft and molten. Slightly underbaking prevents a fully set core.
- → Can the batter be prepared in advance?
-
Yes, the batter can be refrigerated for up to 24 hours. Bake directly from the fridge, adding a couple of extra minutes to the baking time.
- → What are good serving suggestions?
-
Dust with powdered sugar and serve with fresh berries or a scoop of vanilla ice cream to complement the rich chocolate flavor.
- → How to prevent cakes from sticking to ramekins?
-
Generously butter the ramekins and dust with cocoa powder or flour before adding batter to ensure easy release after baking.