 Pin It
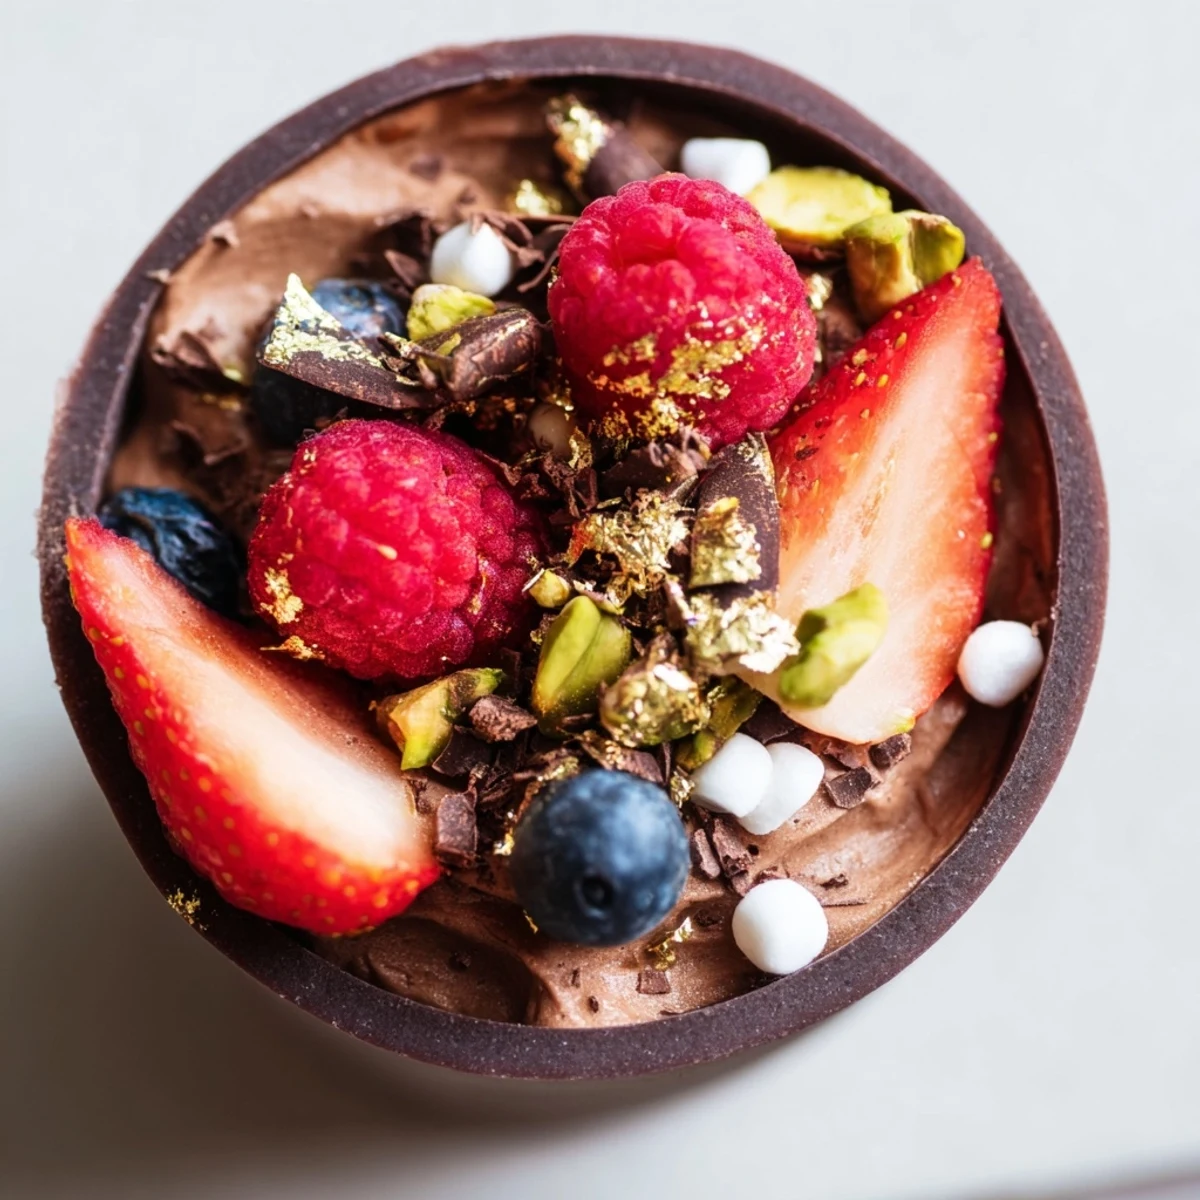
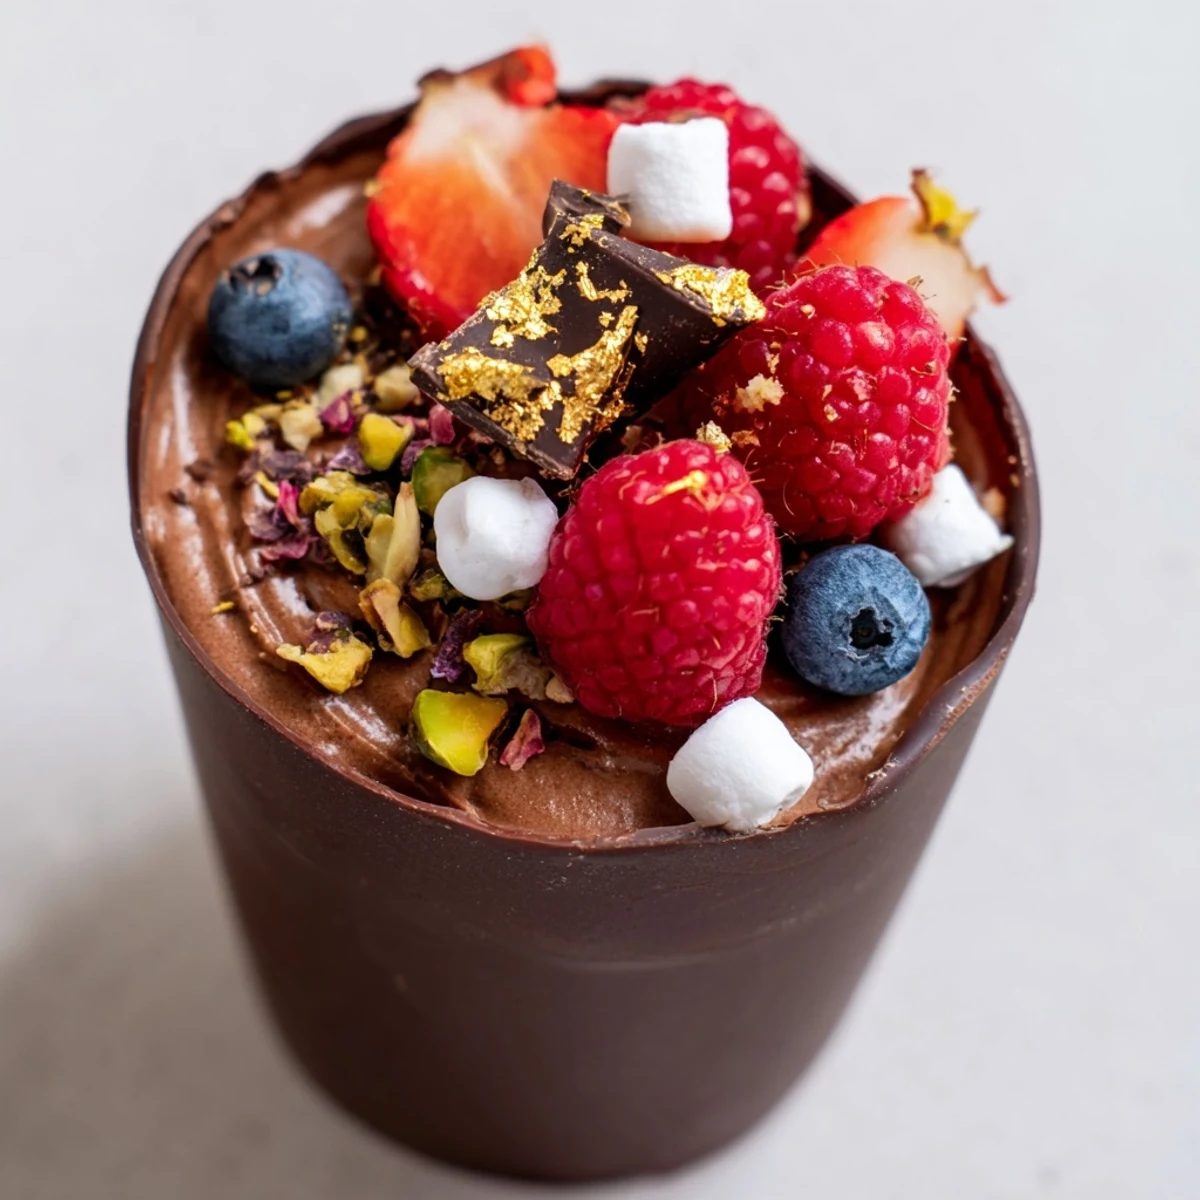
 These decadent chocolate grazing cups combine the richness of handmade dark chocolate cups with silky smooth chocolate mousse. Fresh mixed berries add brightness and natural sweetness, while crunchy nuts, mini marshmallows, and chocolate curls create irresistible texture contrast. The edible gold leaf adds a touch of elegance that makes these cups perfect for special occasions and dessert tables. Each cup offers a complete dessert experience in every bite.
The first time I made chocolate cups was actually a happy accident. I'd intended to make truffles but my chocolate seized, so I improvised by brushing it into cupcake liners instead. My dinner guests went absolutely wild for them, and honestly? I haven't looked back since.
I served these at my best friend's bridal shower last spring. The women spent ten minutes just photographing them before anyone took a bite. Watching guests discover different topping combinations became its own conversation starter.
Ingredients
- Dark chocolate: I prefer 60-70% cocoa for the cups because it holds its shape beautifully and the slight bitterness balances the sweet mousse
- Heavy cream: Very cold cream whips up faster and holds those crucial air pockets that make mousse feel luxurious
- Fresh mixed berries: Choose berries that are firm and dry, otherwise they'll make your chocolate cups sweat and lose their crunch
- Chopped nuts: Toast them lightly first, that extra warmth brings out oils that make the flavor pop against the chocolate
- Mini marshmallows: These aren't just cute, they add a fun chewy texture that breaks up all the smooth elements
Instructions
- Melt and Create:
- Melt your dark chocolate gently, then paint the inside of your liners in thin, even layers. Two thin coats work better than one thick coat and prevent weak spots that might crack.
- Chill the Cups:
- Let those chocolate shells set completely in the refrigerator, about 20 minutes. Patience here pays off, trying to rush this step almost always ends in broken cups.
- Whip the Cream:
- Beat your cold heavy cream with powdered sugar and vanilla until soft peaks form. Don't overwhip, you want it to still fold gently into the chocolate without losing volume.
- Combine Mousse:
- Melt the remaining chocolate and fold in a dollop of cream first to loosen it. Gently fold this mixture into the rest of your whipped cream until no streaks remain.
- Fill and Decorate:
- Spoon or pipe that silky mousse into your chocolate cups, then go wild with toppings. The messy, organic look actually works in your favor here.
- Final Chill:
- Give everything at least 20 minutes to set up again. This firms the mousse just enough so each bite holds its shape beautifully.
 Pin It
 My sister asked for these at every family gathering after that first successful batch. They've become our signature celebration dessert, and I love that I can prep everything in the morning.
Make Ahead Magic
The chocolate cups and mousse can both be made a day ahead, just store them separately in airtight containers. I've learned through experience that assembling too early makes the chocolate start to soften and lose its satisfying snap.
Topping Combinations
While the classic berry and nut mix is gorgeous, don't be afraid to play around. Crushed peppermint candies transform these into winter holiday stunners, and citrus segments brighten everything up for summer parties. Let the season guide you.
Presentation Secrets
Arrange your finished cups on a wooden board or slate tray with extra toppings scattered artfully around them. This grazing style encourages guests to mix and match, creating their own perfect bites.
- Set out small spoons so guests can add extra toppings to their cups
- Label the toppings if you're serving guests with allergies
- Keep a few extra chocolate cups handy in case any crack during assembly
 Pin It
 These chocolate grazing cups turn dessert into an experience rather than just something to eat at the end of a meal. Watch your guests light up when they see them appear on the table.
Recipe FAQs
- → How far in advance can I prepare these cups?
-
Prepare chocolate cups and mousse separately up to 24 hours ahead. Assemble the cups within 4-6 hours of serving for optimal texture and freshness.
- → Can I use white chocolate instead?
-
Absolutely. White chocolate works beautifully for both cups and mousse. The preparation method remains exactly the same, just swap the dark chocolate for white chocolate.
- → What's the best way to melt chocolate?
-
Melting in short 20-second bursts in the microwave, stirring between each burst, prevents overheating. Alternatively, use a double boiler with simmering water, ensuring the bowl doesn't touch the water.
- → How do I prevent the chocolate cups from cracking?
-
Ensure the chocolate is properly tempered by not overheating it. Apply an even, thick layer to the liners and chill completely before attempting to remove them.
- → Can I make these nut-free?
-
Simply omit the nuts from the toppings and replace with extra berries, shredded coconut, or crushed pretzels for that satisfying crunch element.
- → What's the ideal temperature for serving?
-
Serve chilled straight from the refrigerator but allow 5-10 minutes to soften slightly. The mousse becomes creamier and flavors more pronounced at cool room temperature.