 Pin It
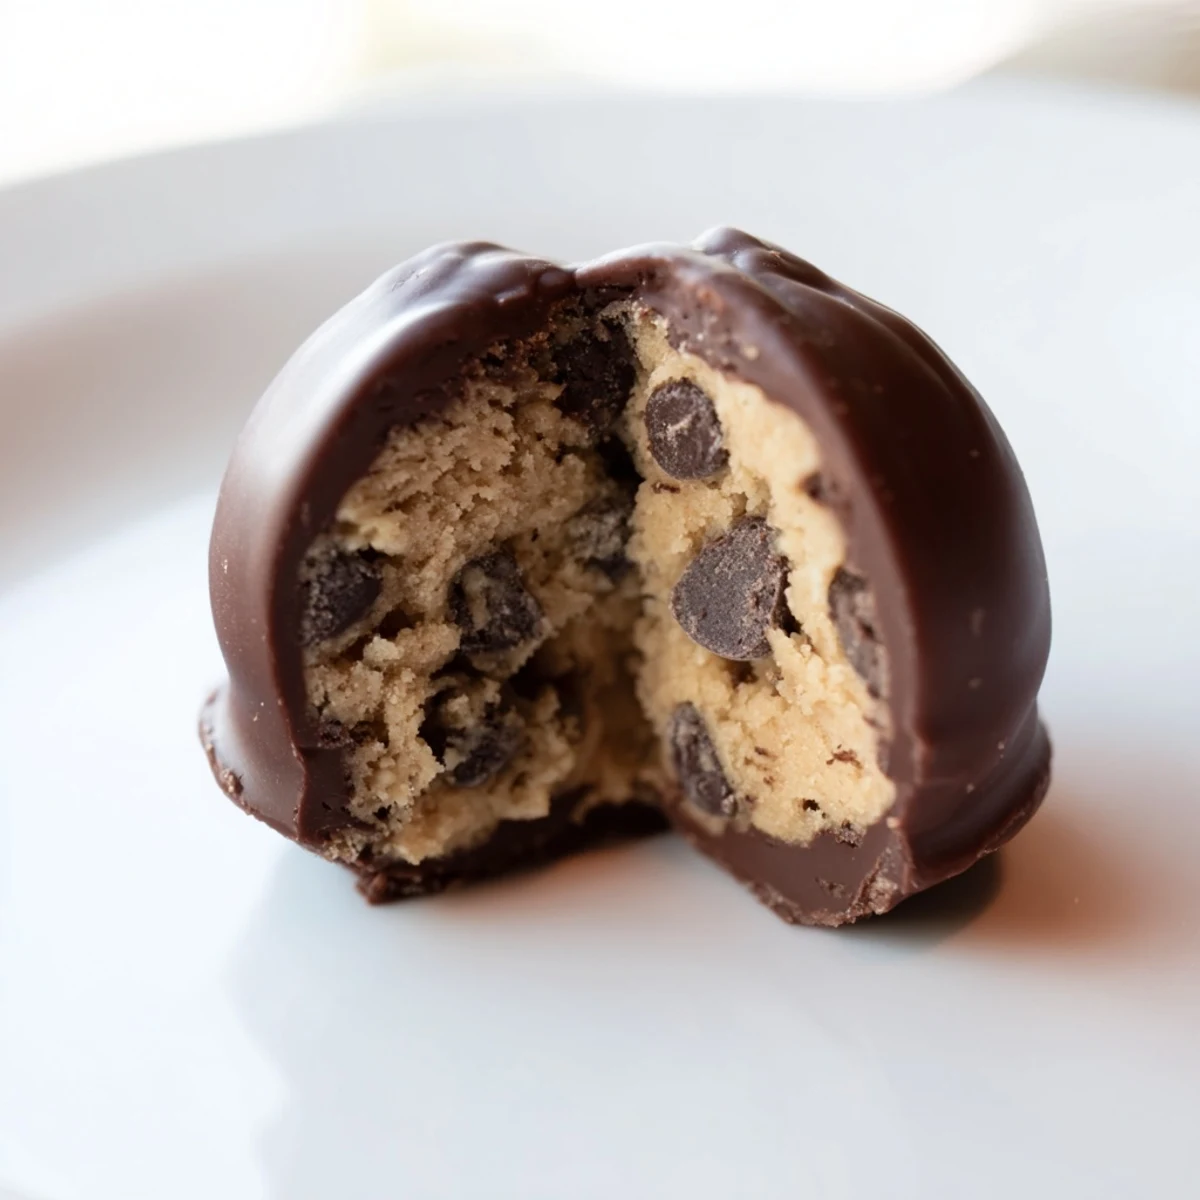
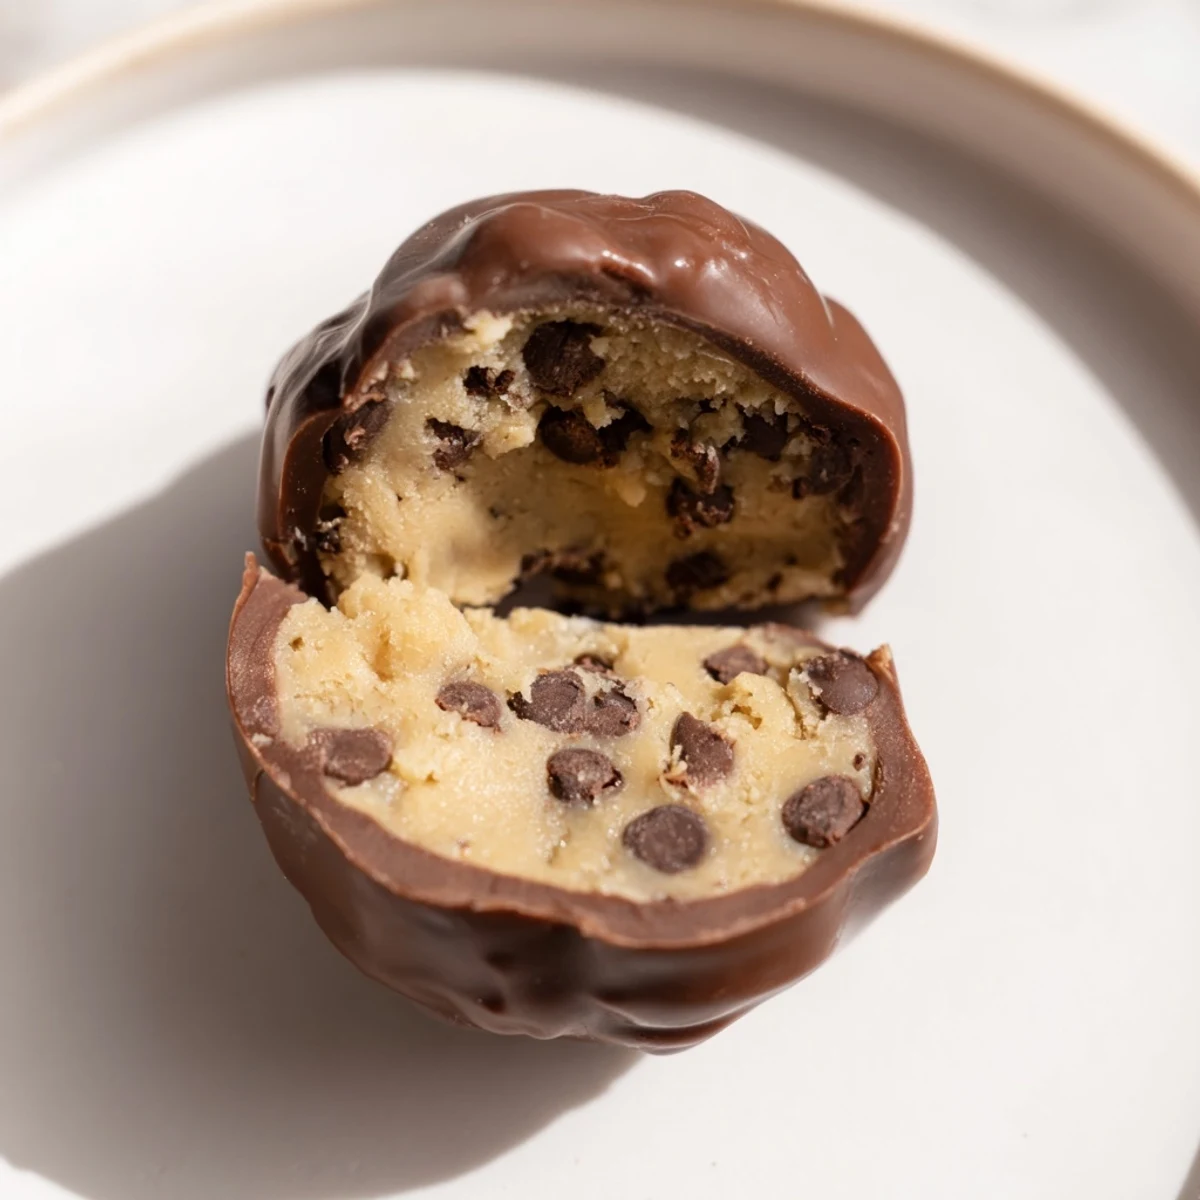
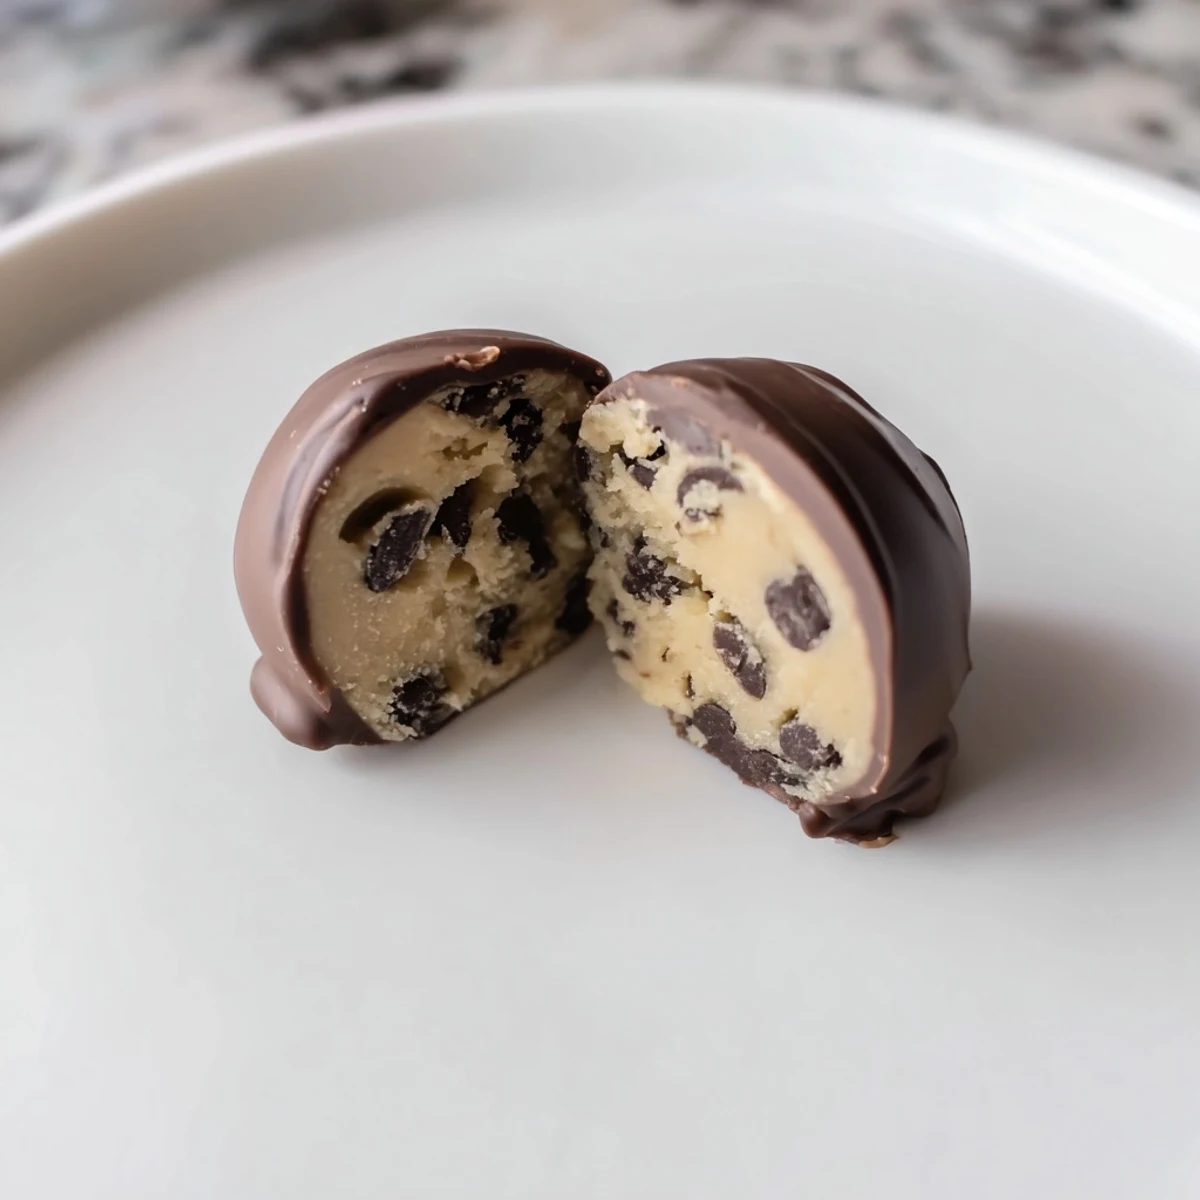
 These bite-sized chocolate chip cookie dough balls are made without eggs and feature buttery, lightly sweetened dough mixed with mini chocolate chips. After chilling to firm up, each piece is enrobed in a silky chocolate coating for a decadent finish. Prepared with heat-treated flour for safety, they require no baking beyond dough prep and chill time. Perfect as a quick, crowd-pleasing treat for any occasion.
There's something magical about the first time you realize you can eat cookie dough without guilt. I discovered these truffles on a lazy Sunday afternoon when I wanted the indulgence of raw cookie dough but didn't want to second-guess myself about food safety. That's when heat-treated flour became my secret weapon—suddenly, I could have that creamy, buttery dough texture I craved, wrapped in chocolate, no hesitation required. These little bites became my answer to every craving that fell somewhere between cookie and truffle.
I made these for the first time at a dinner party where someone mentioned their biggest food regret was never eating raw cookie dough as an adult. Watching their face light up when I handed them one of these truffles—that moment of pure, uncomplicated joy—that's when I knew this recipe had to become a permanent rotation in my kitchen. They've been my secret weapon ever since.
Ingredients
- Unsalted butter, softened: The foundation of everything soft and delicious here; make sure it's truly soft or you'll be fighting lumps when you cream it with the sugars.
- Packed light brown sugar: This is what gives the dough that molasses-forward flavor that tastes authentically cookie-like, not just generic sweet.
- Granulated sugar: The co-star that brings brightness and helps with texture.
- Milk: Just a touch to keep things tender and bind everything together smoothly.
- Vanilla extract: Never skip this; it's the bridge between cookie dough and refined truffle.
- All-purpose flour, heat-treated: This is non-negotiable for safety in a no-bake dough—the heat does the work so you don't have to worry.
- Salt: The subtle voice that makes everything taste more like itself.
- Mini chocolate chips: Small enough that they distribute evenly without adding unwanted weight to your bites.
- Semisweet or dark chocolate for coating: This is your final flavor statement, so choose something you actually enjoy eating on its own.
- Coconut oil or vegetable oil: Optional but genuinely helpful if your chocolate feels thick; it thins it just enough for a smooth dip without changing the flavor.
Instructions
- Heat-treat your flour first:
- Preheat the oven to 350°F and spread the flour in a thin, even layer on a baking sheet. Bake for exactly 5 minutes—you're not browning it, just bringing it to a temperature that neutralizes any bacteria. Let it cool completely on the pan; warm flour will mess with your dough's texture.
- Cream butter and sugars until fluffy:
- This takes about 2–3 minutes with an electric mixer and should look noticeably lighter in color, almost pale. You're incorporating air here, which keeps the dough tender rather than dense.
- Add milk and vanilla:
- Mix just until you don't see streaks anymore. This step is quick and easy; don't overthink it.
- Fold in the cooled flour and salt:
- Stir gently until there are no white streaks left. The dough will feel soft and almost like actual cookie dough at this point, which is exactly right.
- Add the chocolate chips:
- Fold them in gently so they stay distributed throughout rather than sinking to the bottom.
- Roll and chill your dough balls:
- Scoop tablespoon-sized portions and roll them between your palms until smooth. Arrange them on a parchment-lined sheet and freeze for 20–30 minutes until they're firm enough to dip without falling apart.
- Melt your chocolate:
- Use a microwave in 30-second pulses (stirring between each) or a double boiler over gentle heat. Either way, stop as soon as everything is smooth; overheated chocolate gets thick and temperamental.
- Dip with confidence:
- Use a fork or specialized dipping tool to lower each chilled ball into the chocolate, twirl gently to coat, and tap off excess before placing it back on the parchment. The cold center keeps everything from sliding around.
- Set and serve:
- Refrigerate the finished truffles for about 15 minutes until the chocolate hardens. They're good cold straight from the fridge or left on the counter for an hour if you prefer them slightly softer.
 Pin It
 The moment that changed how I think about these truffles came when someone asked if they tasted like cookie dough or like truffles, and I realized they'd created something entirely new—a dessert that belonged to neither category and somehow satisfied both cravings at once. That's the power of taking something familiar and changing just enough to make it feel like a discovery.
Why Heat-Treated Flour Changed Everything
Before I understood heat-treating, I was nervous about serving unbaked dough to anyone. Now it's become my go-to method whenever I want raw dough safely—it doesn't change the flavor or texture, which is the real miracle. You spend five minutes baking flour, and suddenly cookie dough goes from a guilty pleasure to something you can share without hesitation.
The Art of the Perfect Dip
Dipping these truffles is where the whole recipe shows its polish, and it's easier than it sounds. The key is that your dough balls are cold enough to hold their shape but your chocolate is warm enough to flow smoothly, creating that snappy exterior that contrasts with the soft center. Even if your first few aren't picture-perfect, they taste absolutely fine.
Storage and Serving Thoughts
These truffles are flexible about how they want to be treated, which is part of their charm. They keep beautifully in the refrigerator for up to a week in an airtight container, and they're equally good cold or brought to room temperature, depending on whether you want that firm chocolate snap or a softer bite.
- For extra texture, fold in chopped toasted nuts or sea salt right before rolling the dough balls.
- If chocolate coating intimidates you, try dipping half of each truffle so you get the look without the pressure.
- These make an impressive gift because they taste homemade and labor-intensive even though they're genuinely simple.
 Pin It
 These truffles have become my answer to almost every dessert occasion because they're simple enough to make on a whim but elegant enough to feel intentional. There's something deeply satisfying about a dessert that tastes exactly like what you wanted.
Recipe FAQs
- → How is the dough made safe to eat without baking?
-
The flour is heat-treated by baking it briefly in the oven, eliminating potential bacteria and making the dough safe for raw consumption.
- → Can I use different types of chocolate for coating?
-
Yes, semisweet, dark, milk, or white chocolate all work well to coat the dough balls and can be chosen based on personal preference.
- → What is the purpose of chilling the dough balls before coating?
-
Chilling firms up the dough, making it easier to handle and dip into melted chocolate without losing shape.
- → Are these treats suitable for vegetarians?
-
Yes, these bites are vegetarian-friendly as they contain no animal-derived gelatin or eggs.
- → How should the finished treats be stored?
-
Store the coated dough bites in an airtight container in the refrigerator to keep them fresh for up to one week.