 Pin It
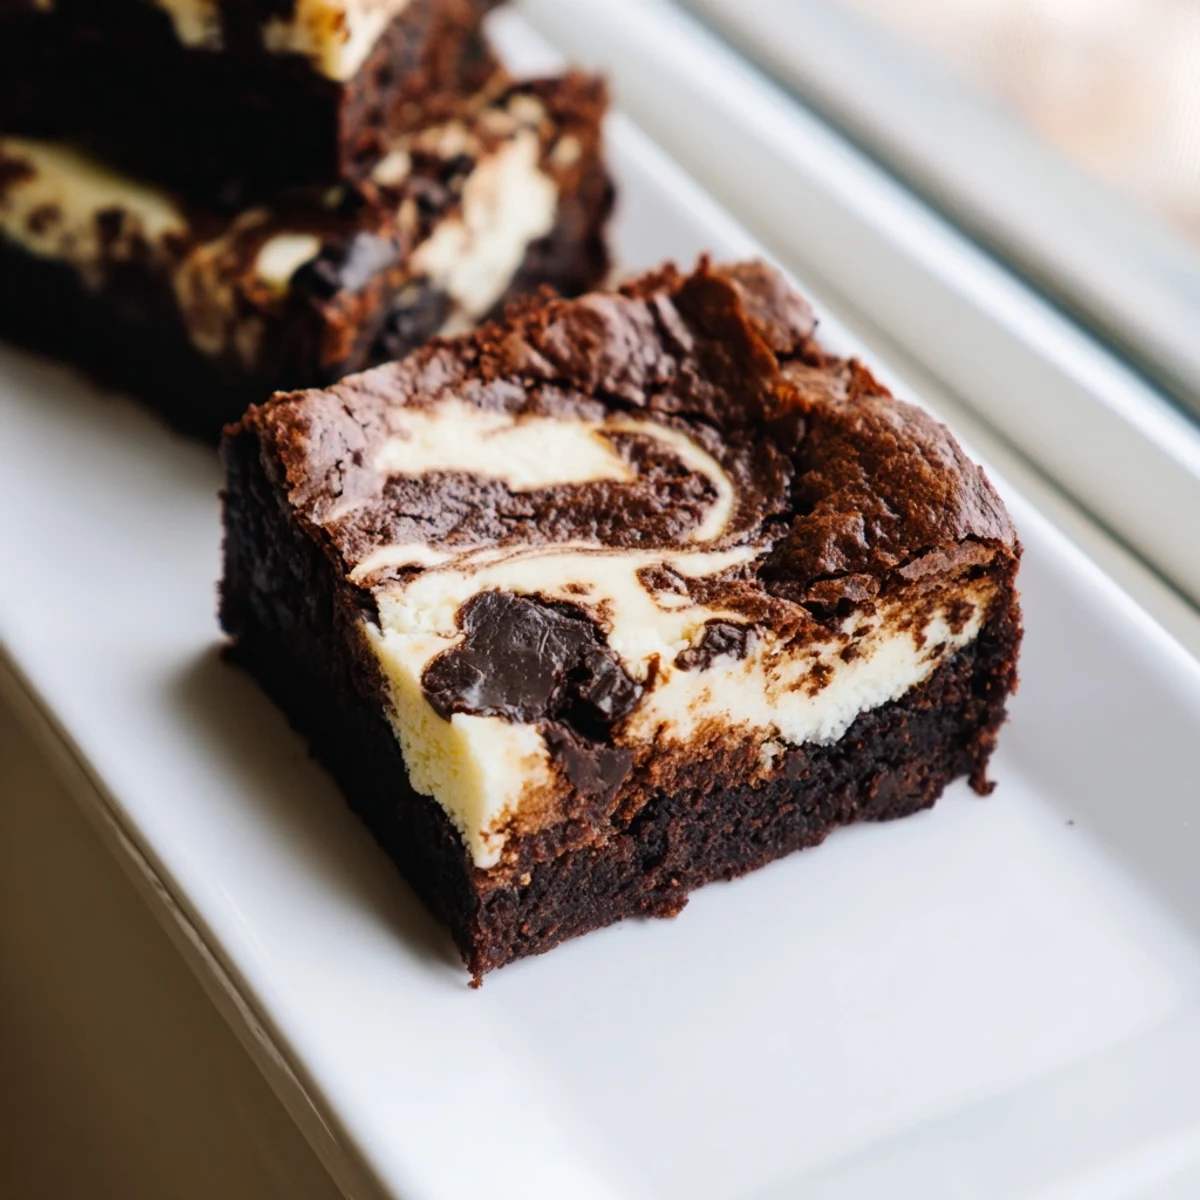
 These swirled brownies bring together the best of both worlds: intensely fudgy chocolate brownies and tangy cream cheese filling. The contrasting layers create beautiful marbled patterns throughout each square.
The brownie base features melted butter, dark chocolate, and cocoa powder for deep chocolate flavor. Meanwhile, the cheesecake swirl adds a creamy, tangy contrast that cuts through the richness.
Baking at 175°C for 32-35 minutes yields perfectly set edges with a slightly fudgy center. Complete cooling is essential before cutting to achieve clean, defined squares.
Store these treats refrigerated for up to 5 days—the flavor actually improves after chilling, making them ideal for preparing ahead of time for parties or potlucks.
The kitchen was quiet except for the hum of my mixer, cream cheese and sugar spinning into something pale and perfect. I'd been experimenting with brownie recipes for months, never quite satisfied until I decided to stop overthinking and just trust the swirl. That first pan came out with these gorgeous rivers of cream cutting through dark chocolate, and I knew I'd stumbled onto something special.
I brought these to a friend's birthday dinner last winter, and the birthday girl herself admitted to eating three squares straight from the pan while we all pretended not to notice. Someone asked for the recipe before we'd even finished dessert, and I realized that sometimes the most unexpected combinations become the ones people remember most.
Ingredients
- Unsalted butter: Melted thoroughly helps create that dense fudgy texture we're after
- Granulated and brown sugar: The combination gives both crisp edges and chewy centers
- Dark chocolate: Chop a good quality bar instead of using chips for better melting
- Cream cheese: Absolutely must be softened to room temperature or you'll end up with lumps
- All purpose flour: Don't overmix once you add this or your brownies will be tough instead of tender
Instructions
- Get your oven ready:
- Preheat to 175C and line your square pan with parchment, letting those edges hang over like a little sling for easy lifting later
- Make the brownie base:
- Whisk the melted butter with both sugars until smooth, then beat in your eggs and vanilla until glossy
- Add the dry ingredients:
- Sift in flour, cocoa, and salt, then fold gently until just combined before stirring in your chopped chocolate
- Prep the swirl:
- Beat that softened cream cheese until smooth, then mix in sugar, egg, and vanilla until you have something silky and pale
- Layer it up:
- Spread most of your brownie batter in the pan, dollop the cream cheese mixture on top, then drop spoonfuls of remaining brownie batter over that
- Create the swirl:
- Run a knife through the layers in a figure eight pattern, but don't overdo it or you'll lose those beautiful distinct marbles
- Bake to perfection:
- Slide into the oven for about 34 minutes until the center is just set with a slight wobble
 Pin It
 My sister swears these taste better after a night in the refrigerator, when the flavors have had time to really settle into each other. I've started making them the day before gatherings just to prove her right, watching people's eyes widen at that first forkful of cold, dense chocolate against tangy sweet cream cheese.
Getting The Swirl Right
The trick is dropping your brownie batter in uneven spoonfuls rather than trying to be precise about it. I used to carefully measure out dollops until I realized that randomness creates the most beautiful patterns. Run your knife through just enough to marble the layers together without turning everything into a muddy mess.
Pan Size Matters
An 8x8 inch pan gives you those thick, luxurious squares that feel like a genuine indulgence. I once tried using a 9x13 because I wanted more servings and ended up with thin, dry bars that missed the whole point. Stick to the smaller pan and cut them into 16 modest pieces instead of stretching the recipe.
Make Ahead Magic
These actually develop deeper flavor after a night in the fridge, the cream cheese tang melding with the chocolate in ways that fresh baked can't quite achieve. Wrap the cooled, uncut pan tightly and you're party ready for up to three days.
- Freeze individual squares wrapped in parchment for emergency dessert cravings
- Bring them to room temperature for 20 minutes before serving for the best texture
- Dust with powdered sugar right before serving to hide any imperfections
 Pin It
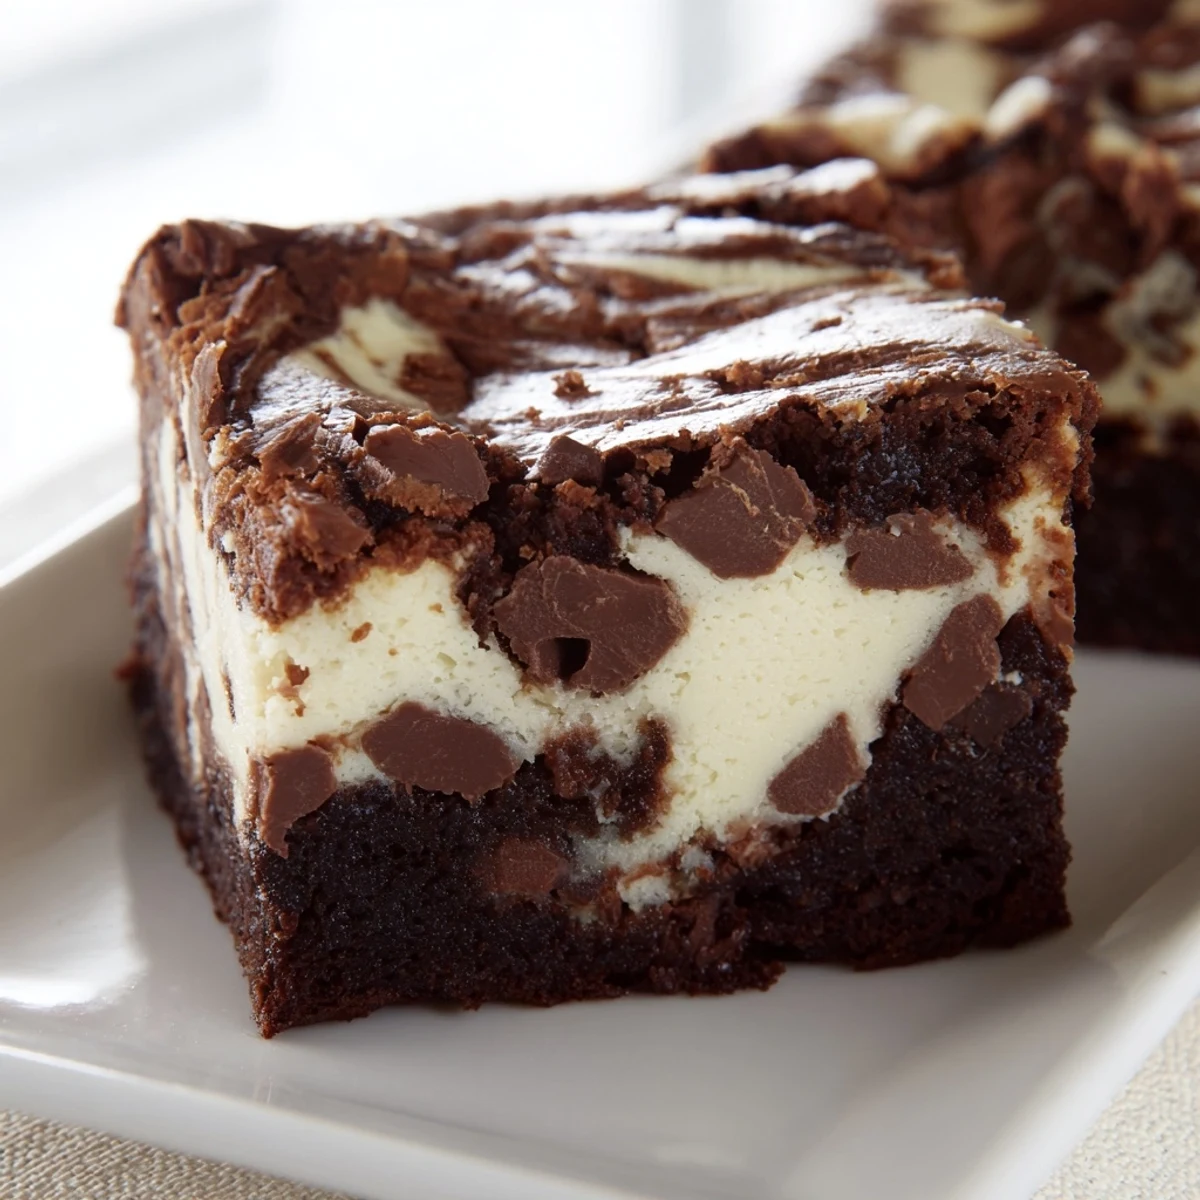
 There's something deeply satisfying about cutting through that first square and seeing the perfect marble pattern inside. These have become my go to for potlucks and dinner parties, mostly because they're impossible to stop eating once you've started.
Recipe FAQs
- → How do I know when these are done baking?
-
Insert a toothpick into the center—it should come out with a few moist crumbs but not wet batter. The edges should be set while the center still has a slight jiggle. They'll continue to firm as they cool.
- → Can I make these ahead of time?
-
Absolutely. These actually taste better after chilling overnight in the refrigerator. The flavors meld together and the texture becomes more fudgy. Bring to room temperature before serving for the best experience.
- → Why do I need to reserve some brownie batter?
-
The reserved 1/4 cup of batter is dropped over the cream cheese layer to create the marbled swirl effect. Without it, you'd have just two distinct layers instead of the beautiful spiderweb pattern throughout.
- → What's the best way to achieve clean swirls?
-
Use a skewer, knife, or toothpick to gently drag through the batters in a circular or S-shaped motion. Don't over-swirl or the pattern will become muddy—just 2-3 passes through the pan is perfect.
- → Can I freeze these brownies?
-
Yes. Wrap individual squares tightly in plastic wrap, then place in a freezer bag for up to 3 months. Thaw overnight in the refrigerator before serving. The texture remains excellent after freezing.
- → How do I prevent the cheesecake layer from sinking?
-
Spreading the cream cheese mixture gently over the brownie batter helps. Also, don't add the reserved brownie batter dollops too heavily—just small spoonfuls spaced evenly will create the swirl without weighing down the creamy layer.